A while back I made a bag for carrying stuff to guild meetings and used some scraps of Kraft-Tex to reinforce the base. I have enjoyed that addition, both because it helps the bag stand up on its own and because I don’t have to worry about putting the bag on the floor.

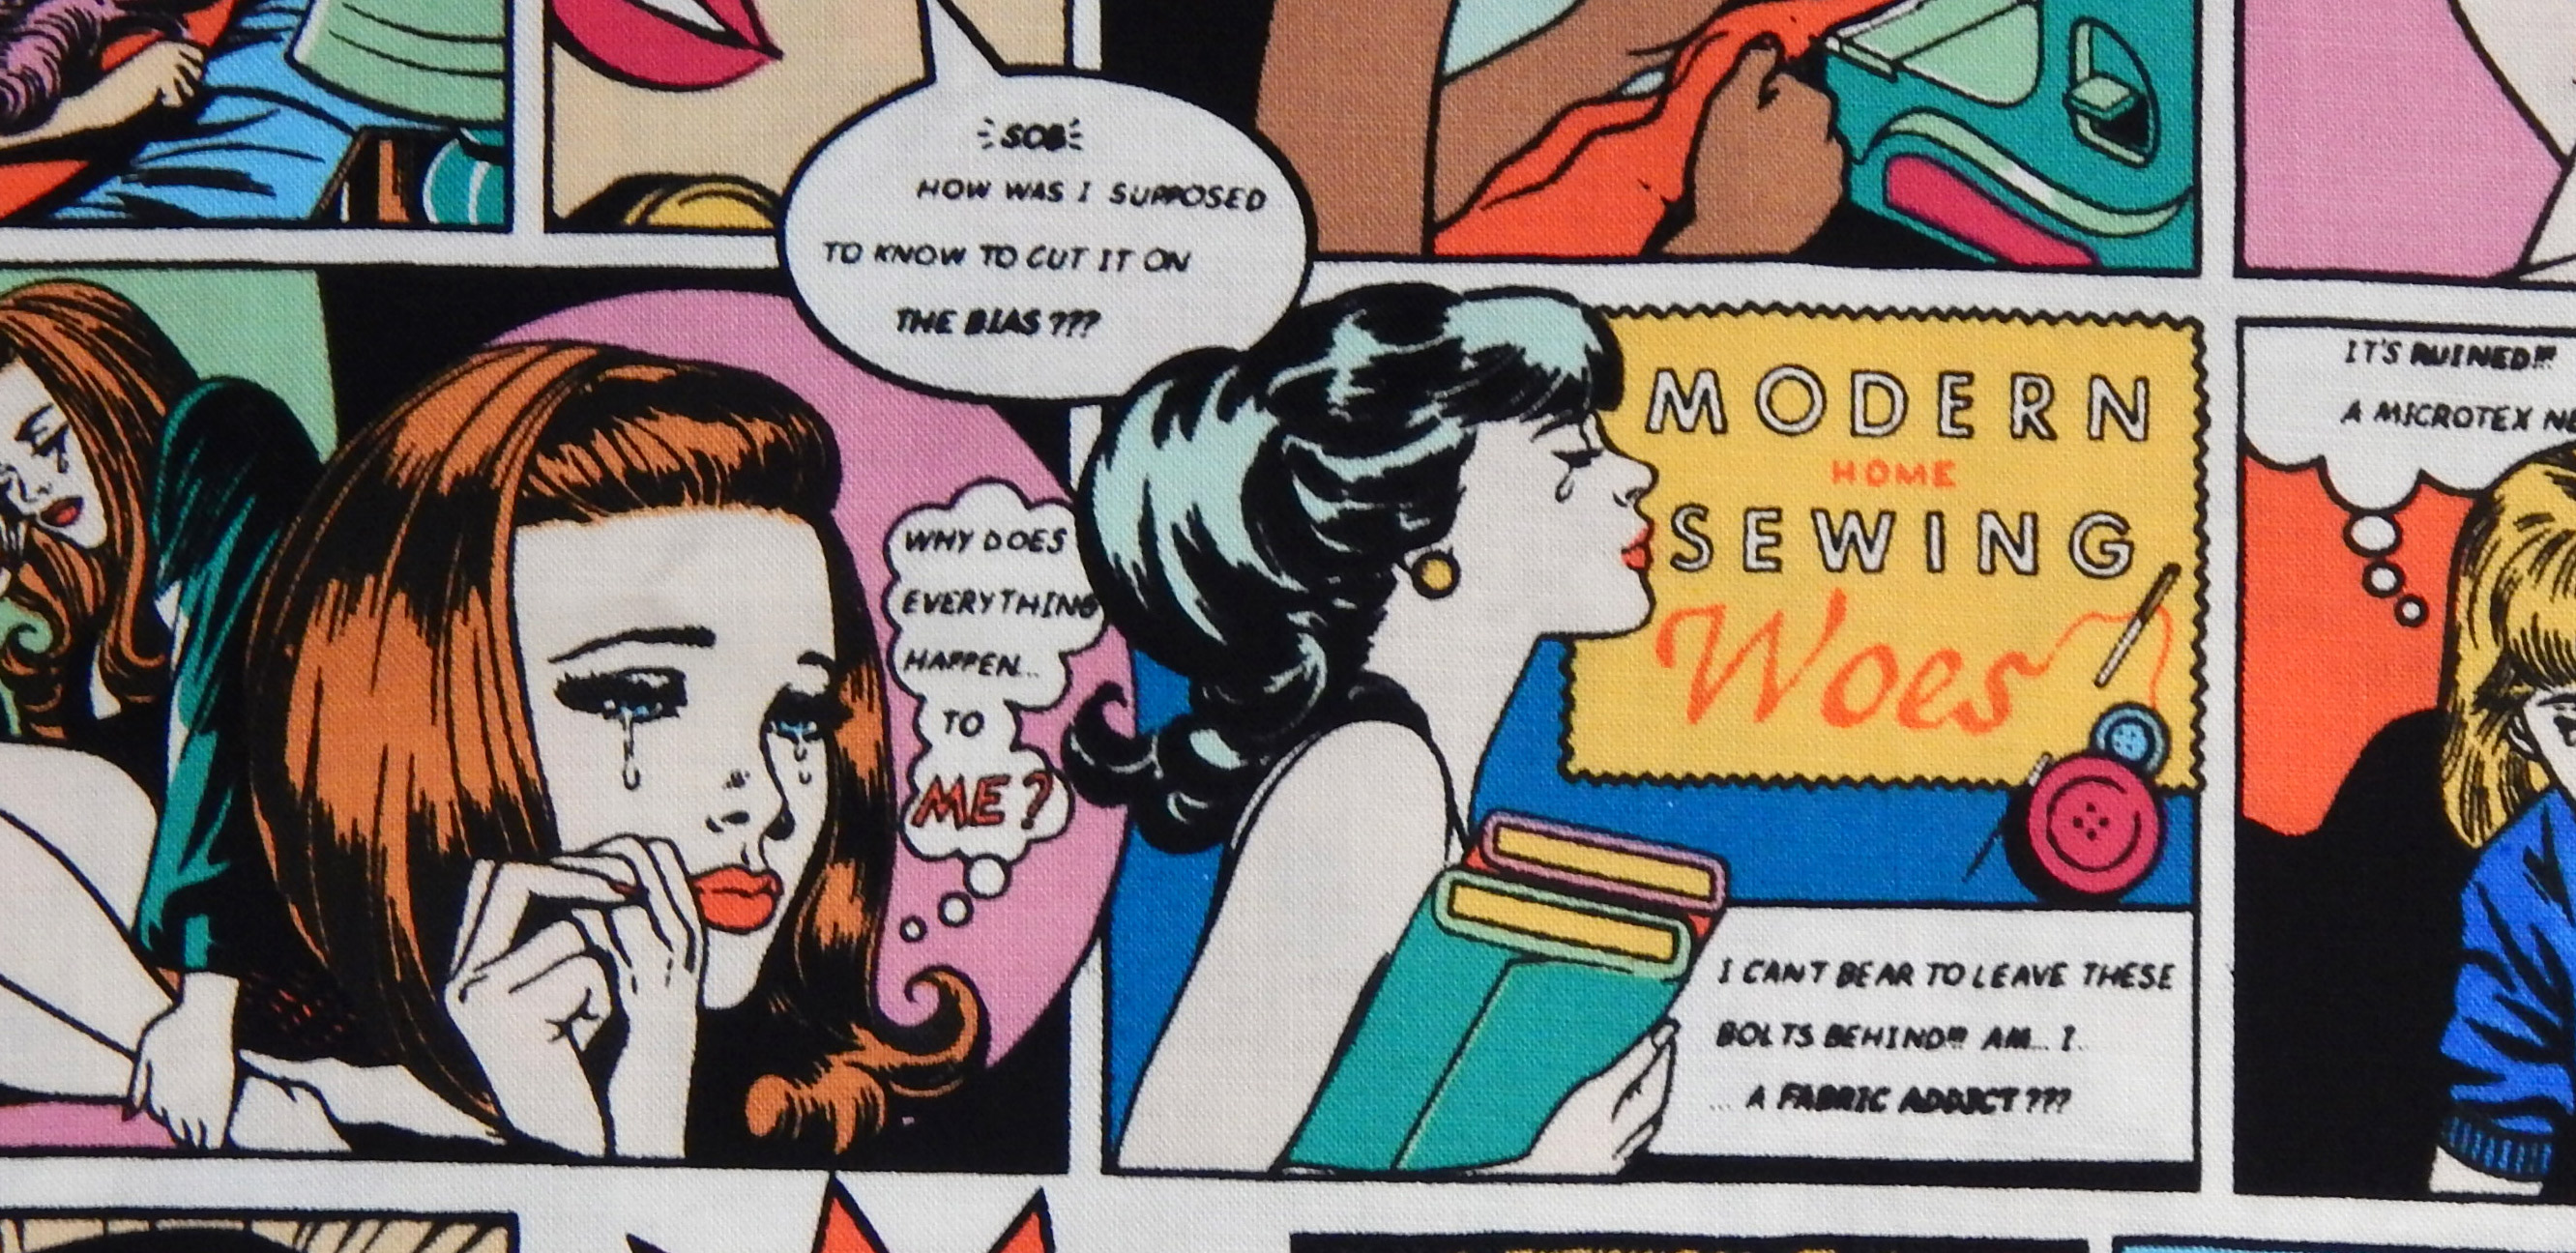
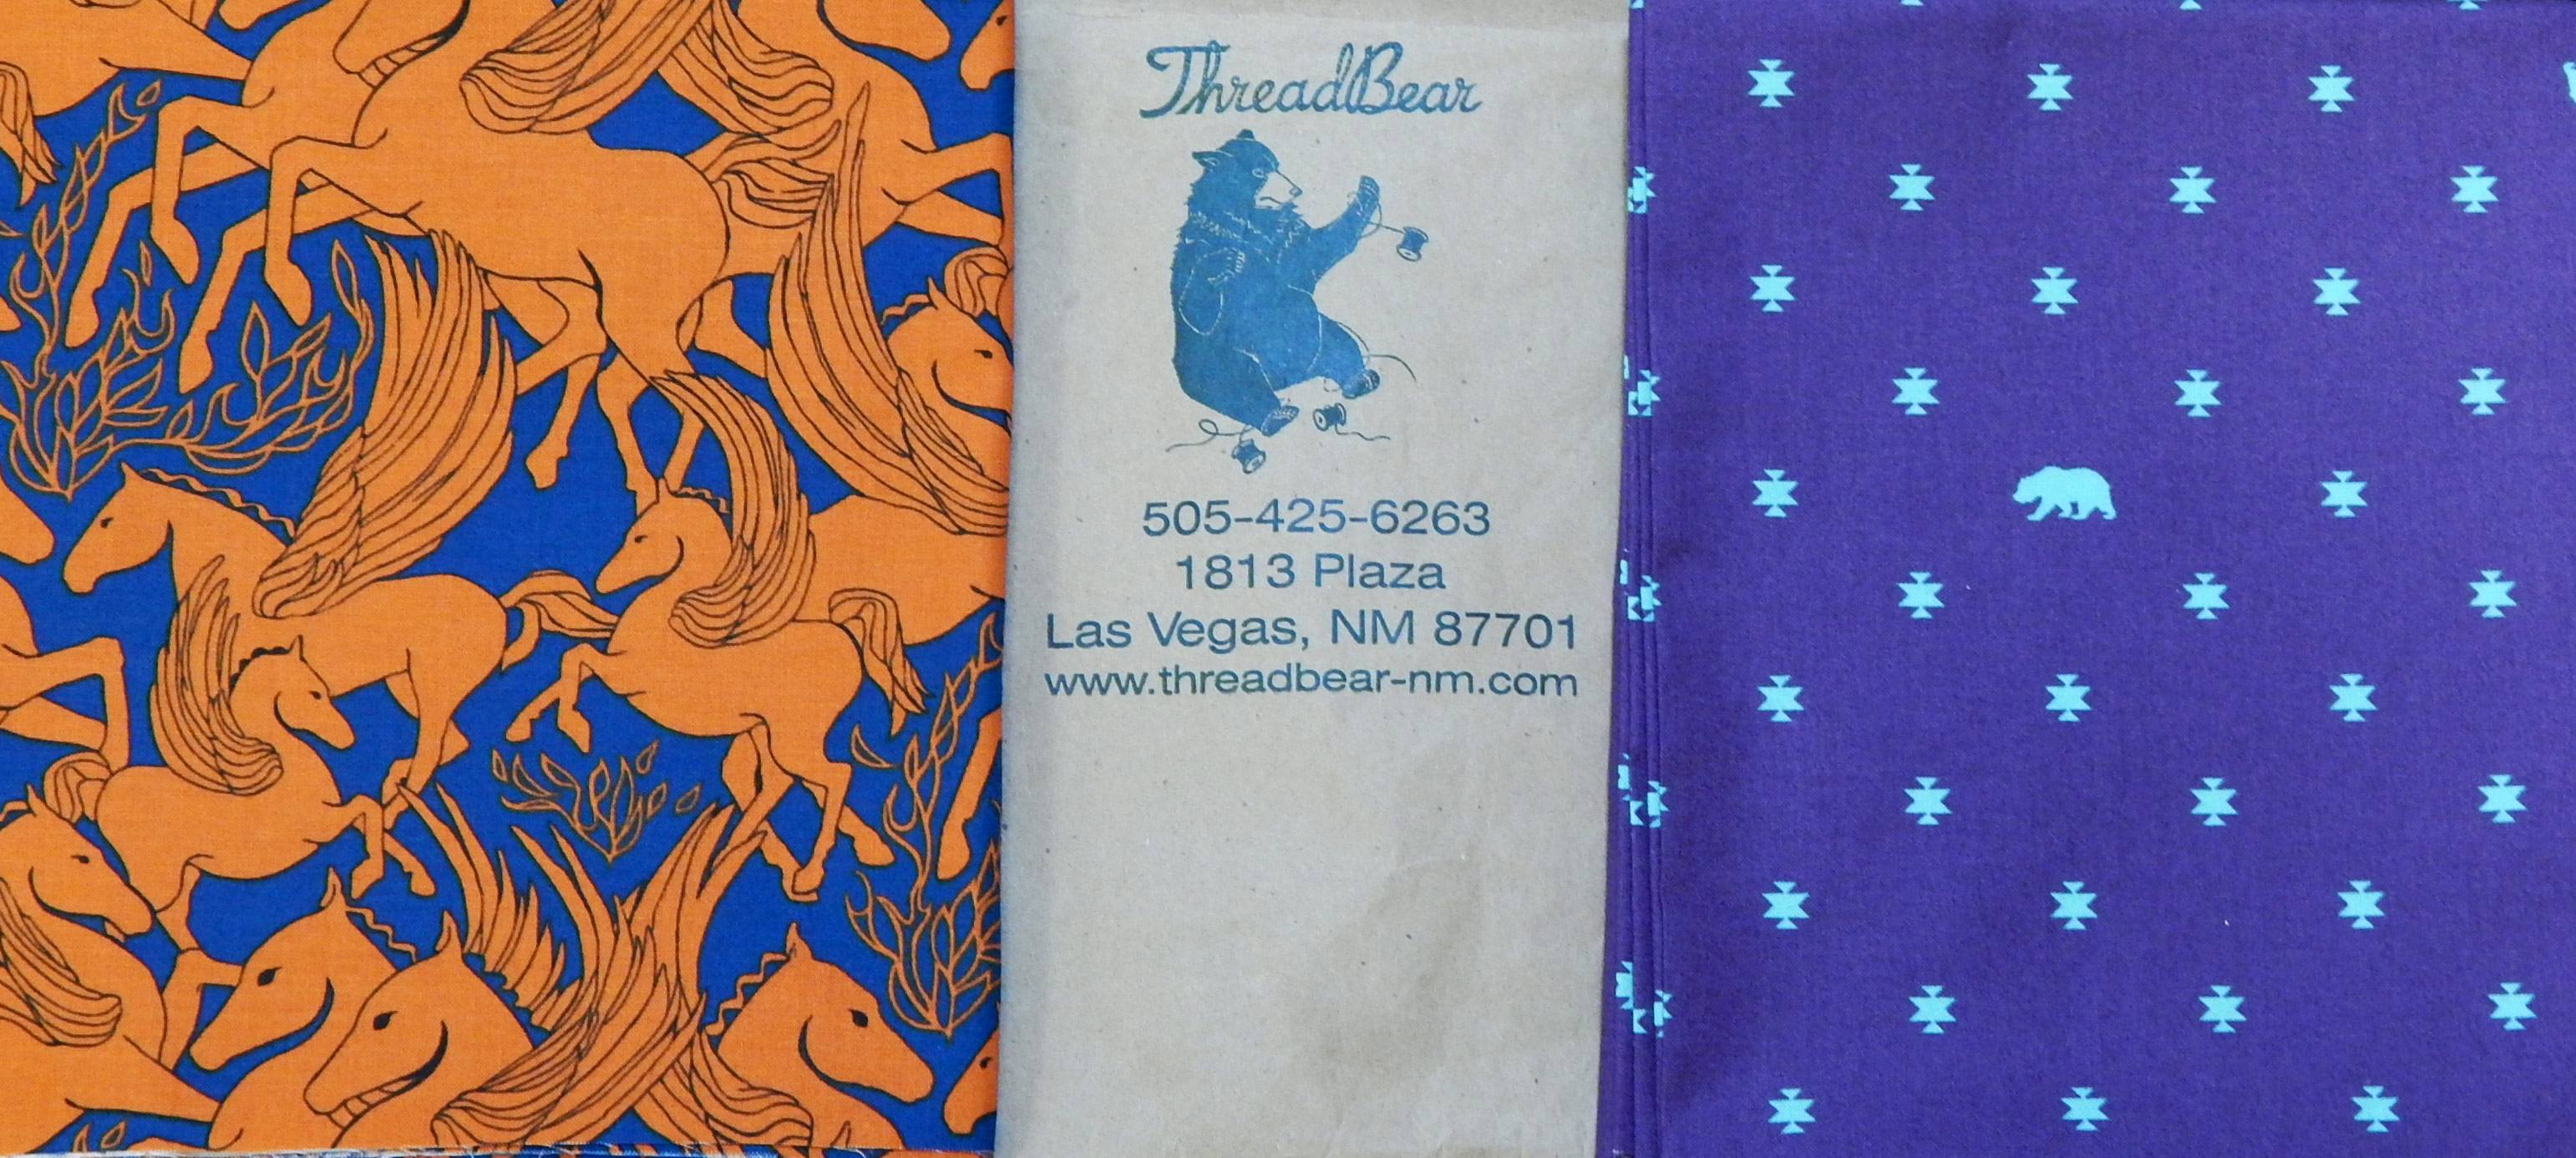
Then recently I saw this Alexander Henry fabric and of course I was forced to buy it 😉

Alexander Henry fabric showing melodramatic “sewing woes”
I decided to make another tote bag using this tutorial from Bijou Lovely Designs, Holly DeGroot’s blog. Her tutorial includes the free pattern, so go make it if you want to. Her instructions and illustrations are excellent.
Here are my modifications for making the base of Kraft-Tex.
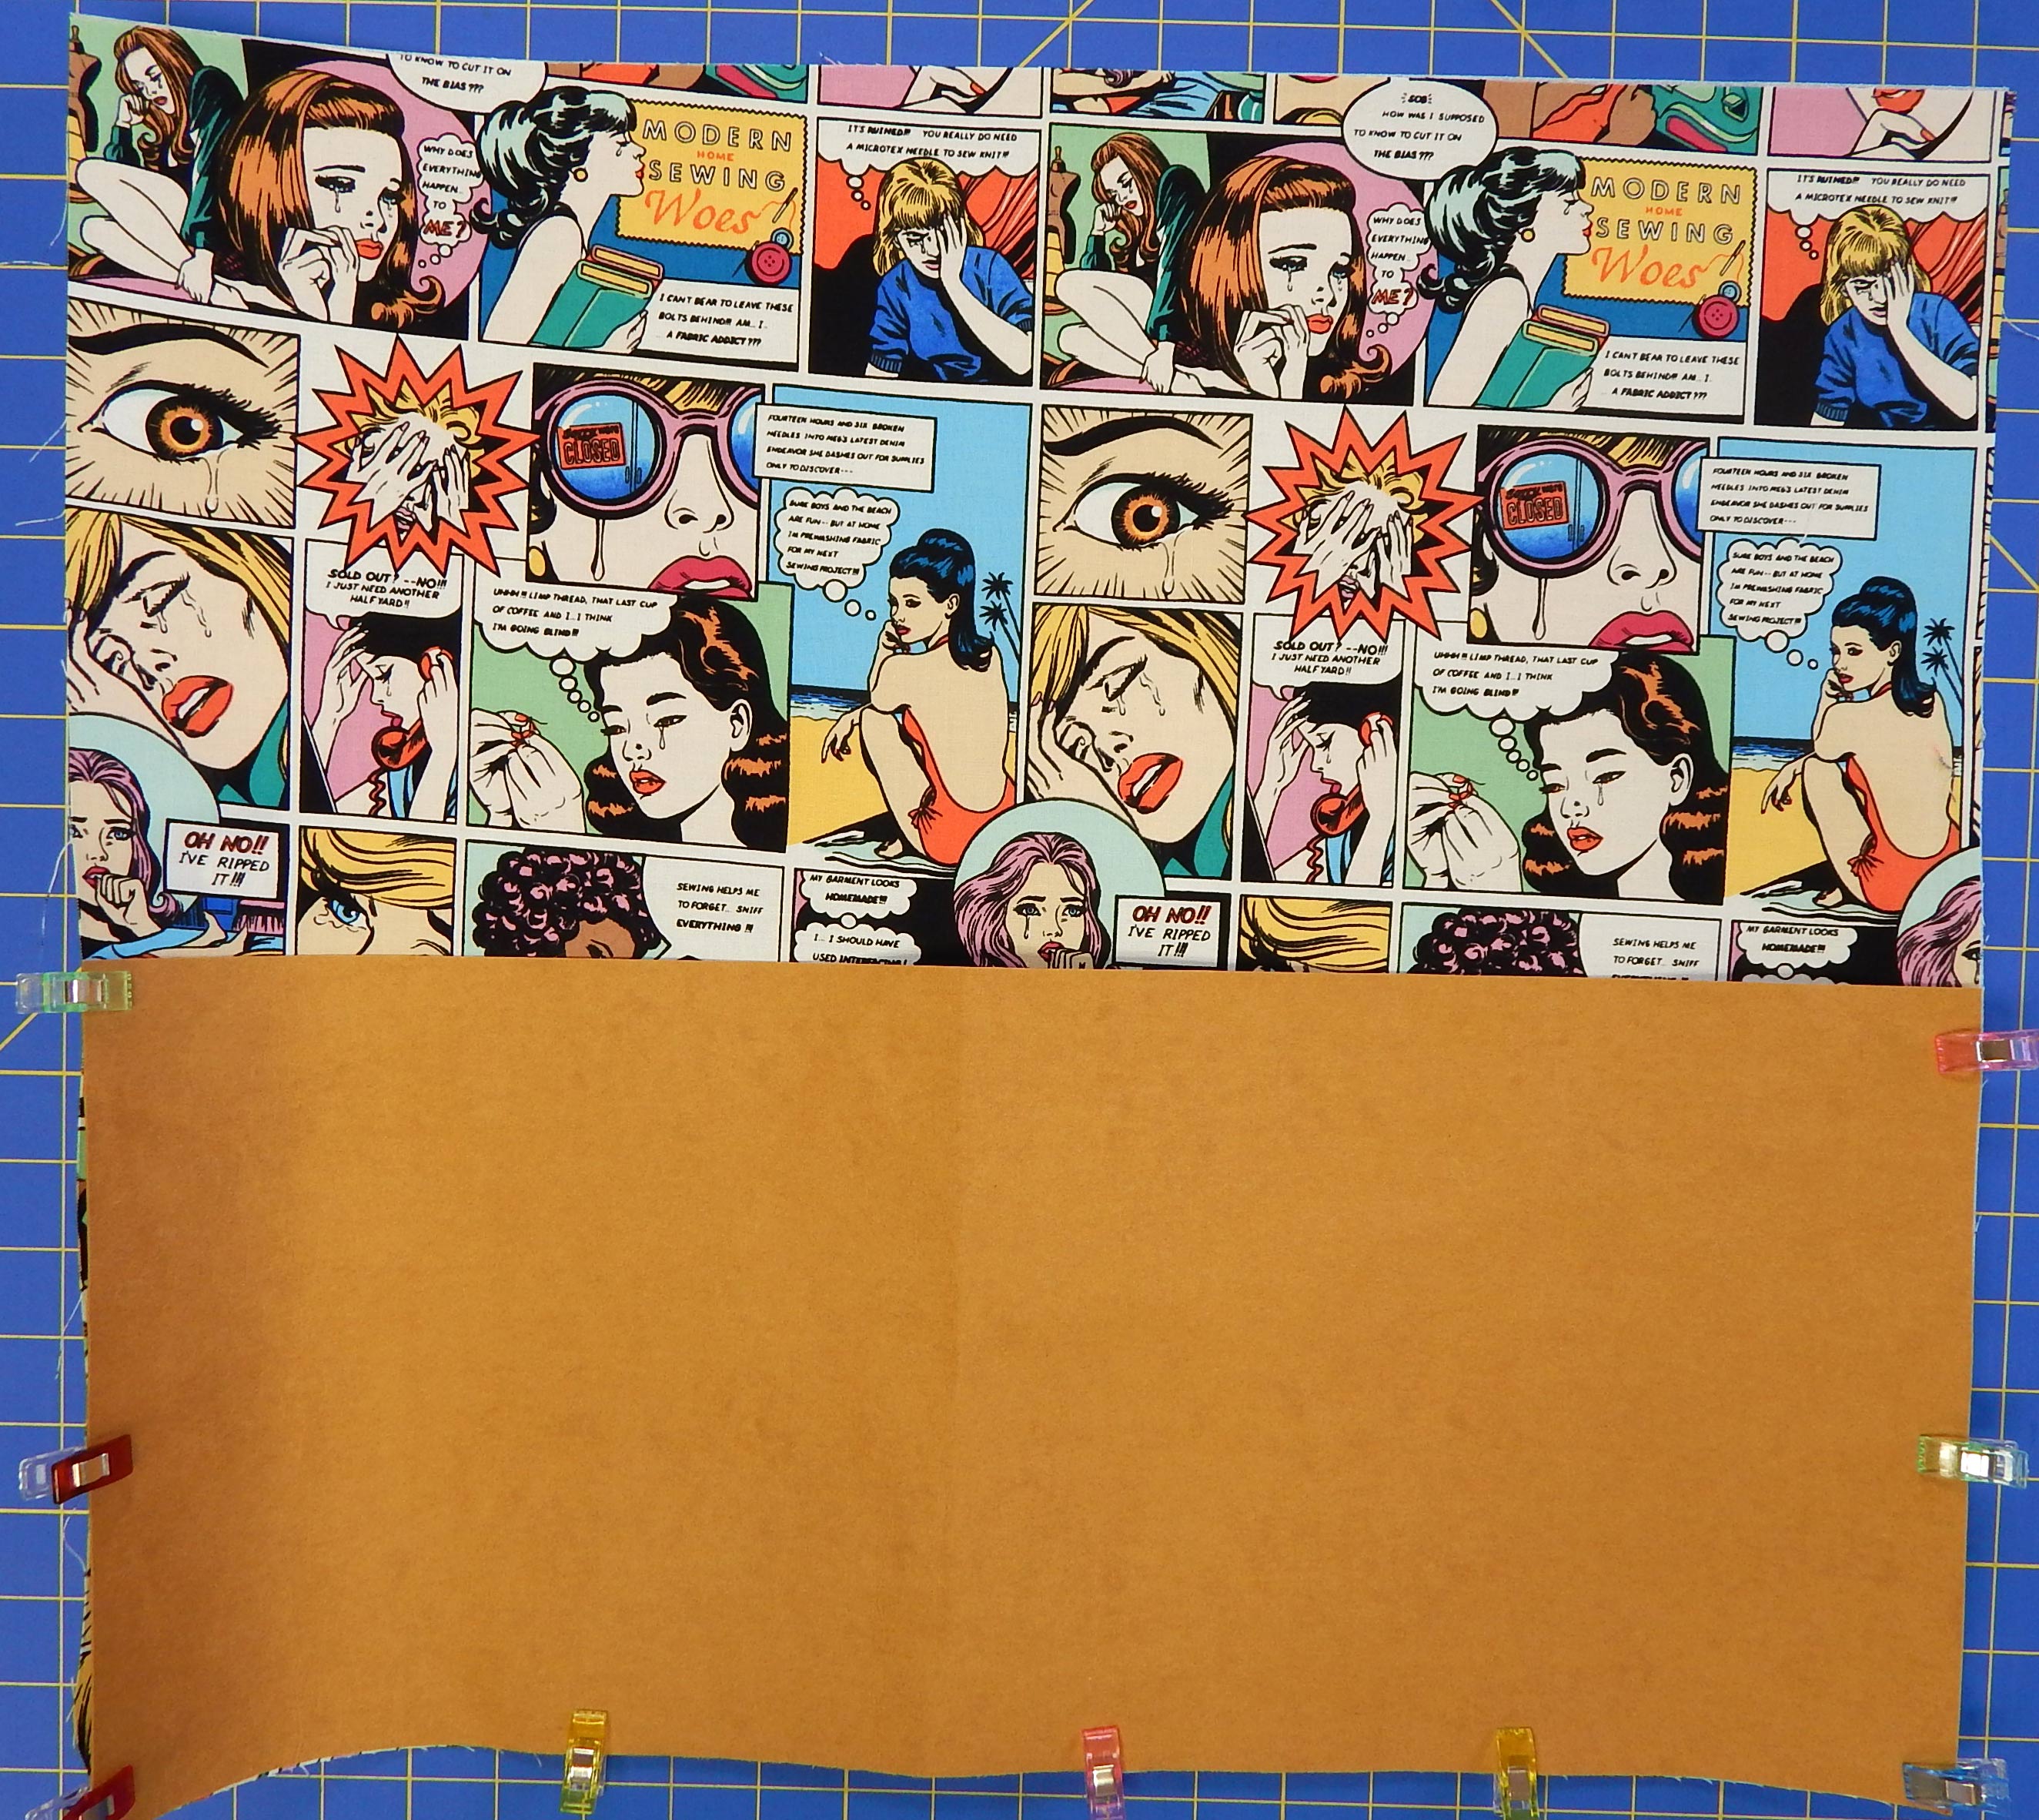
Holly’s instructions used the same fabric for the bag lining and the base, so of course I didn’t do that. I cut the Kraft-Tex base 1/2″ narrower (top to bottom measurement) than Holly’s instructions, because the base on her bag is joined with a 1/4″ seam and then pressed back. I just appliqued the Kraft-Tex to the bag. Naturally, that required clips rather than pins–don’t want holes in the Kraft-Tex!
You can see that the fabric wasn’t printed entirely straight; the other side was straighter. Luckily, this bag is for fun.

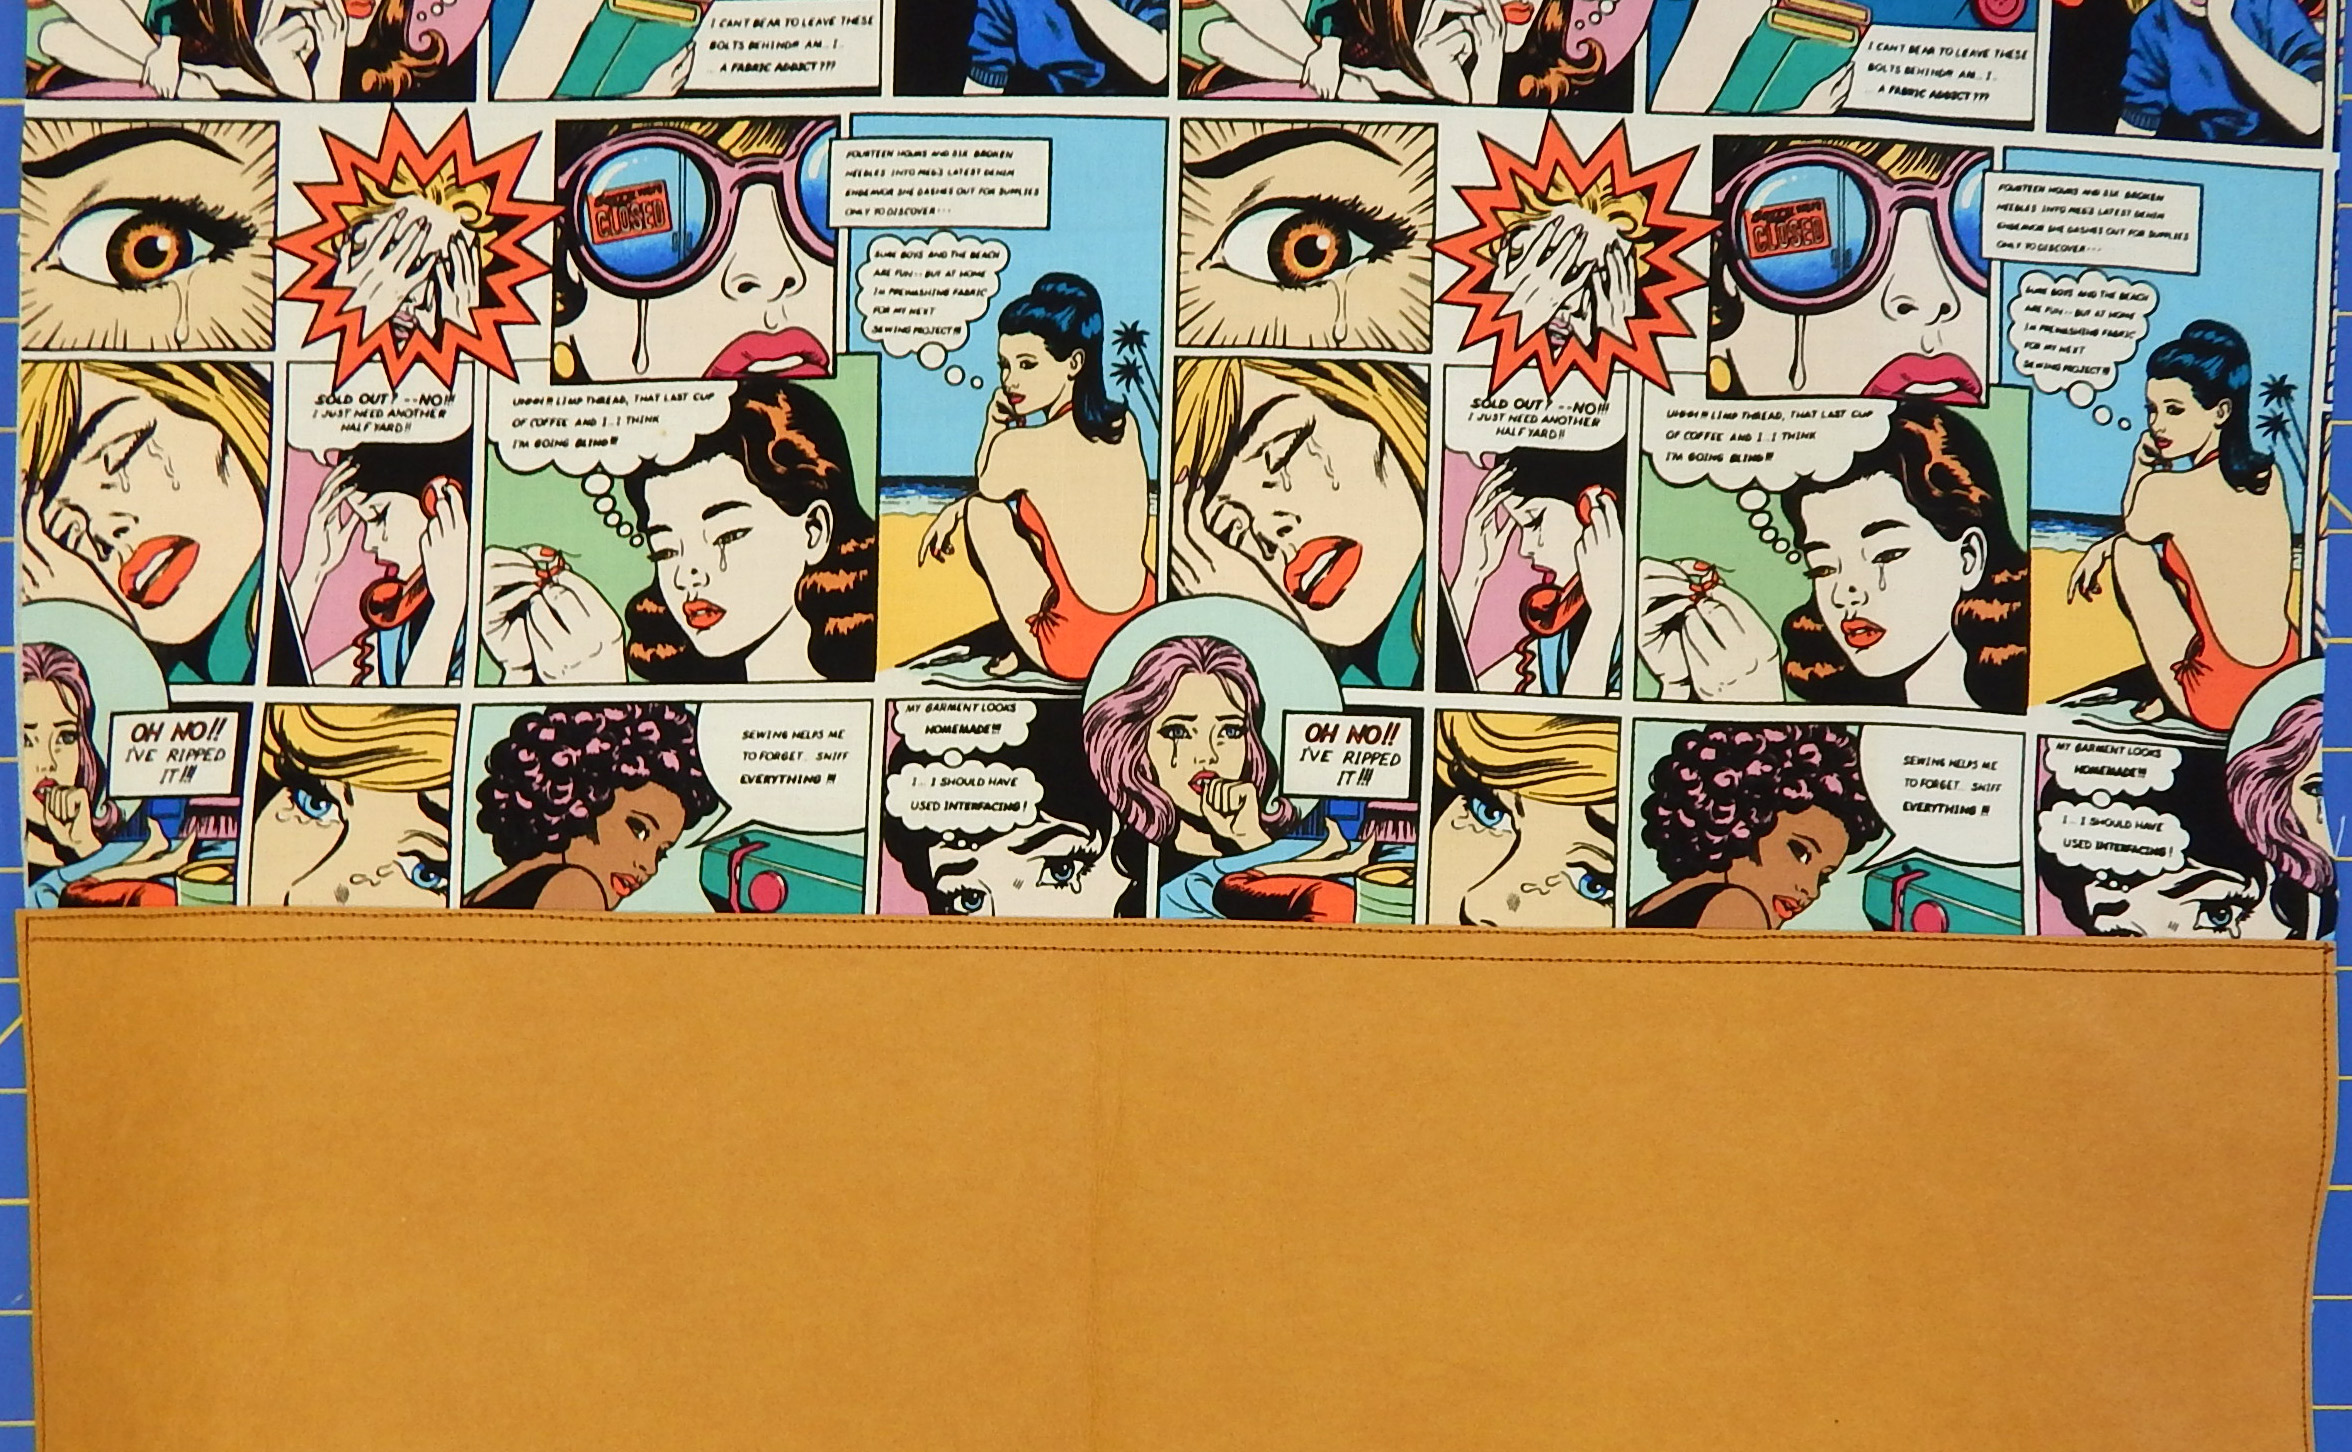
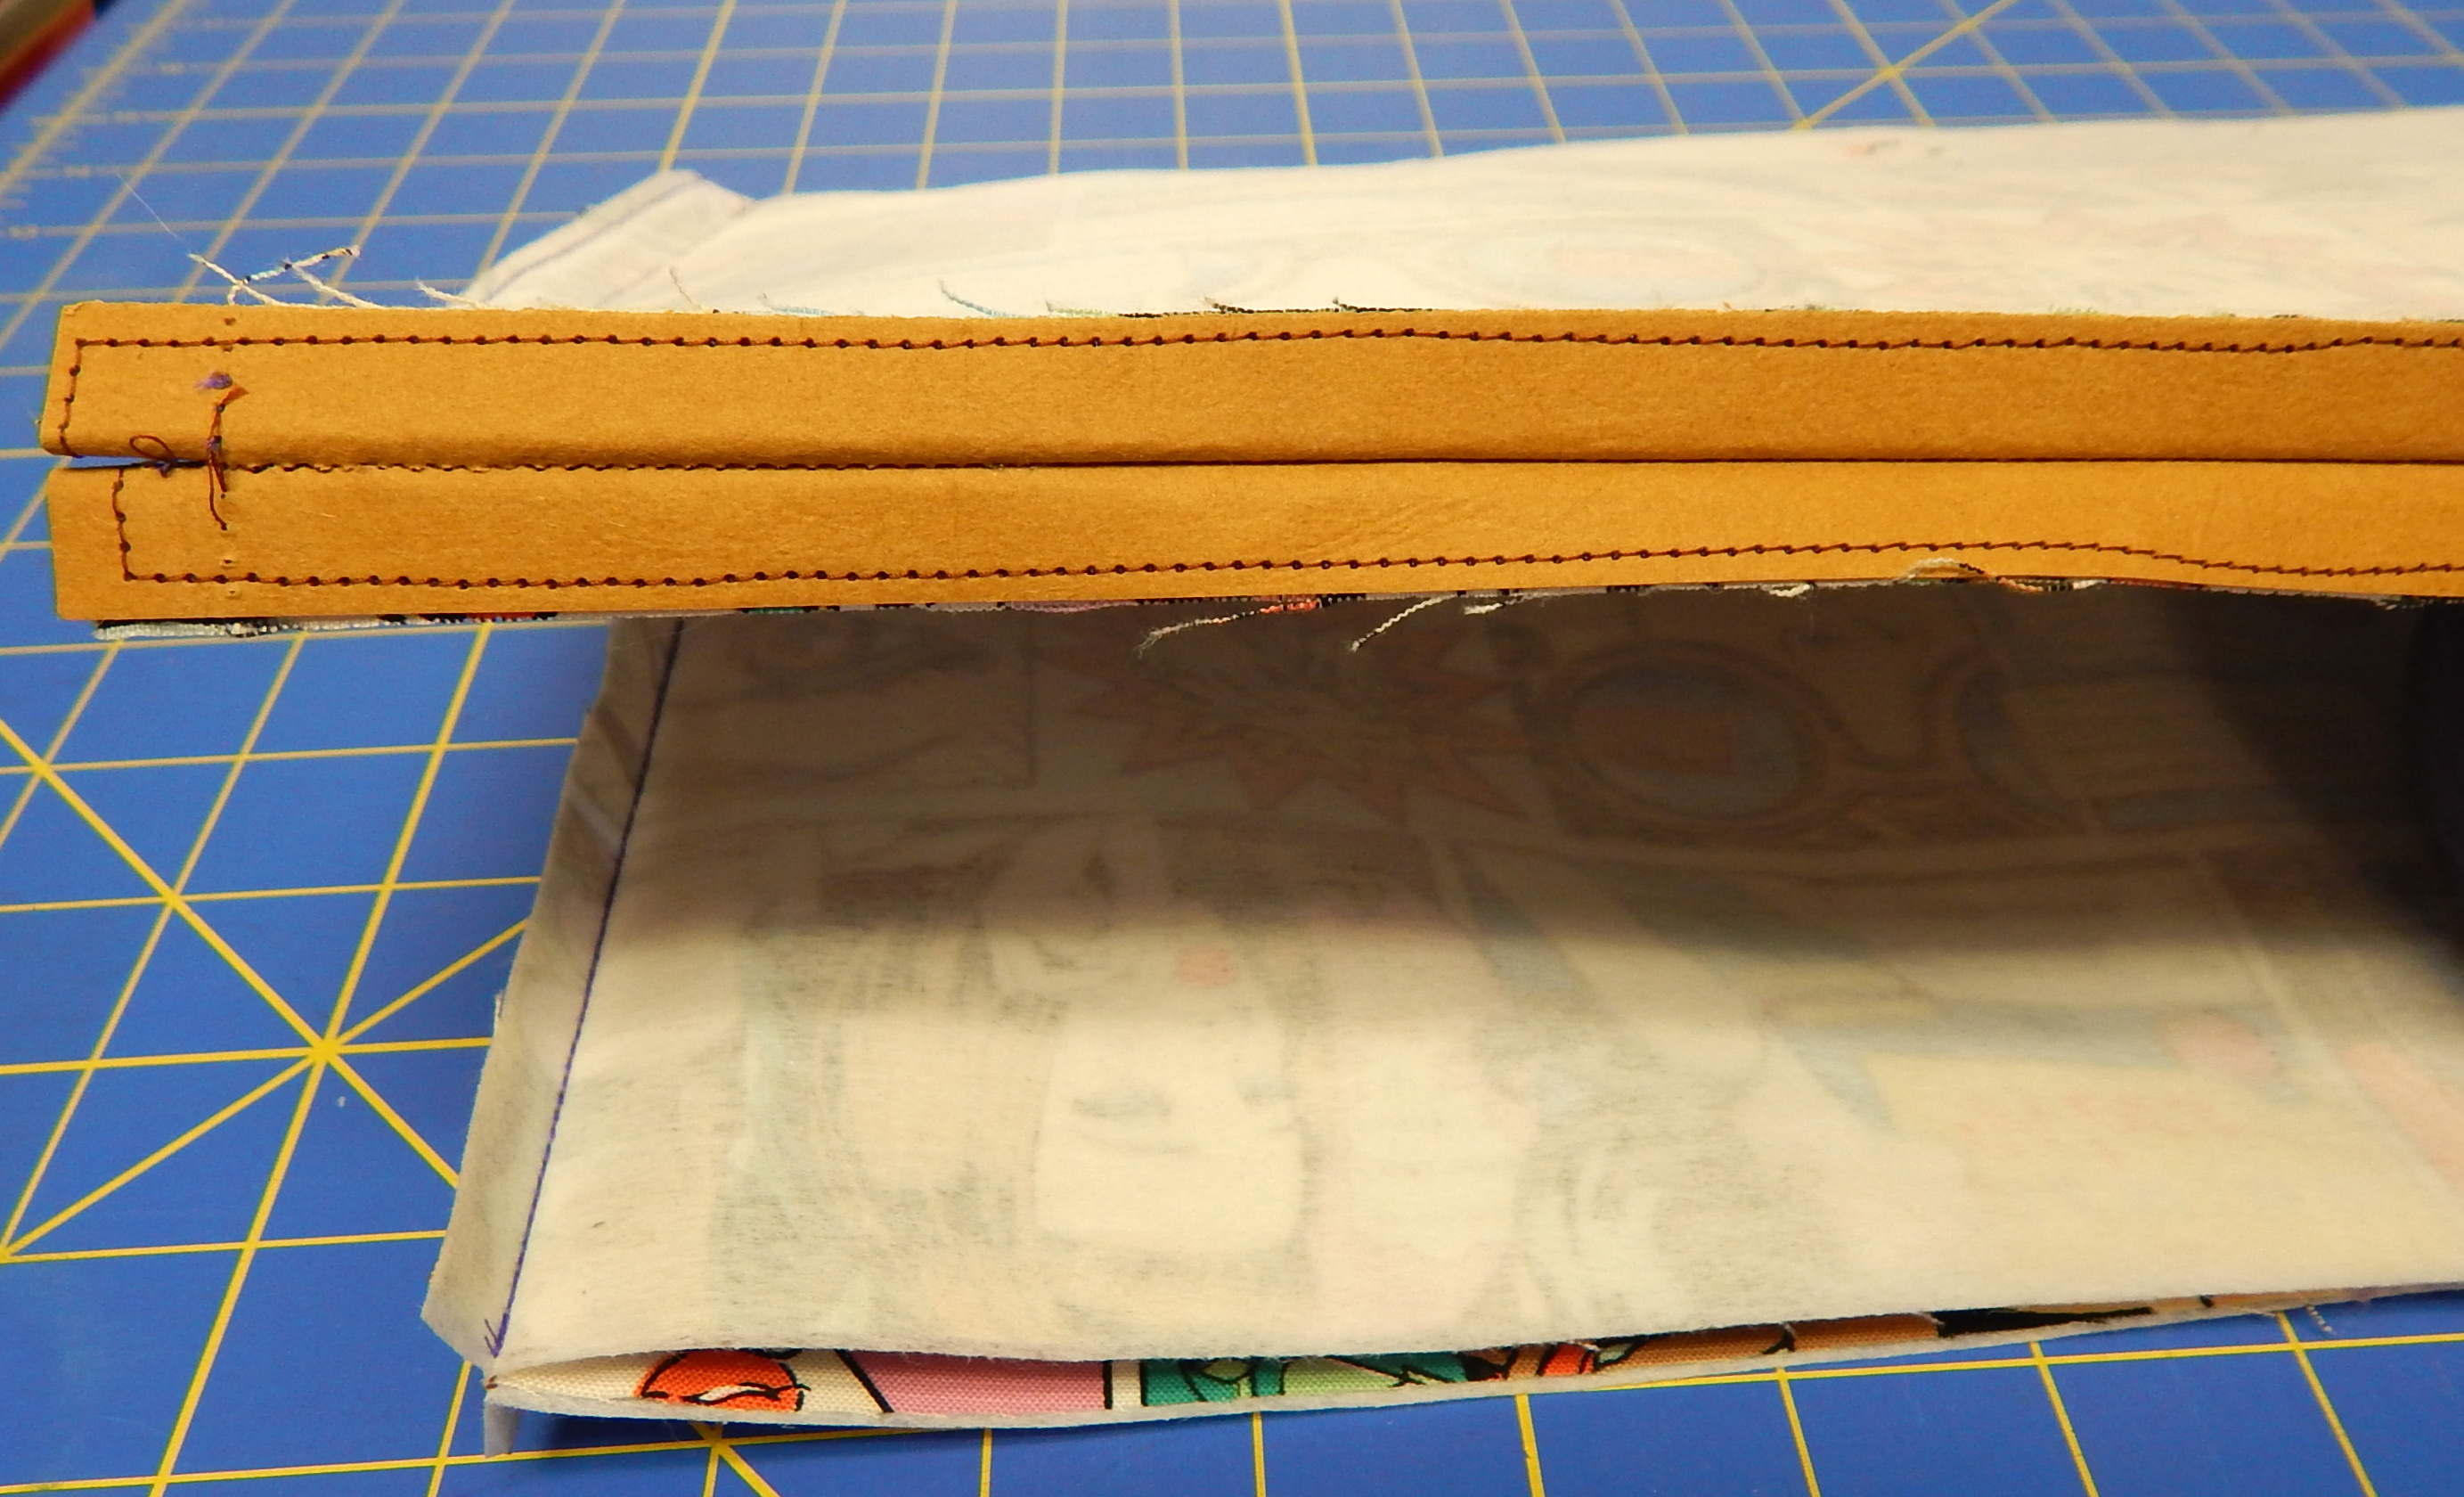
You can see my top-stitching here. This is the straighter side 🙂
When it came time to press the seams open, I just folded back the seams that contained Kraft-Tex, then ran the handle of my scissors along the seam to crease the Kraft-Tex into place.

You can also see where I stitched around the edge to hold the Kraft-Tex in place before assembly
The seams were not as bulky as I had anticipated, and gave me no trouble. The only difficult part was turning the bag right-side-out through the opening in the lining. The Kraft-Tex was a little stiff for that, but not too bad.

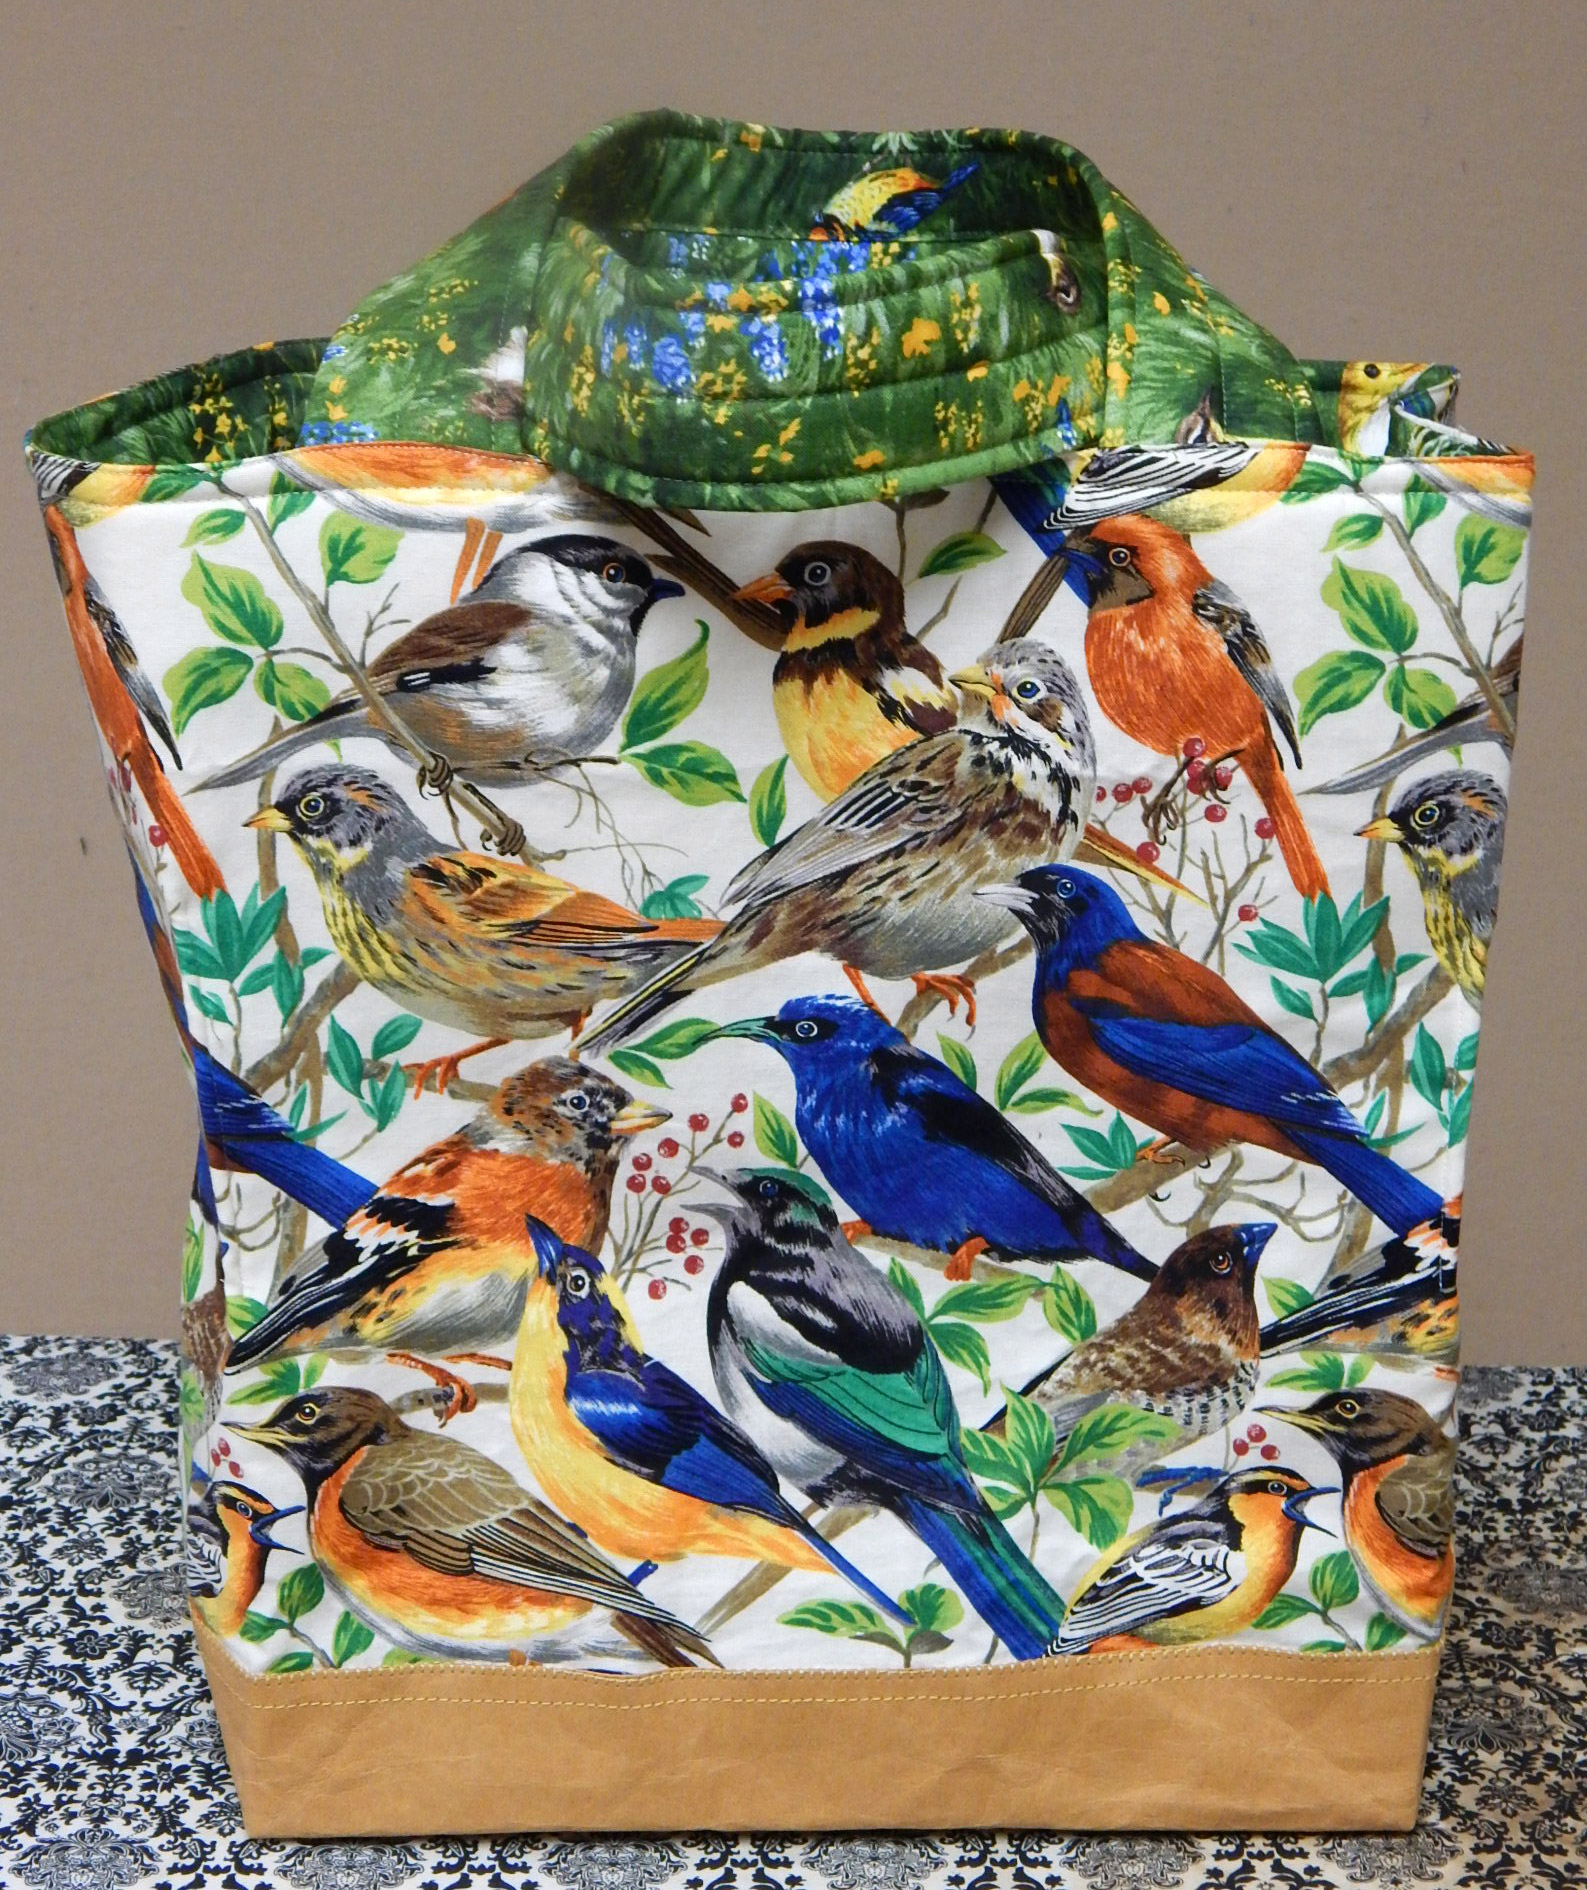
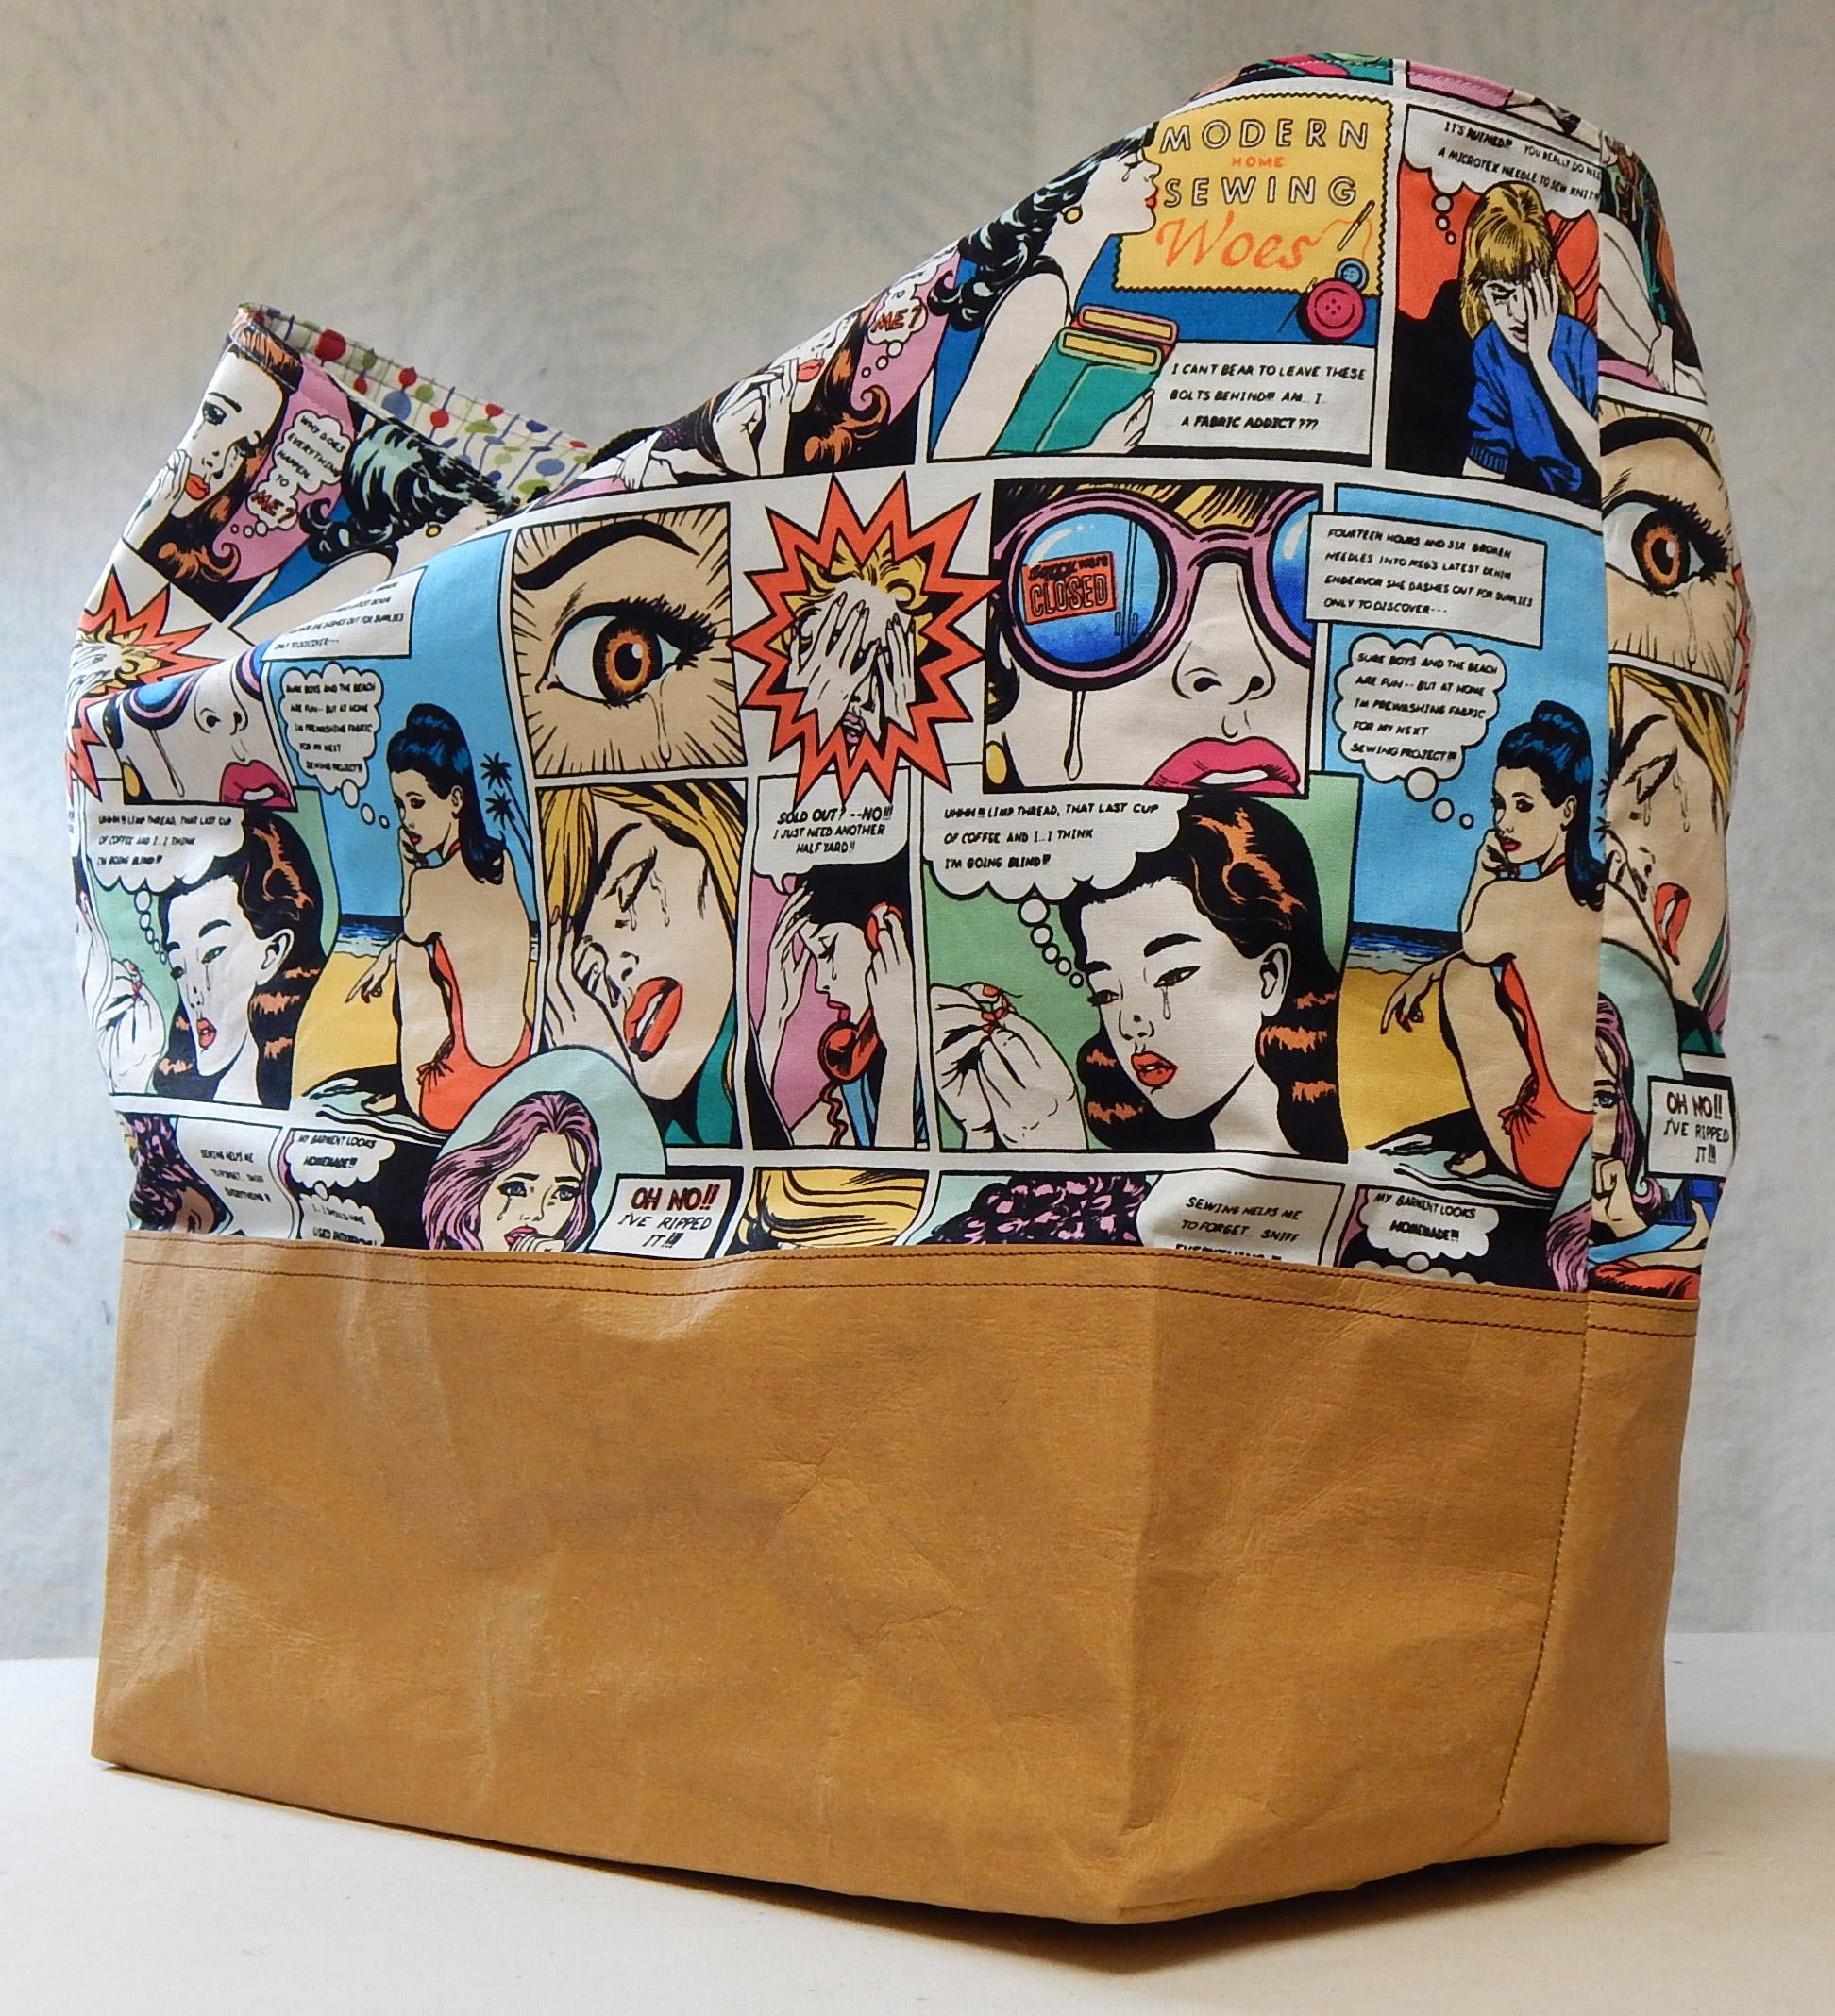
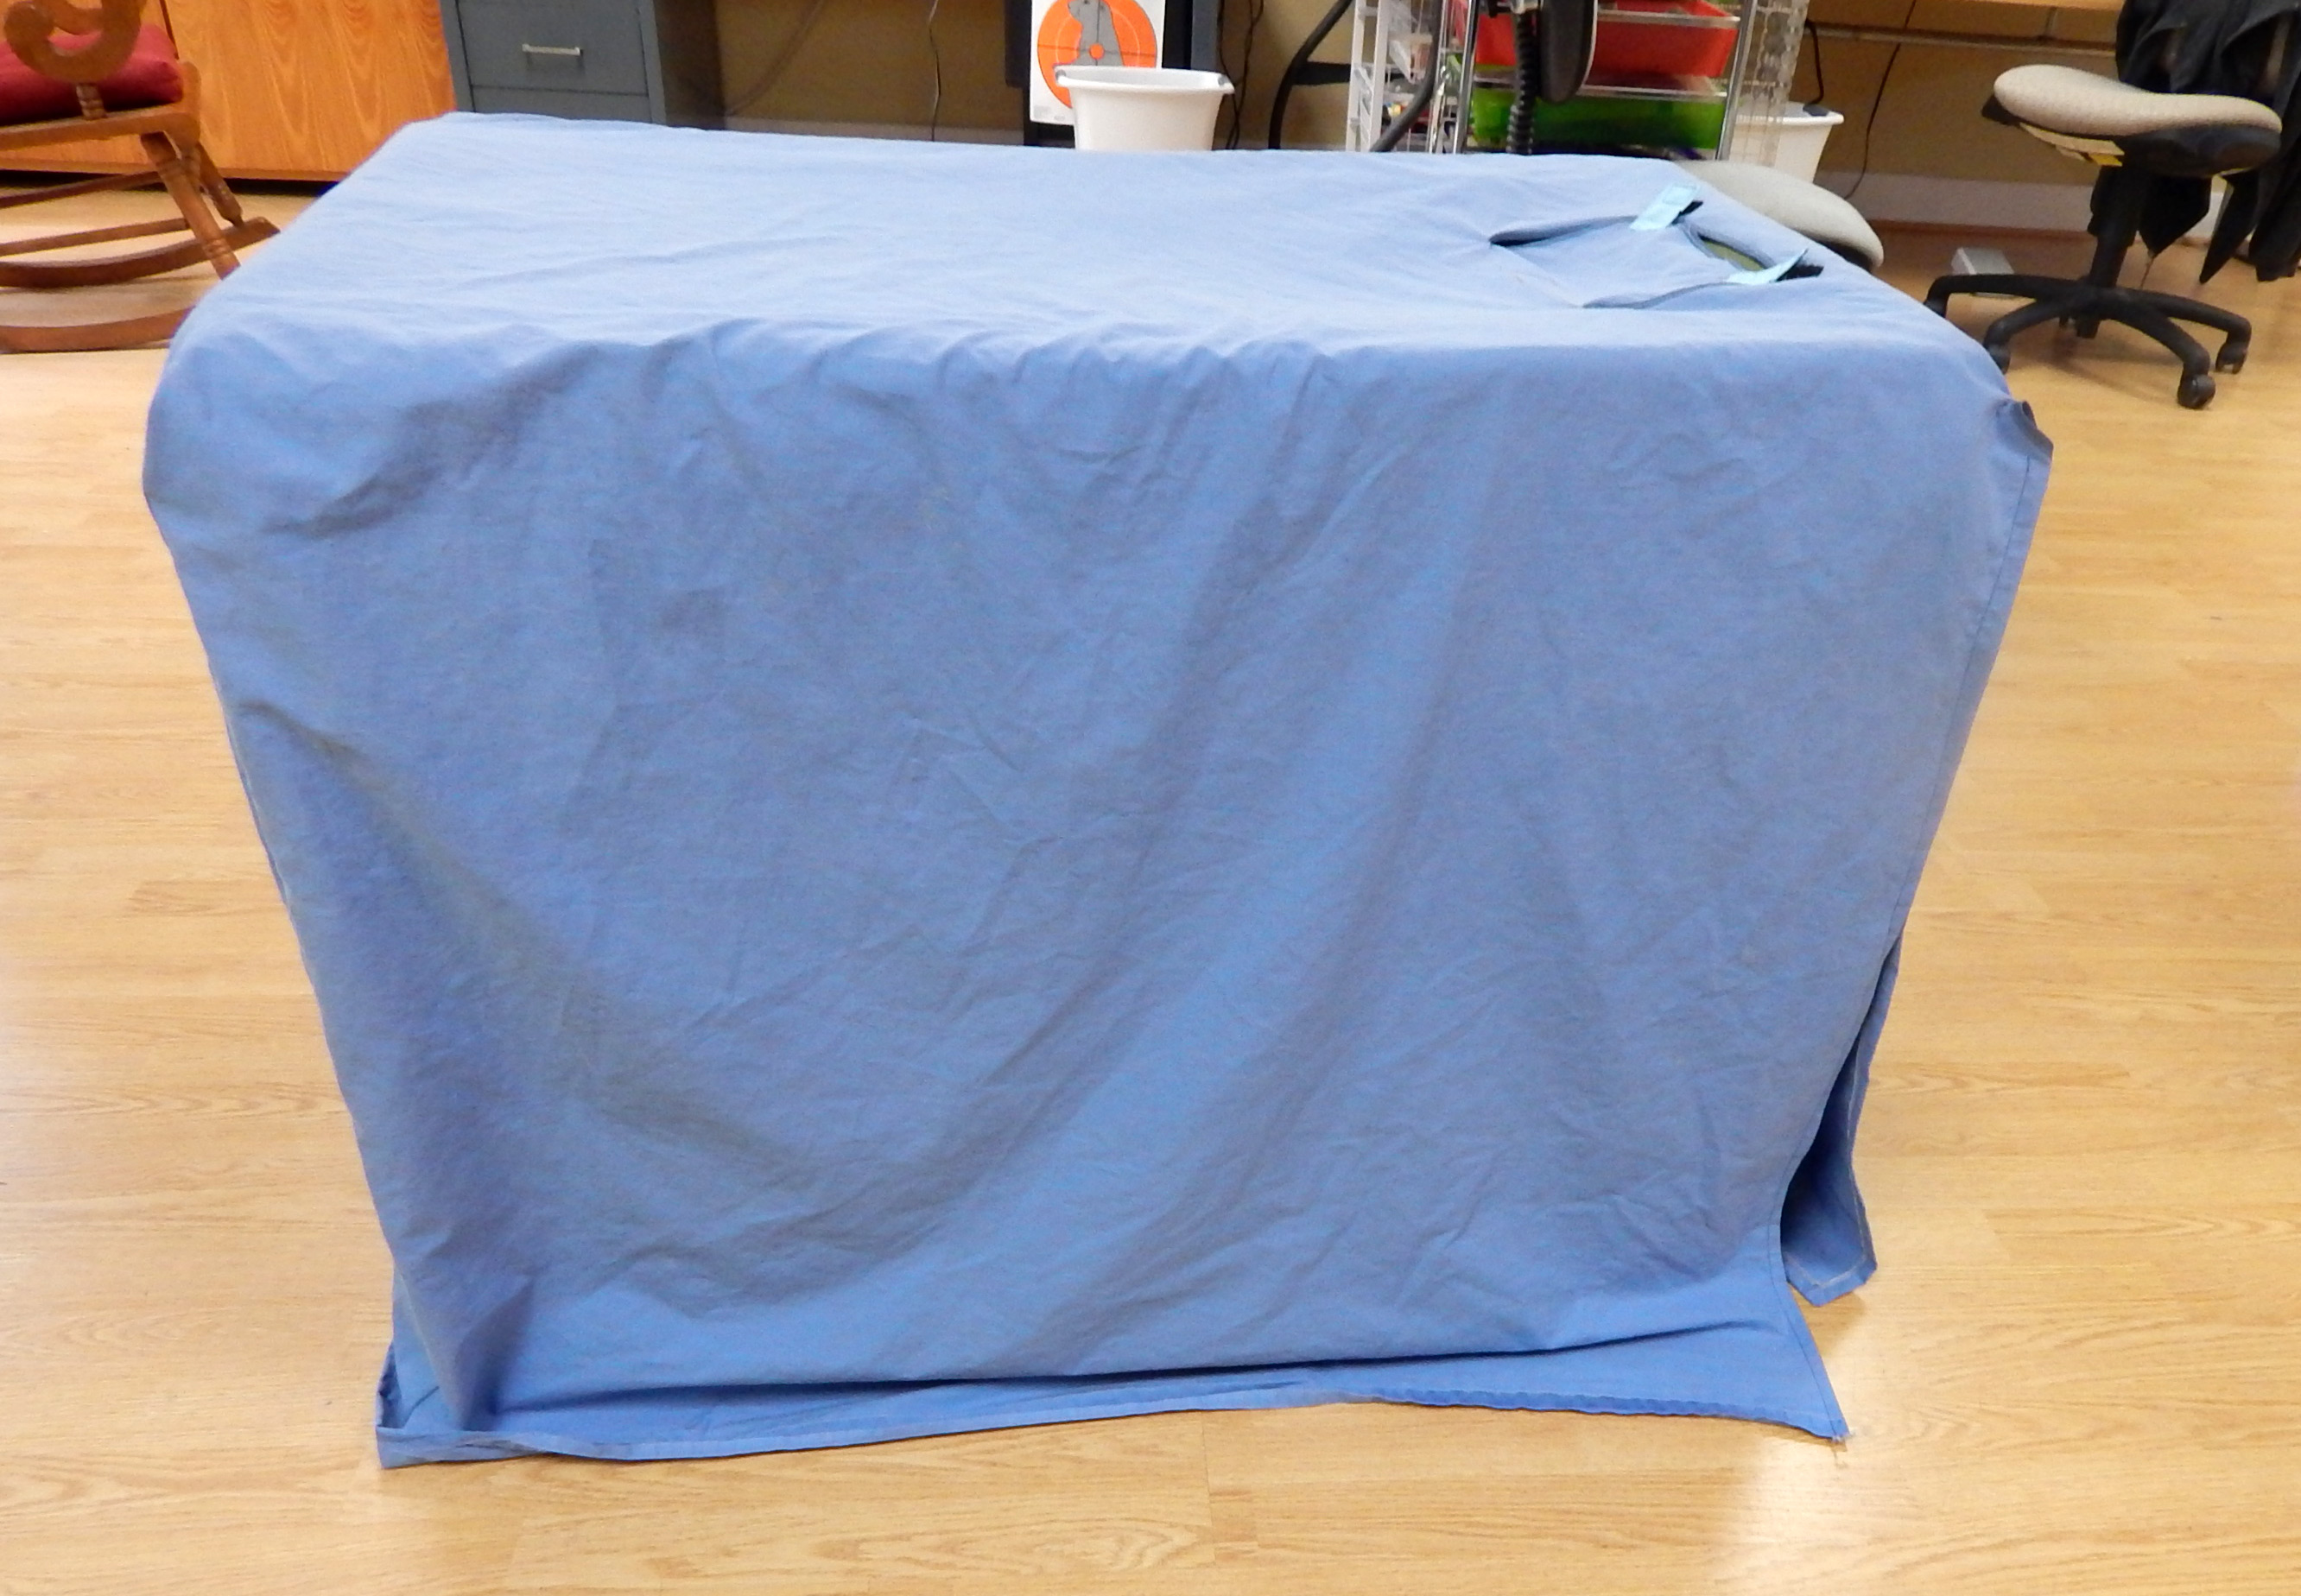
The Kraft-Tex stood up but the bag sides above it drooped
When I got the bag done, the Kraft-Tex part was great, but the rest of the bag was limp despite interfacing. I took the bag for a shakedown cruise when we went to the big city Saturday, and it was a pain to get things in and out of it because the sides collapsed. So…
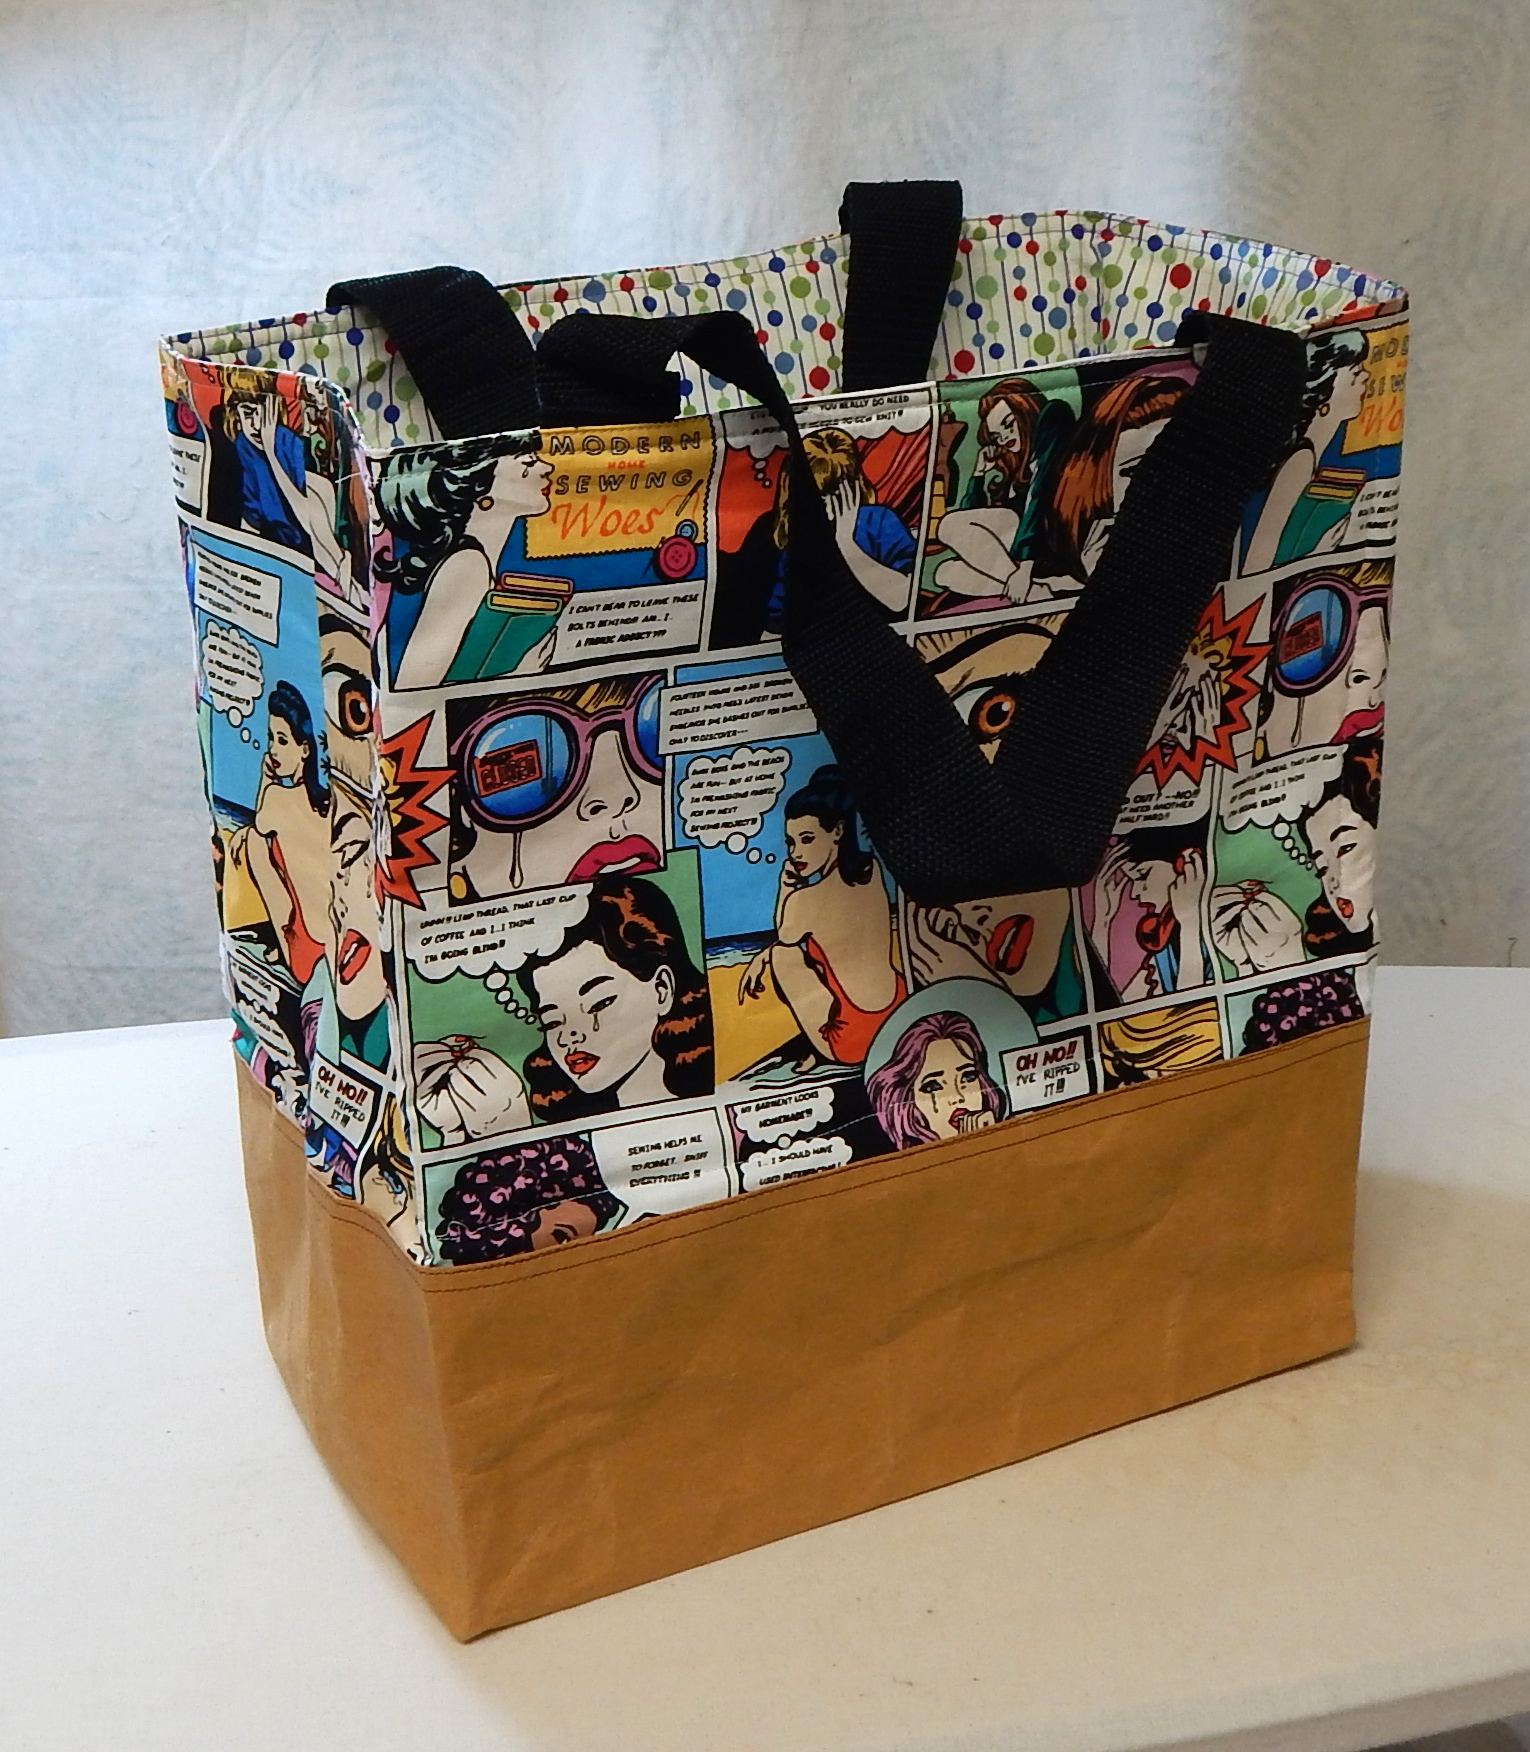
I took out the top seams, inserted pieces of Peltex cut to fit, and stitched all around them. They needed to overlap the Kraft-Tex a little to make the whole thing stand up.
That makes this “Holly’s bag with significant modifications”, but you can still get the measurements and construction details from her blog. I like the bag now, and it is a good size. Next time I’ll use Peltex from the get-go, probably still with the Kraft-Tex.

 I will use them to decorate a quilt at some point.