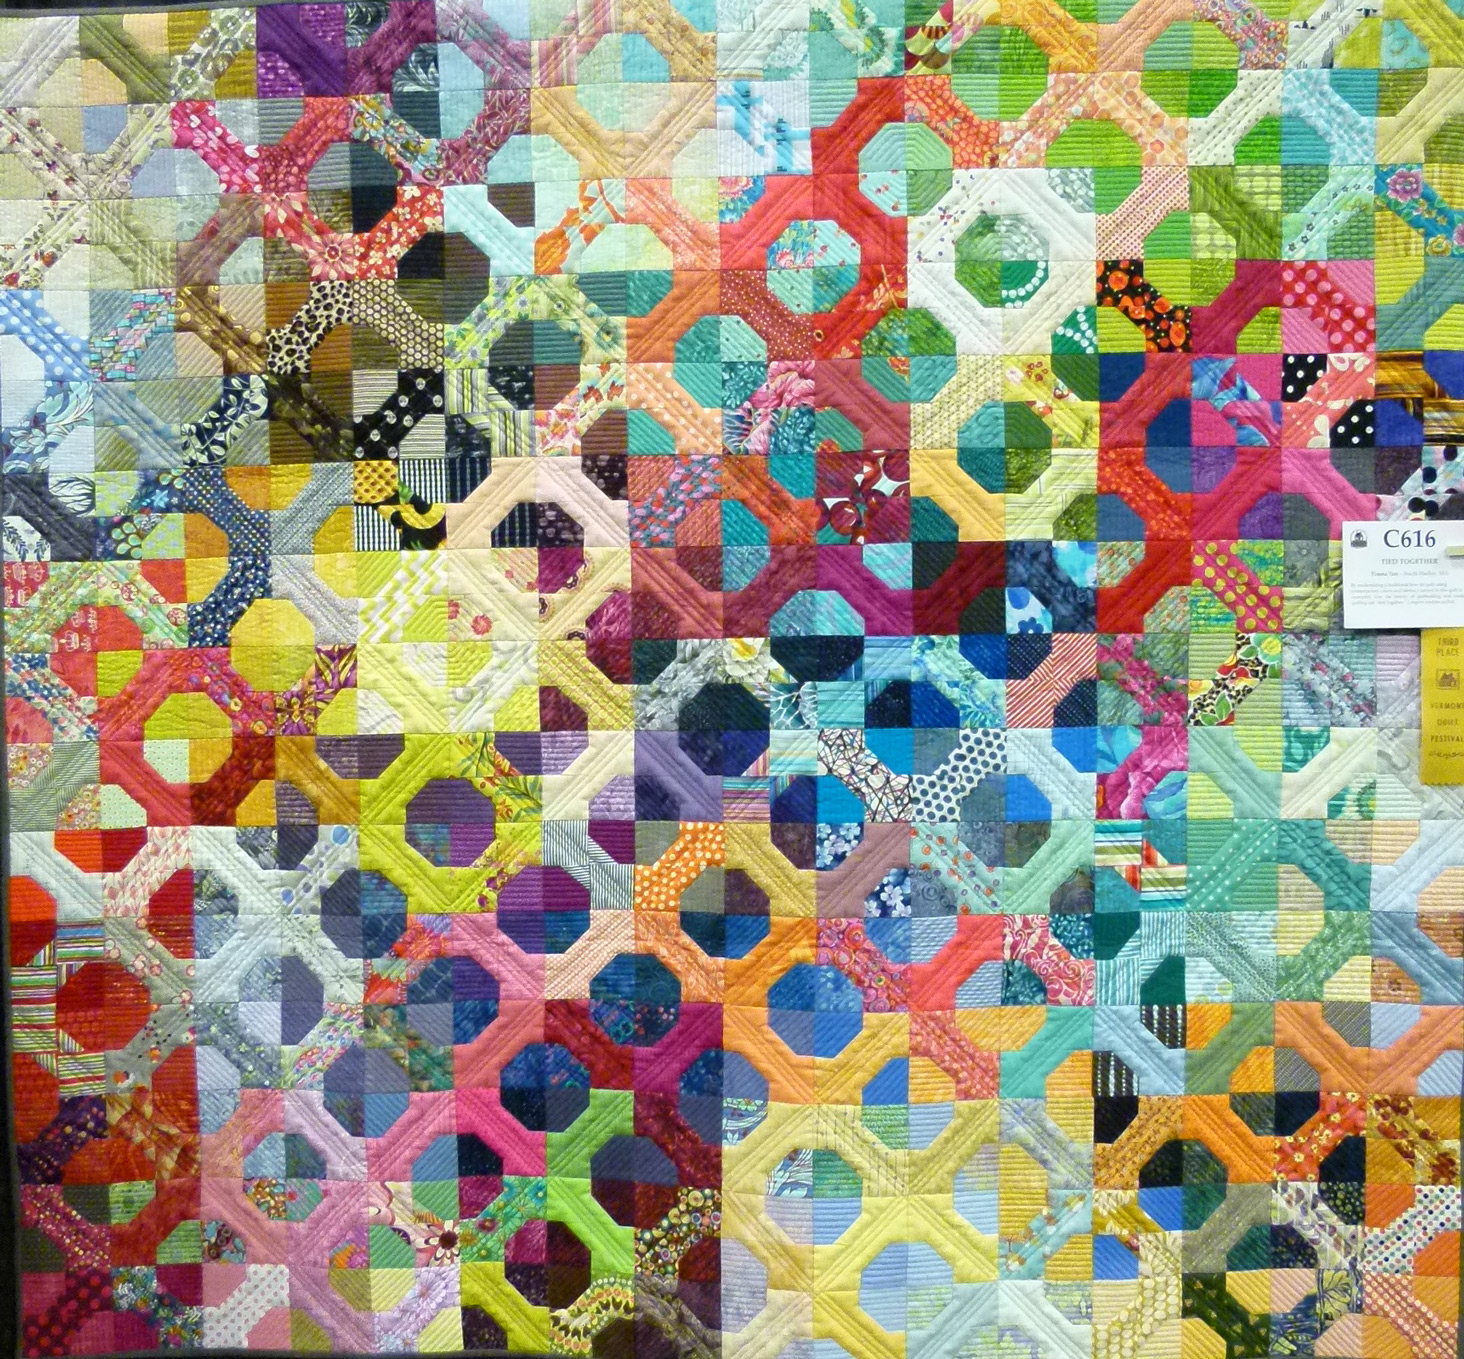
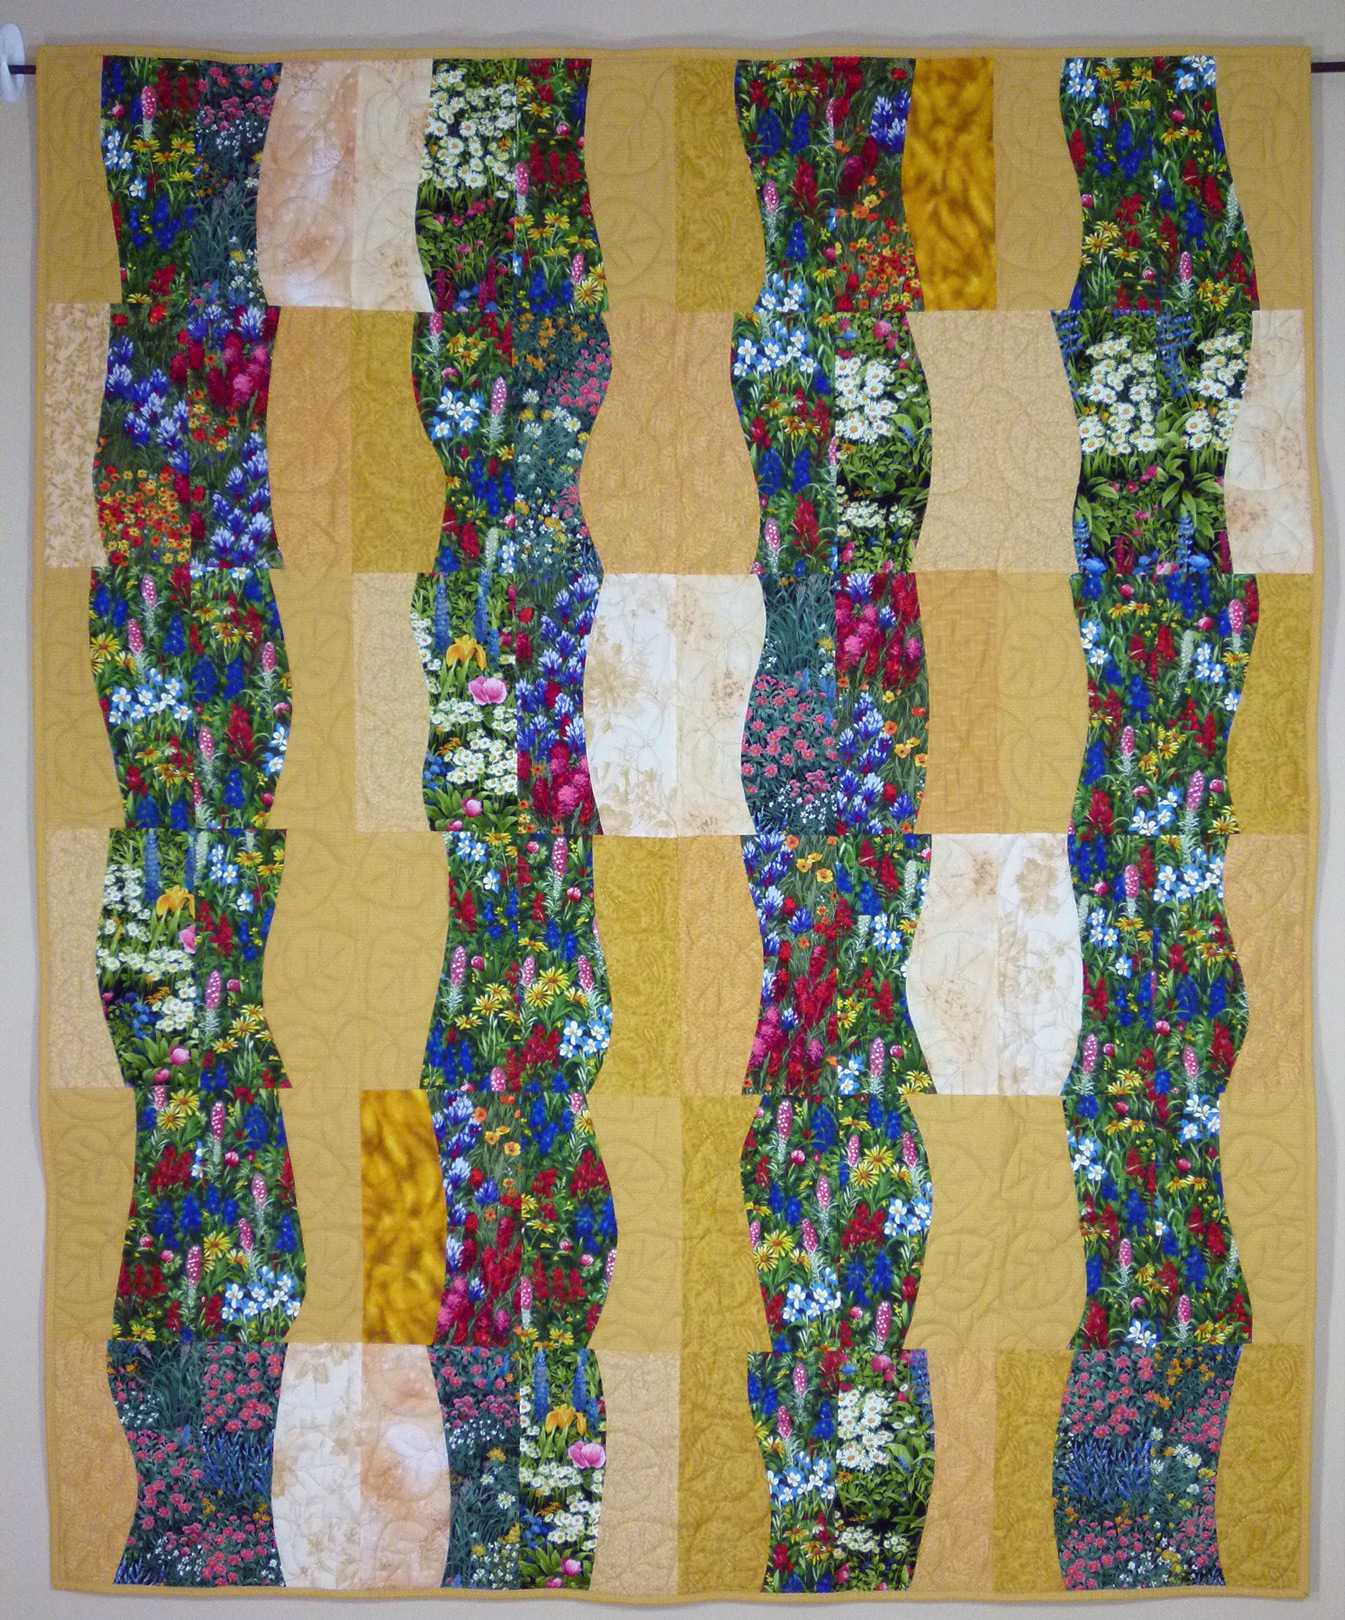
Delightful quilt from CutToPieces.blogspot.com
I started using Pinterest a while back at the urging of my daughter, and have found it invaluable. It replaces at least 3 scrapbooks/notebooks that have been floating around my house for years.
First, of course, Pinterest is great for quilting ideas! When I find something I love, I don’t have to bookmark it or add it to favorites to be able to find it again. I just pin it to one of my Pinterest boards–maybe Quilt Ideas, or Good Quilt Photos, or Design. Then when I wonder, “Now where did I see that great quilt?” I can flip through my Pinterest boards and find the picture, which in turn has the link to where it was found. This saves a LOT of fooling around looking for things on the internet and replaces the lists I had to keep previously. It’s even partially replaced the notebooks full of clippings I’ve kept for years.

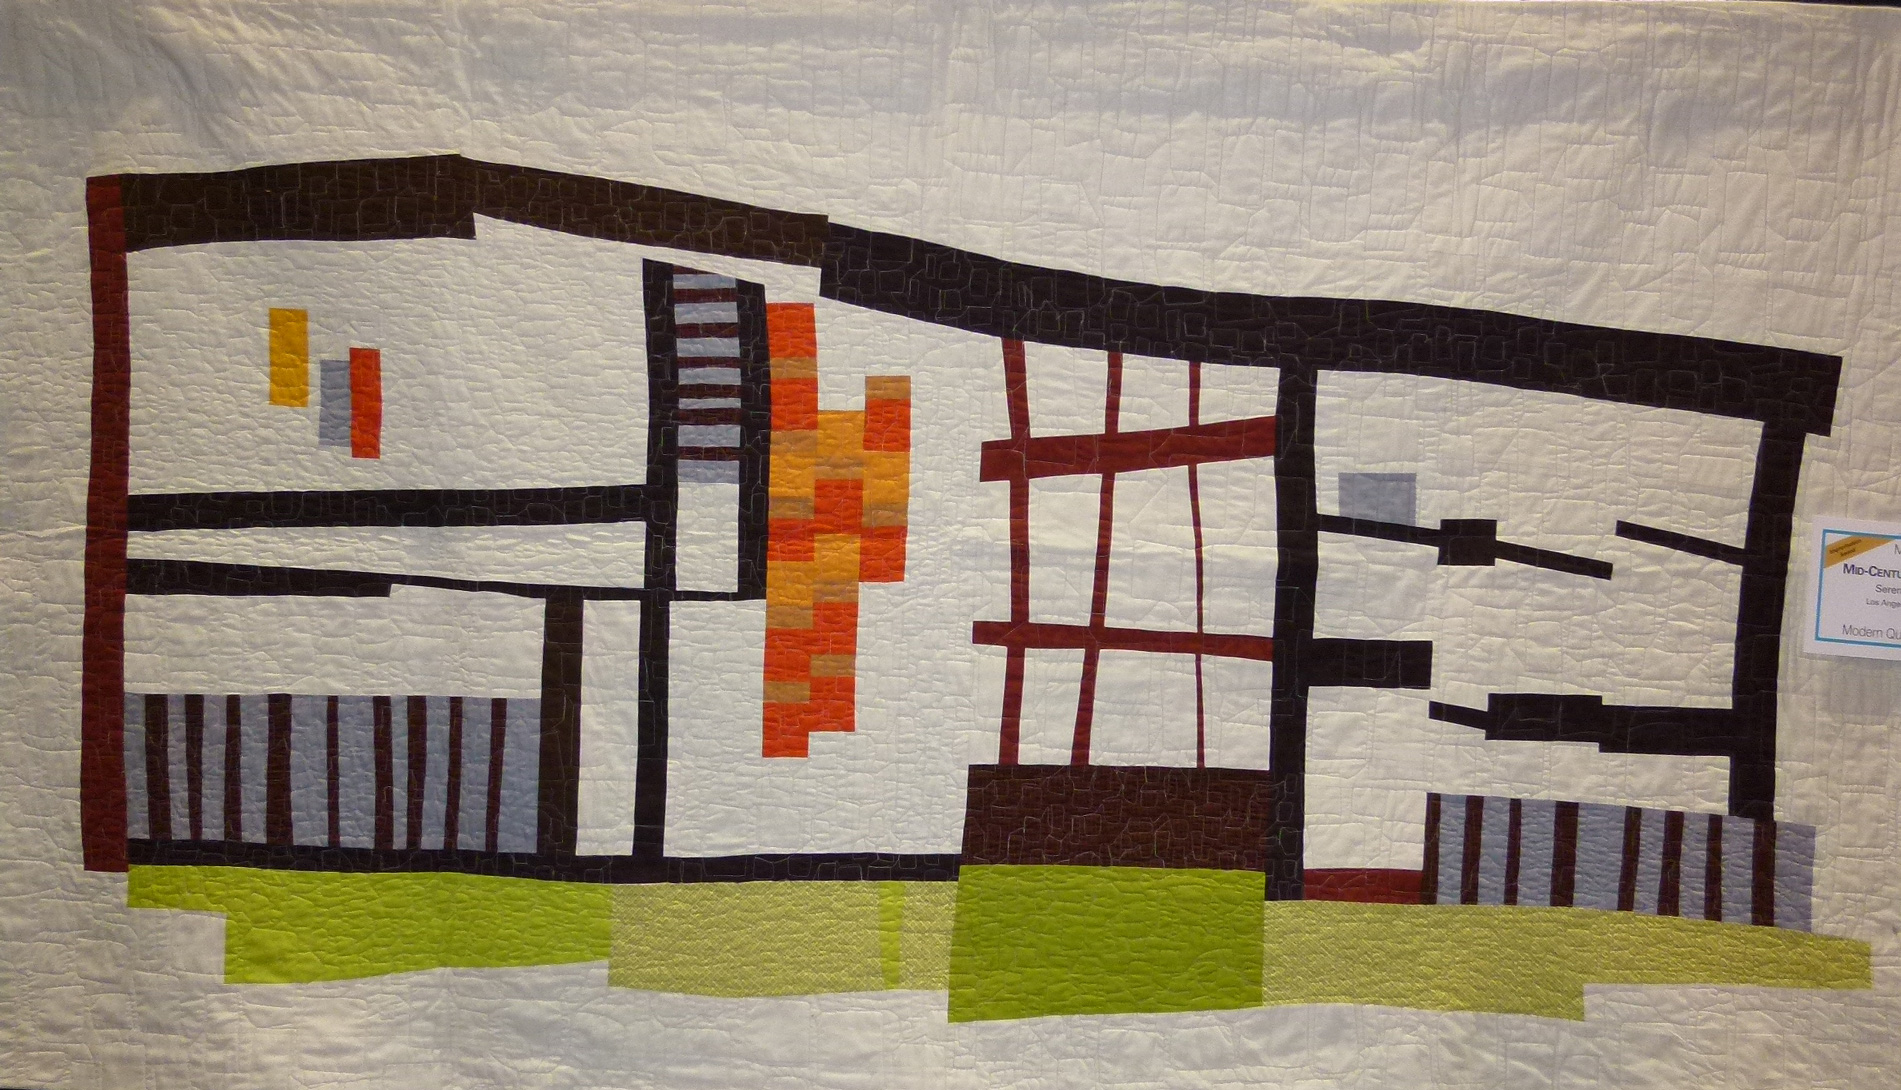
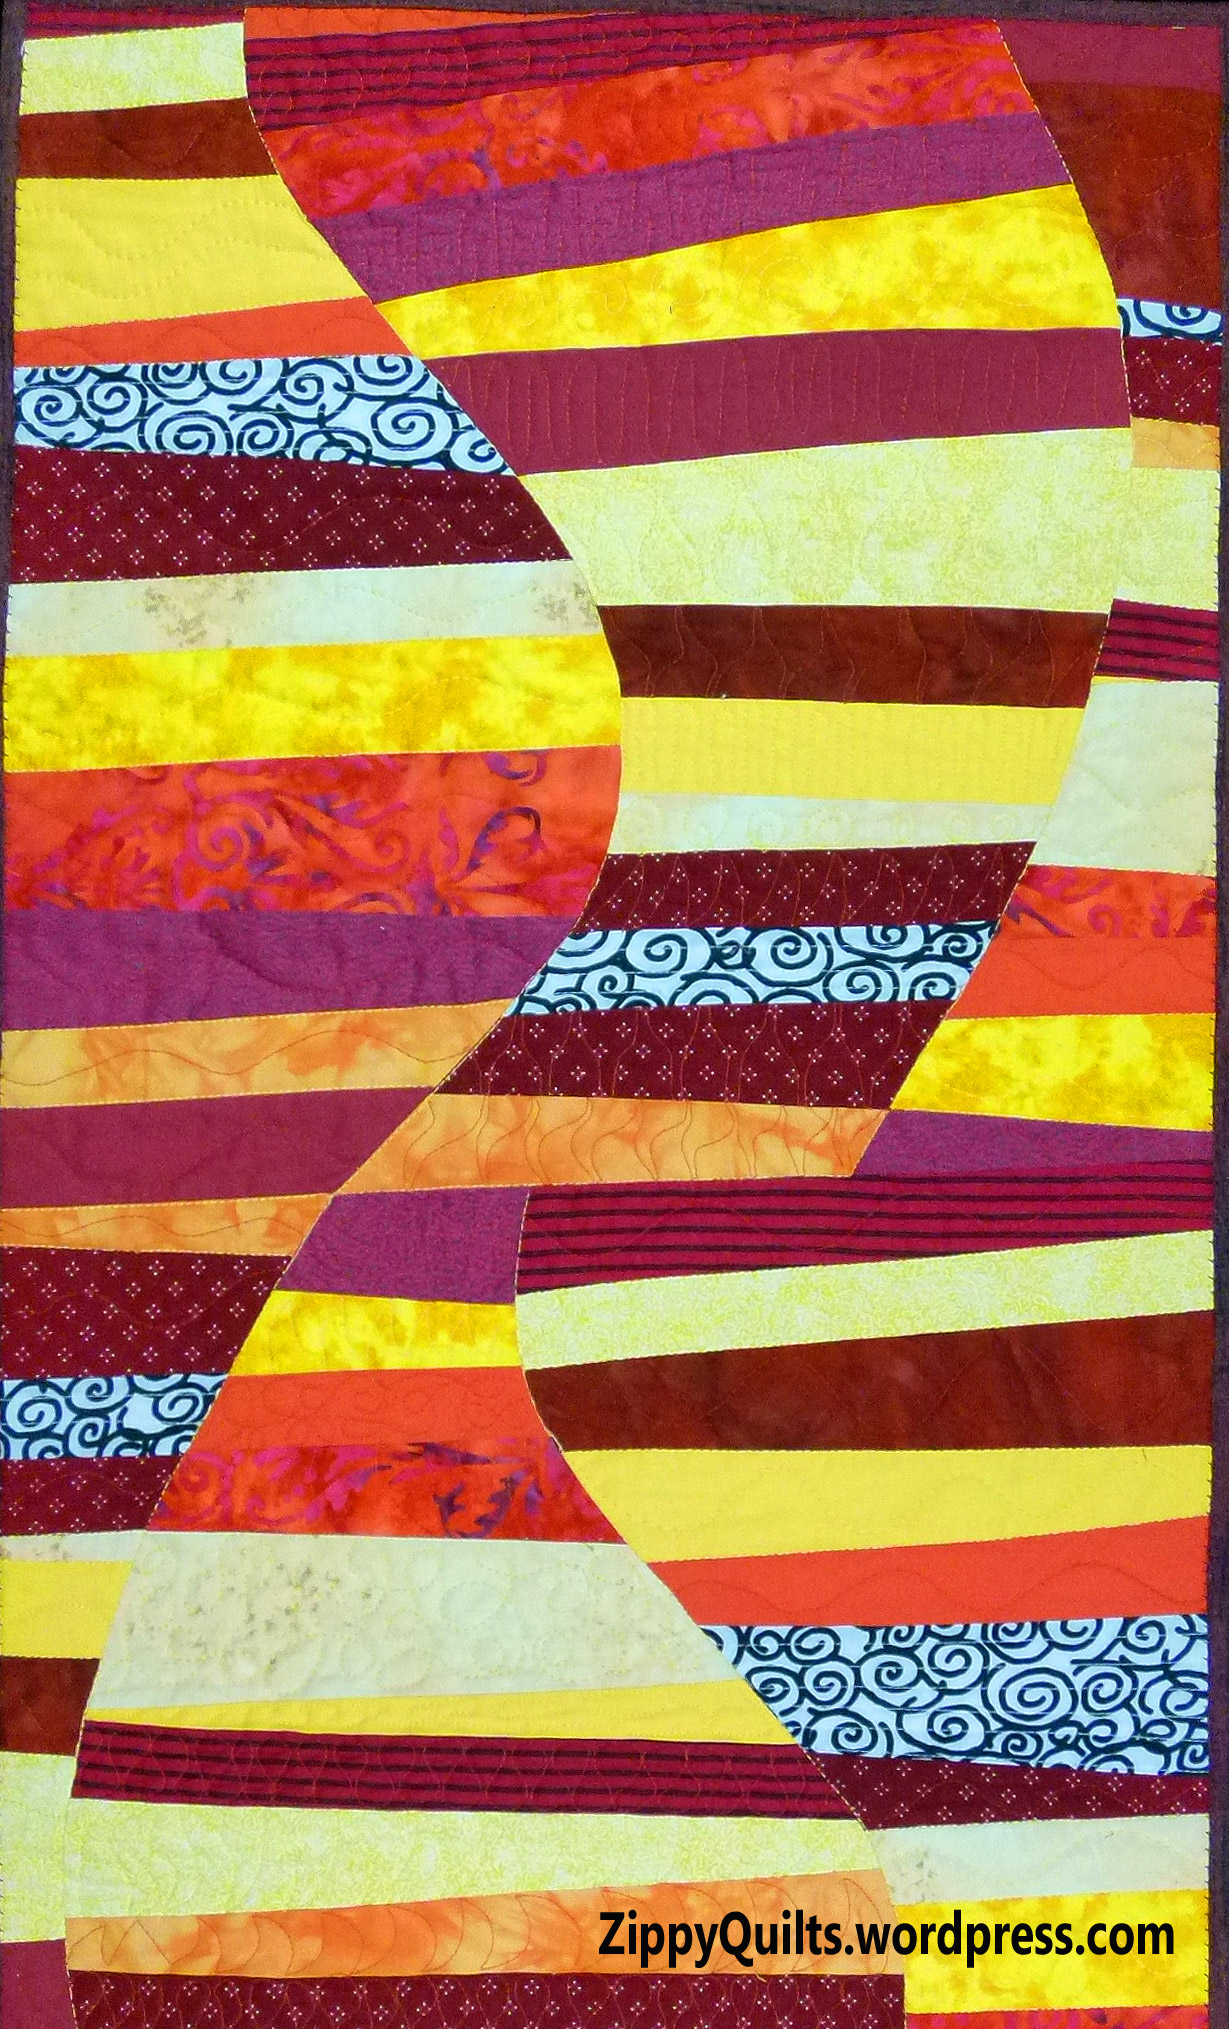
T-Perspective by Linda Rotz Miller
Second, Pinterest is great for finding other quilters, their blogs, etc. For example, I found the Cut To Pieces blog shown above because I admired one of the quilts from the blog I found on Pinterest. But there’s more! When you find someone whose taste is similar to yours (based on the pins you find from him/her), you can “follow” that person or just some of that person’s boards on Pinterest and get lots of great new pictures that he/she found. For example, I found the picture here on the Pinterest page of Tricia Royal, a quilt artist from Chicago, so now I follow several of her boards. You can also follow your friends’ boards to see what they’re pinning. In fact, if you see something they’re pinning it may give you an idea of what they’d like to have for the next birthday!

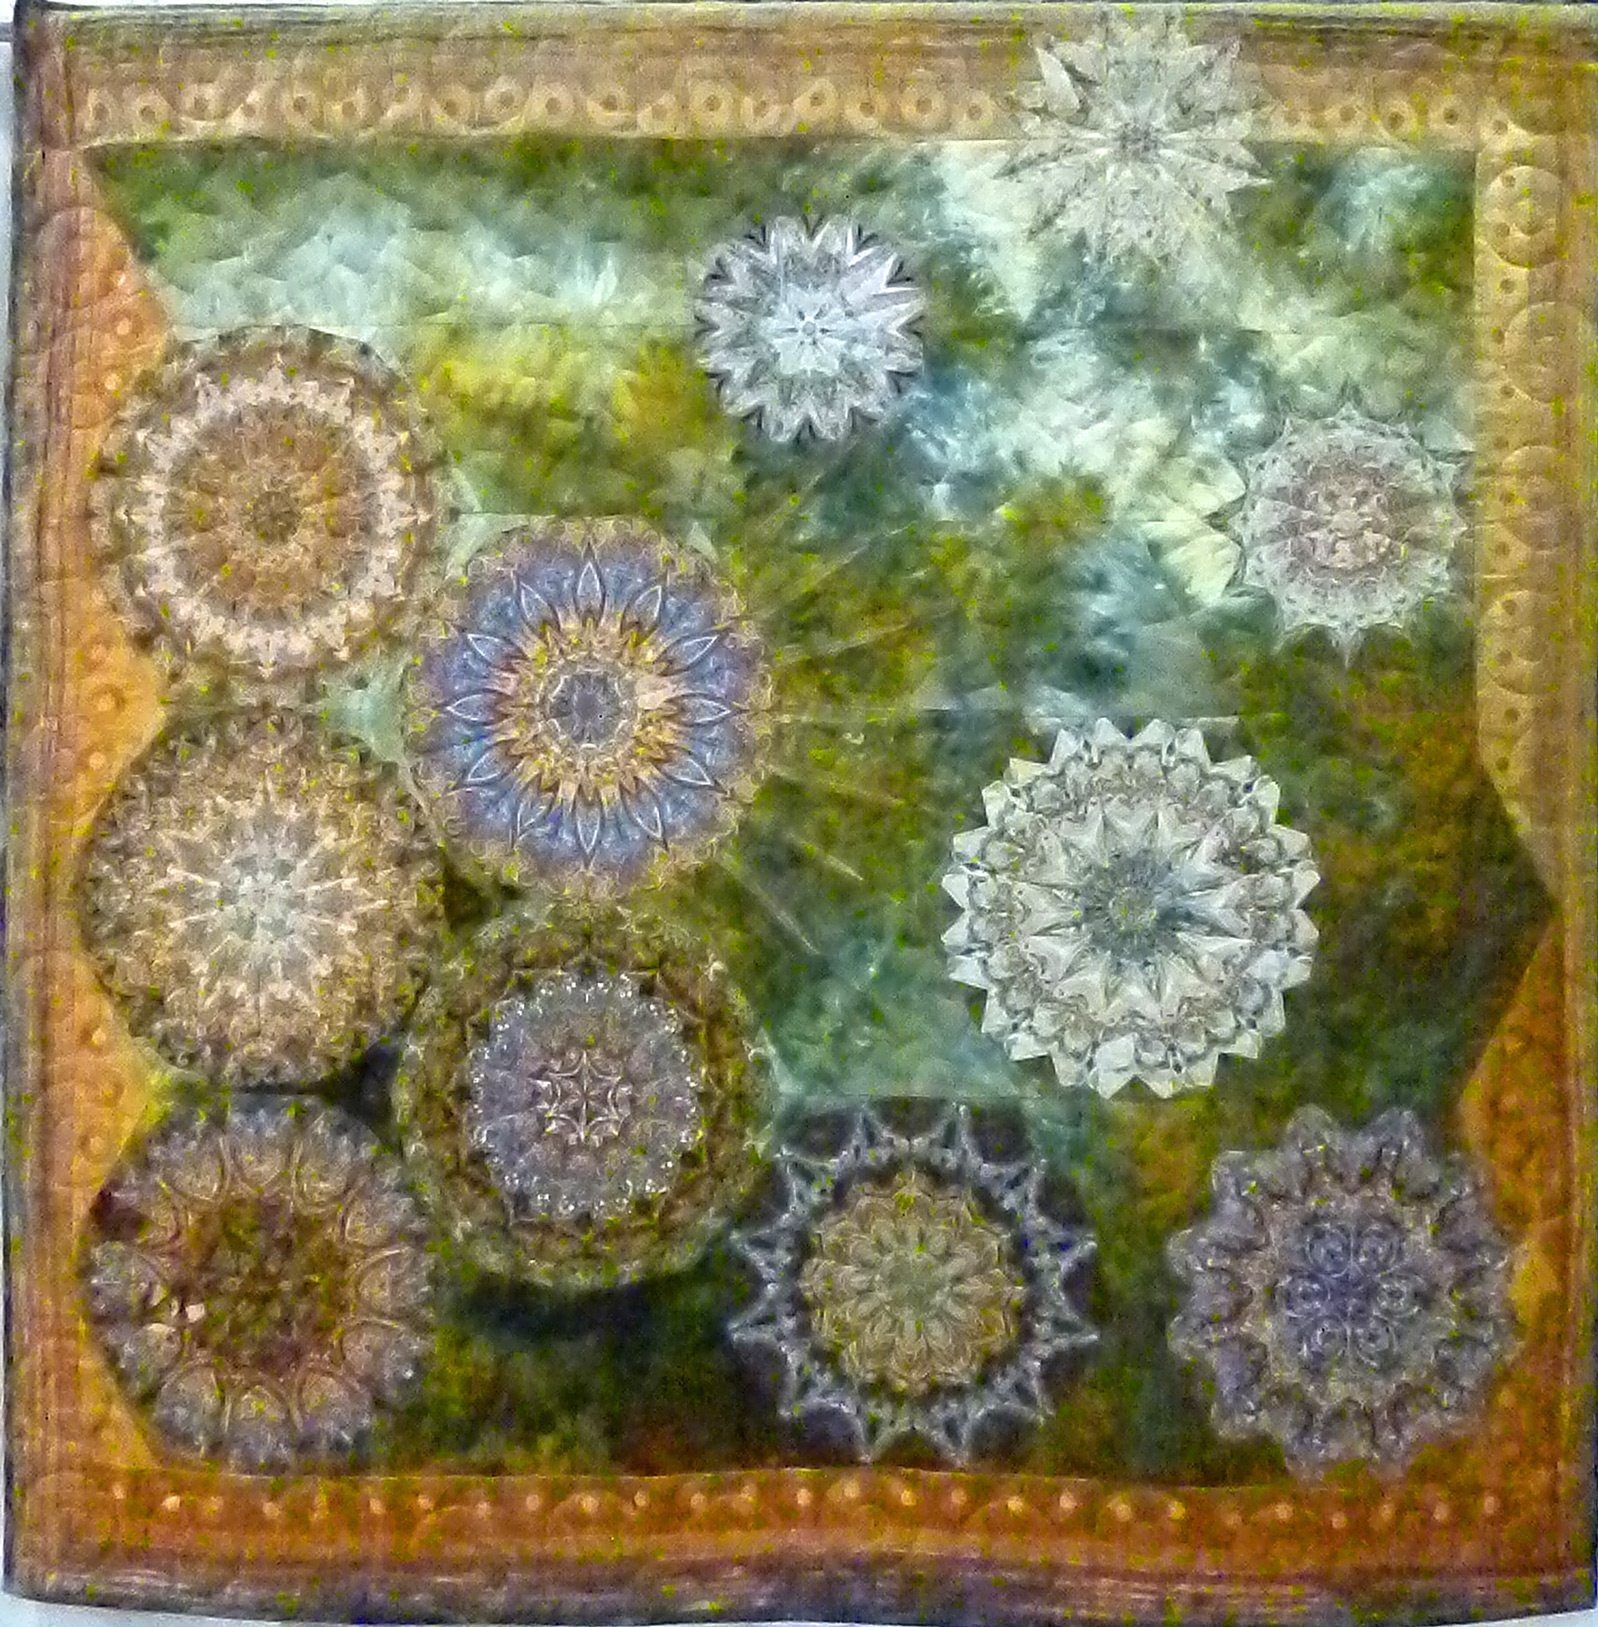
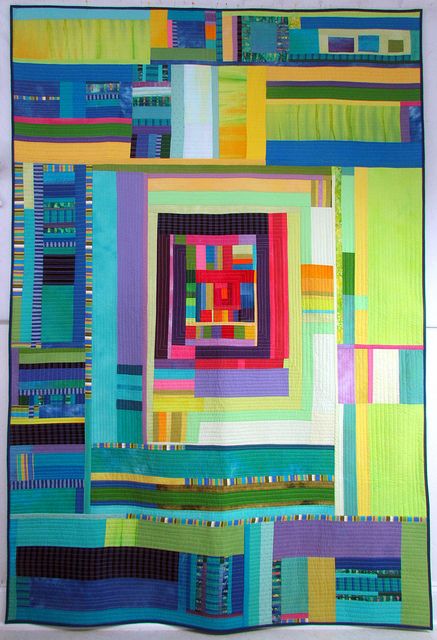
Terrific design from Melody Johnson Quilts
Finally, you can simply search Pinterest when you need inspiration. By putting “modern quilts”, “colors”, “art quilts”, or whatever into Pinterest’s search box, I’ve found many, many fun ideas. It’s a great amusement in waiting rooms, while enjoying a second cup of coffee, or when in need of new ideas. As a commercial for a product I’ve long forgotten used to say: “Try it–you’ll like it!”