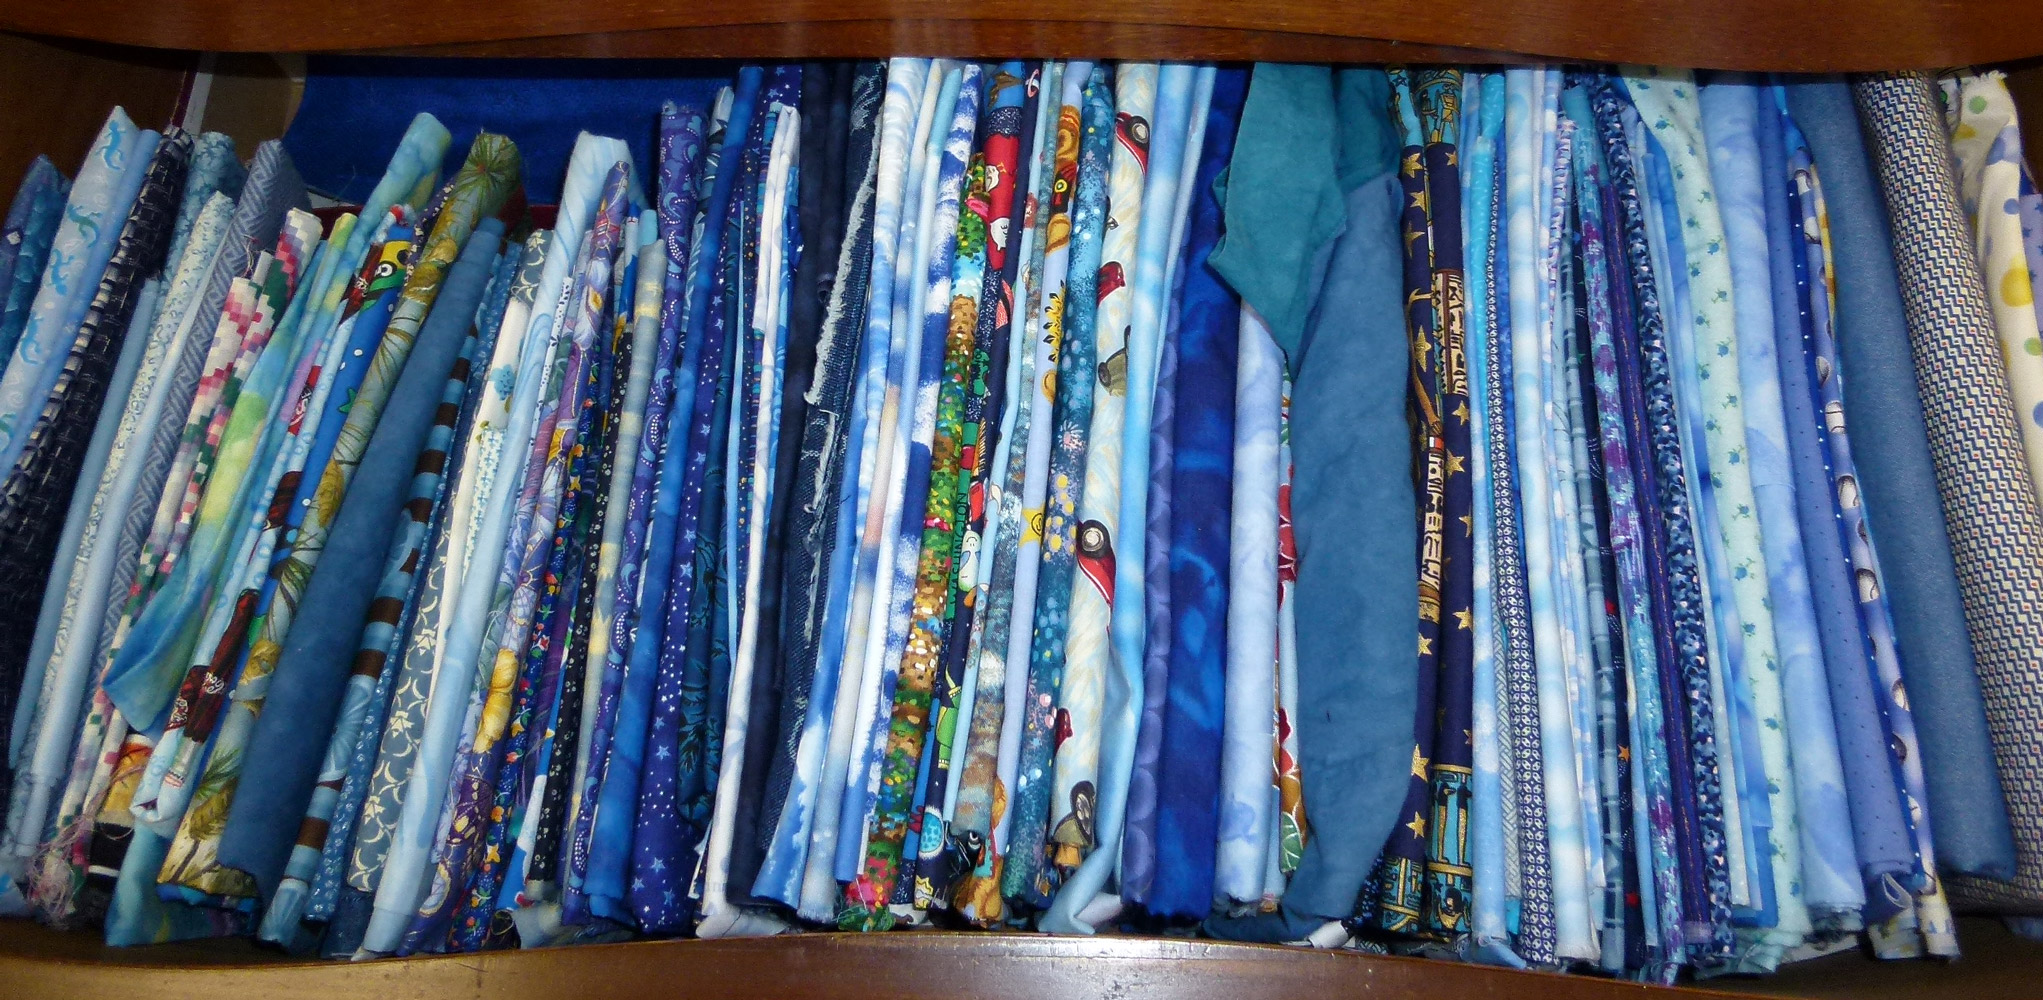
Most of us build our stashes like a king hoarding treasure. Look! I have a whole drawer

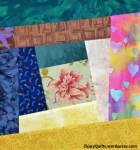
Stash overrun
(shelf, bathtub) of blue fabric!! And here’s a sale on solids so I can have a whole shelf of those!!! If you’ve been quilting long, you KNOW what I mean!
Unfortunately, stash can be like so many other possessions:
When you buy something, you may own it, but FOR SURE IT OWNS YOU.
And mind you, this stash habit is not unique to quilters! I know people who have LOTS of wood, stamps, antiques, beads, beanie babies (true story), candlesticks, tools, marbles, books, you name it. Some of these people ALSO have lots of fabric 🙂
But you may have too much fabric if—
- You have to move a pile of it to make room to start a project
- You have to find places for some of it outside your studio (in the guest room bathtub, in the tip-top kitchen cabinets, on shelves in the garage…)
- You have more yards of fabric than you have days of remaining life expectancy
- And (most important), you have decided that you MUST put a moratorium on fabric purchases (oh, woe!)
SO: What to do?
Here are a few ways to deal with a big stash (and my friends and I have used them all):
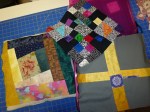
- Trade with friends. For example, you bring a big stack of fabric you MIGHT be able

Make iron-on ties for t shirts and onesies from your stash
to part with to your next quilting bee (retreat, guild meeting, whatever) to swap for things other people bring.
- Make donation quilts.
- Make pillowcases to give with your donation quilts
- Make pillowcases to donate to the One Million Pillowcase Challenge
- Make quilts or pillowcases for every family member you’re still speaking to (EXCEPT for the one who put the last quilt outside in the dog house to keep the dog warm!)
-

Apron, though not the one I’ve linked to
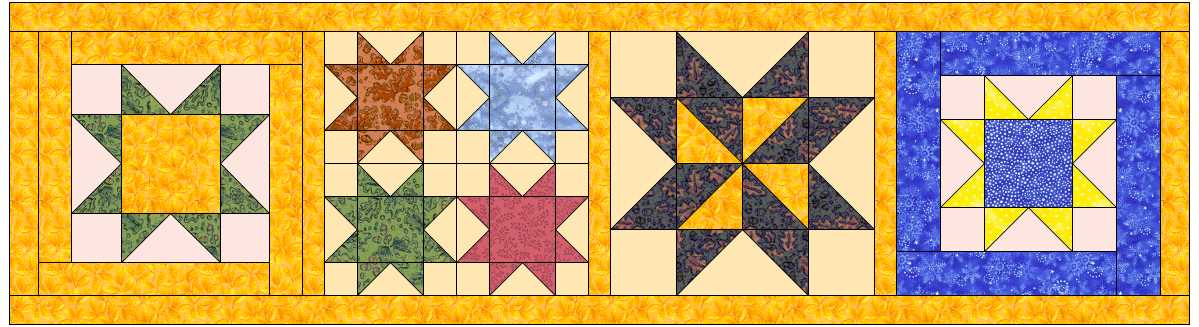
Make blocks and use them in the orphan block projects I blogged about recently here
- Make gift bags in ALL sizes! Yes! No more wrapping paper!
- Make tote bags for your friends and for yourself—no more plastic grocery bags to get rid of!
- Make pot holders (use Insulbright)
- Instructions HERE for making an iron caddy (for when you need to transport a warm iron home from a workshop)
- Instructions HERE for making an easy one-yard apron (think hostess gift!)

Table runner made from a strip of leftovers
- Make placemats and table runners as hostess gifts (lots of commercial patterns and free instructions available on the internet)
- Keep reading this blog–more ideas coming up!
- You can even donate fabric to organizations that make pillows for chemotherapy patients, Quilts of Valor, etc, etc


There are MANY more fine possibilities! Please leave your suggestions in the comments for others to enjoy!
Happy quilting!