I love designing quilts and making my own designs, but I also enjoy making quilts from outstanding designs by other people. I thought I’d list a couple of my favorites, and I hope you’ll let me know (in the comments) what some of your favorites are, too.

A floral quilt made from Lucky Stars by Atkinson Designs
A favorite quilt pattern for me should be striking in appearance, should have foolproof instructions [because I certainly could be a fool on any given day ;-)], and should be something that makes me say, “I wish I’d thought of that!”
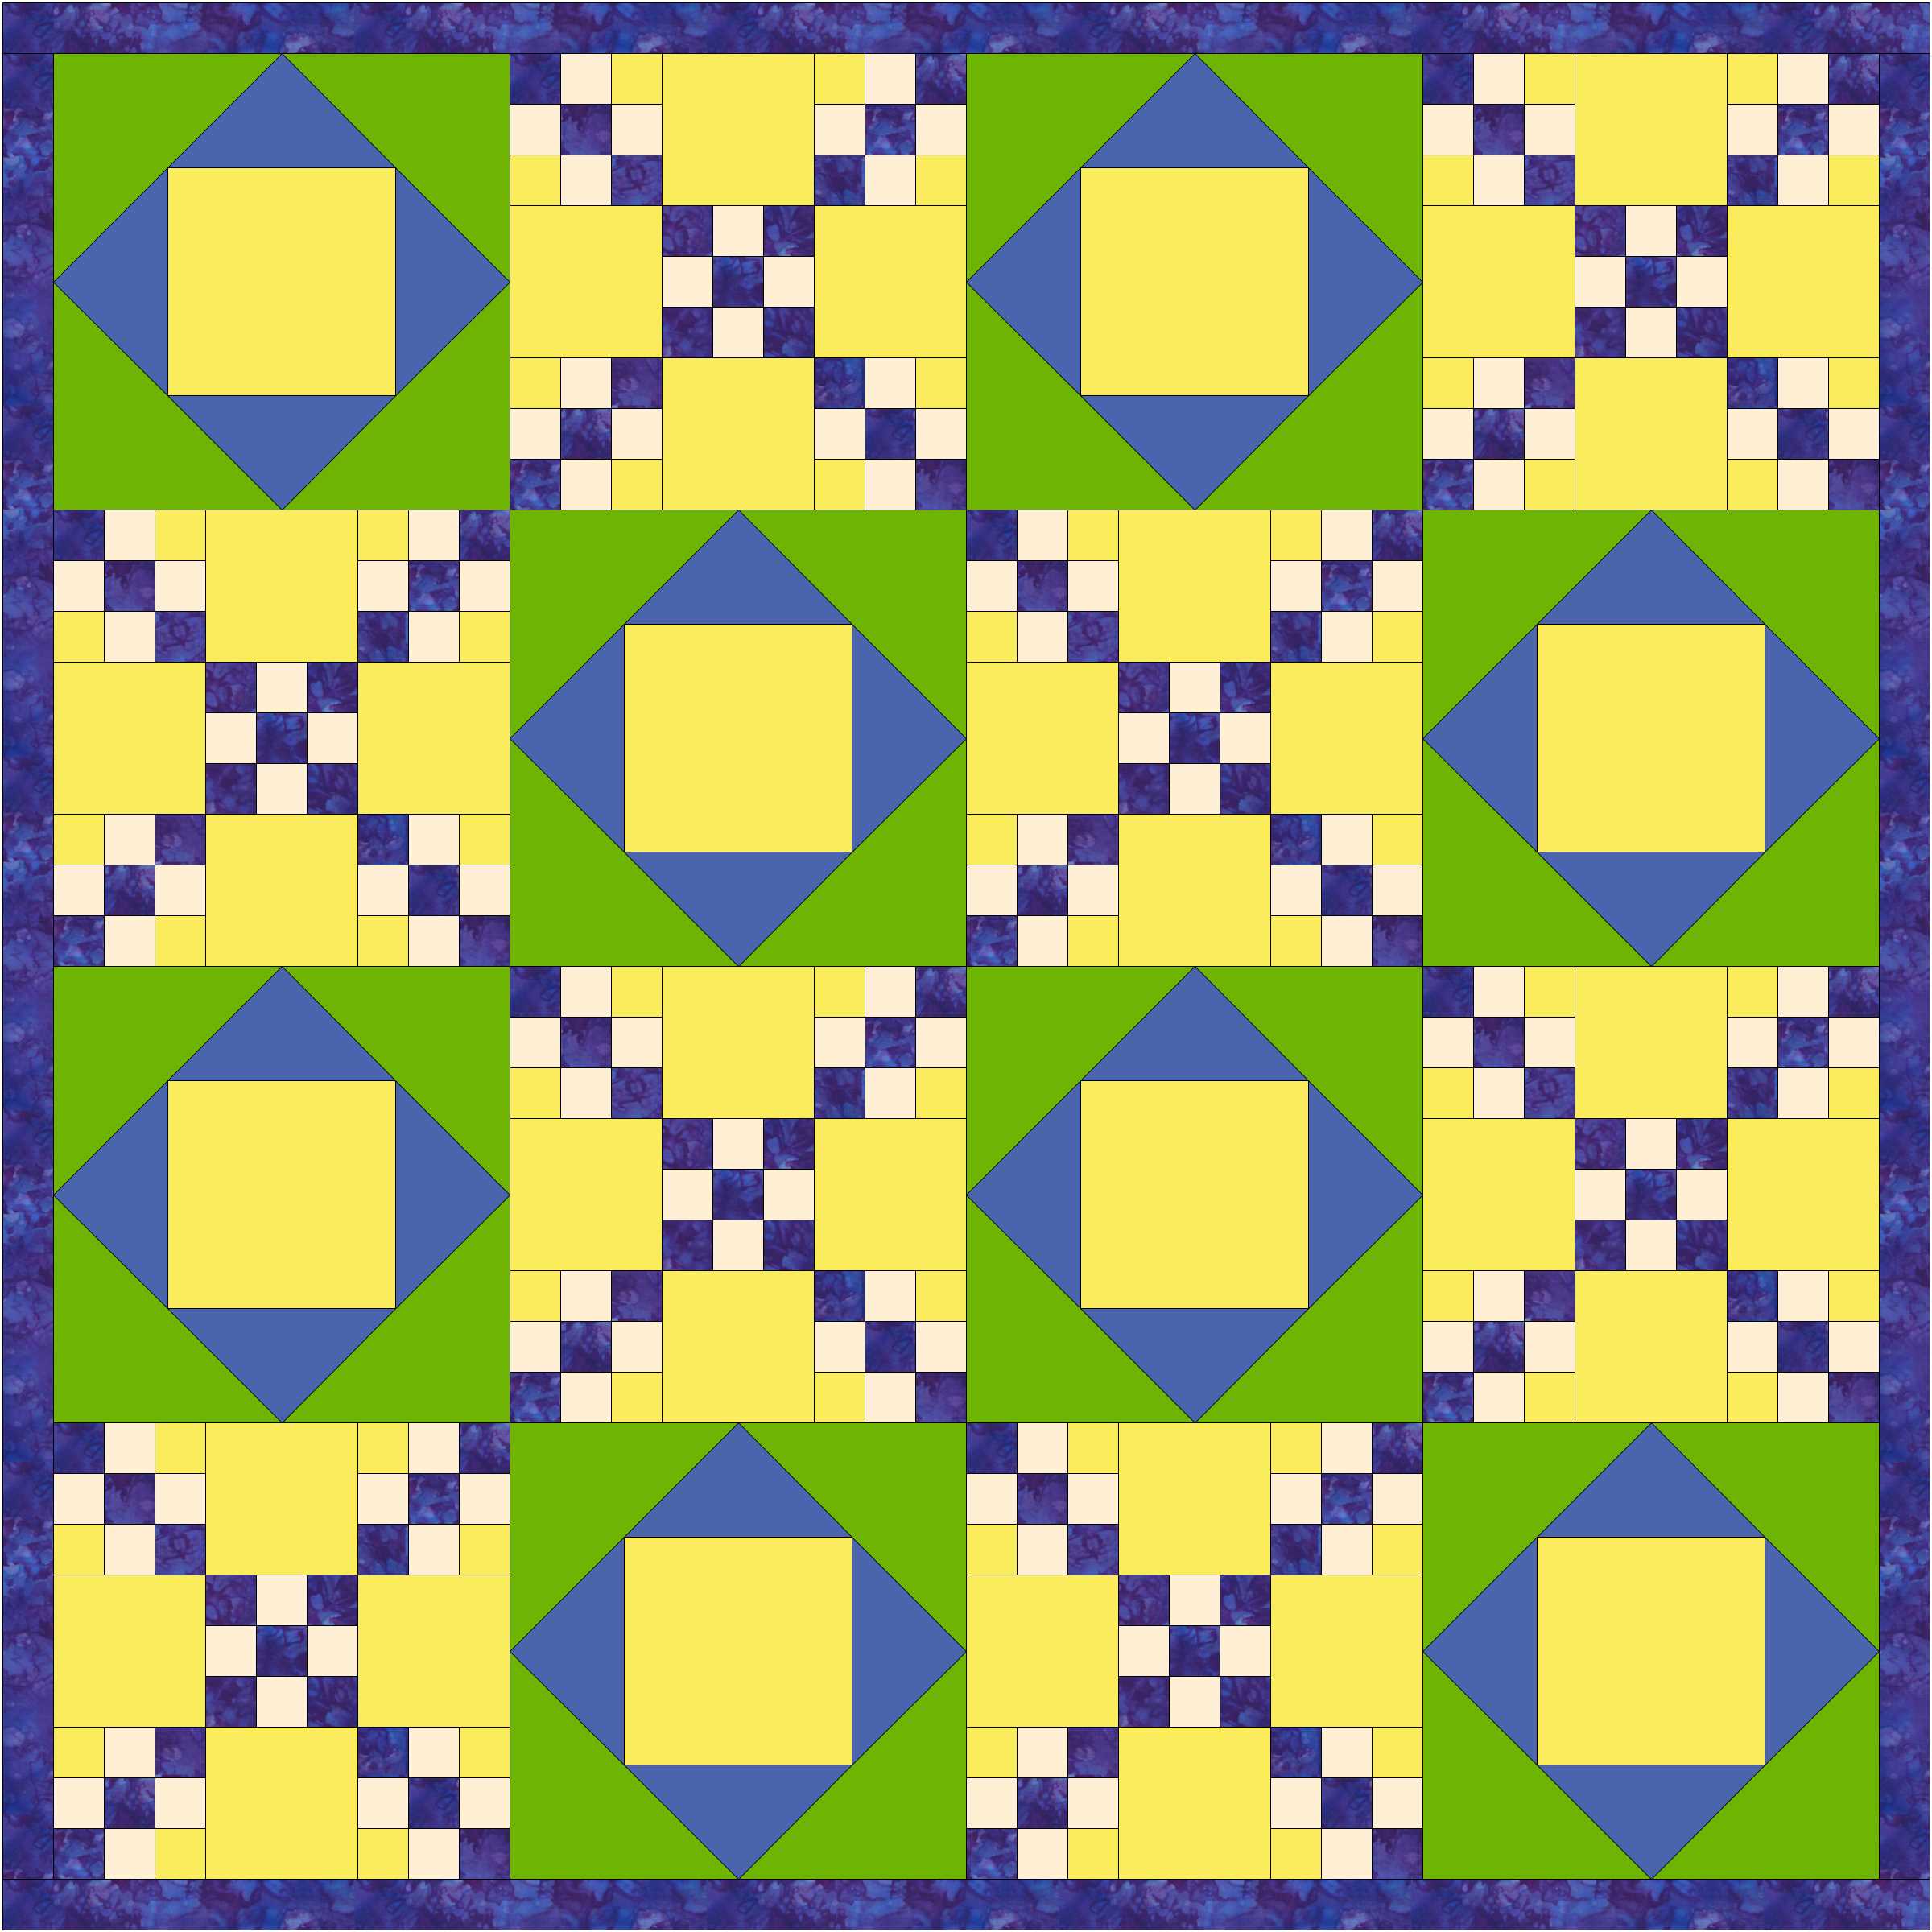
Lucky Stars by Atkinson Designs. This is the first quilt pattern I ever bought, though far from the first quilt I made. When I started quilting, I just decided what I wanted, drafted the pattern,and then made it. Buying this pattern was a revelation! Such great instructions! Such great results! And so little effort compared to what I’d been doing! I’ve made this pattern several times, and the recipients have loved every one of these quilts. I’ve also used this to teach “Make Your Second Quilt” for advanced beginners, and the students loved it, too.
-
- Lucky Stars in Batiks
-

- A baby quilt from leftover blocks
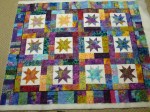
I LOVE any quilt with concentric boxes, and having them in multiple sizes and bright colors is just the BEST! This quilt pattern is Outside the Box, by Rose Mason. I put 4 of these together to make a queen quilt for a friend’s daughter when she got married, and it worked out really well.

Outside the Box, pattern by Rose Mason
And even that didn’t wear me out on concentric boxes! I’ve made many more, both from patterns and my own designs.
Please leave a comment telling me what your favorite patterns are, and I’ll pass along the love in a later post.

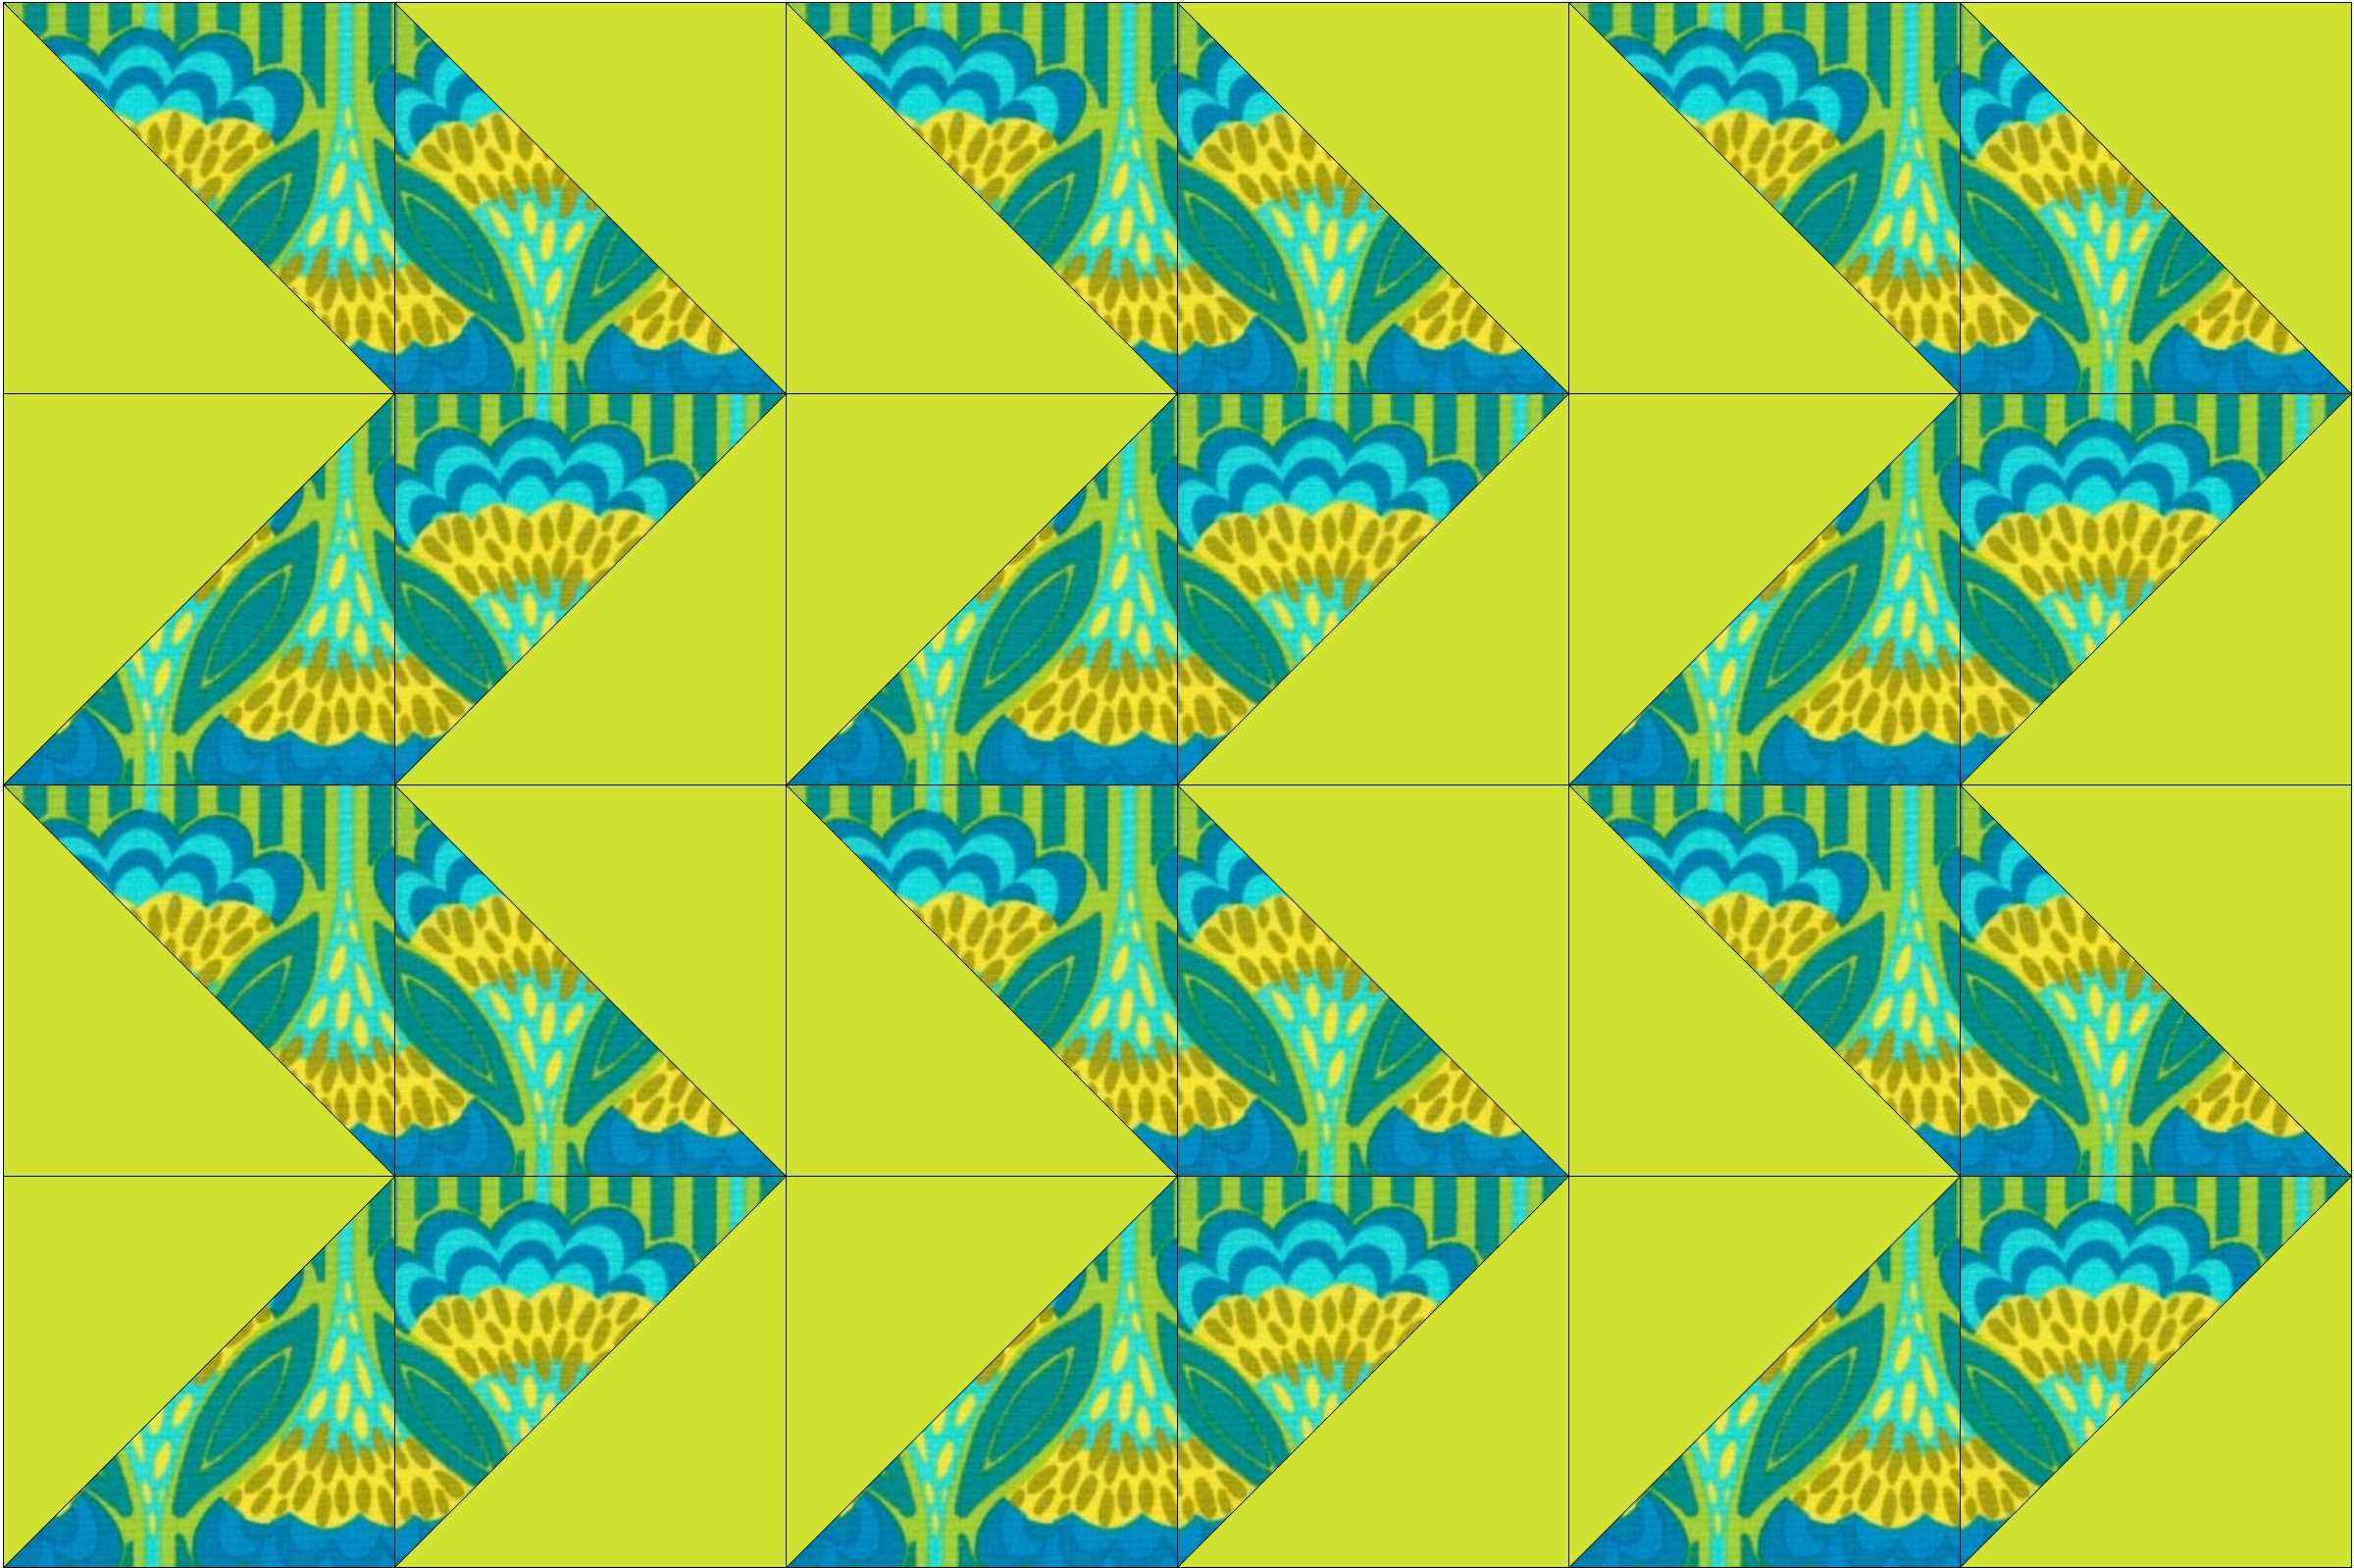
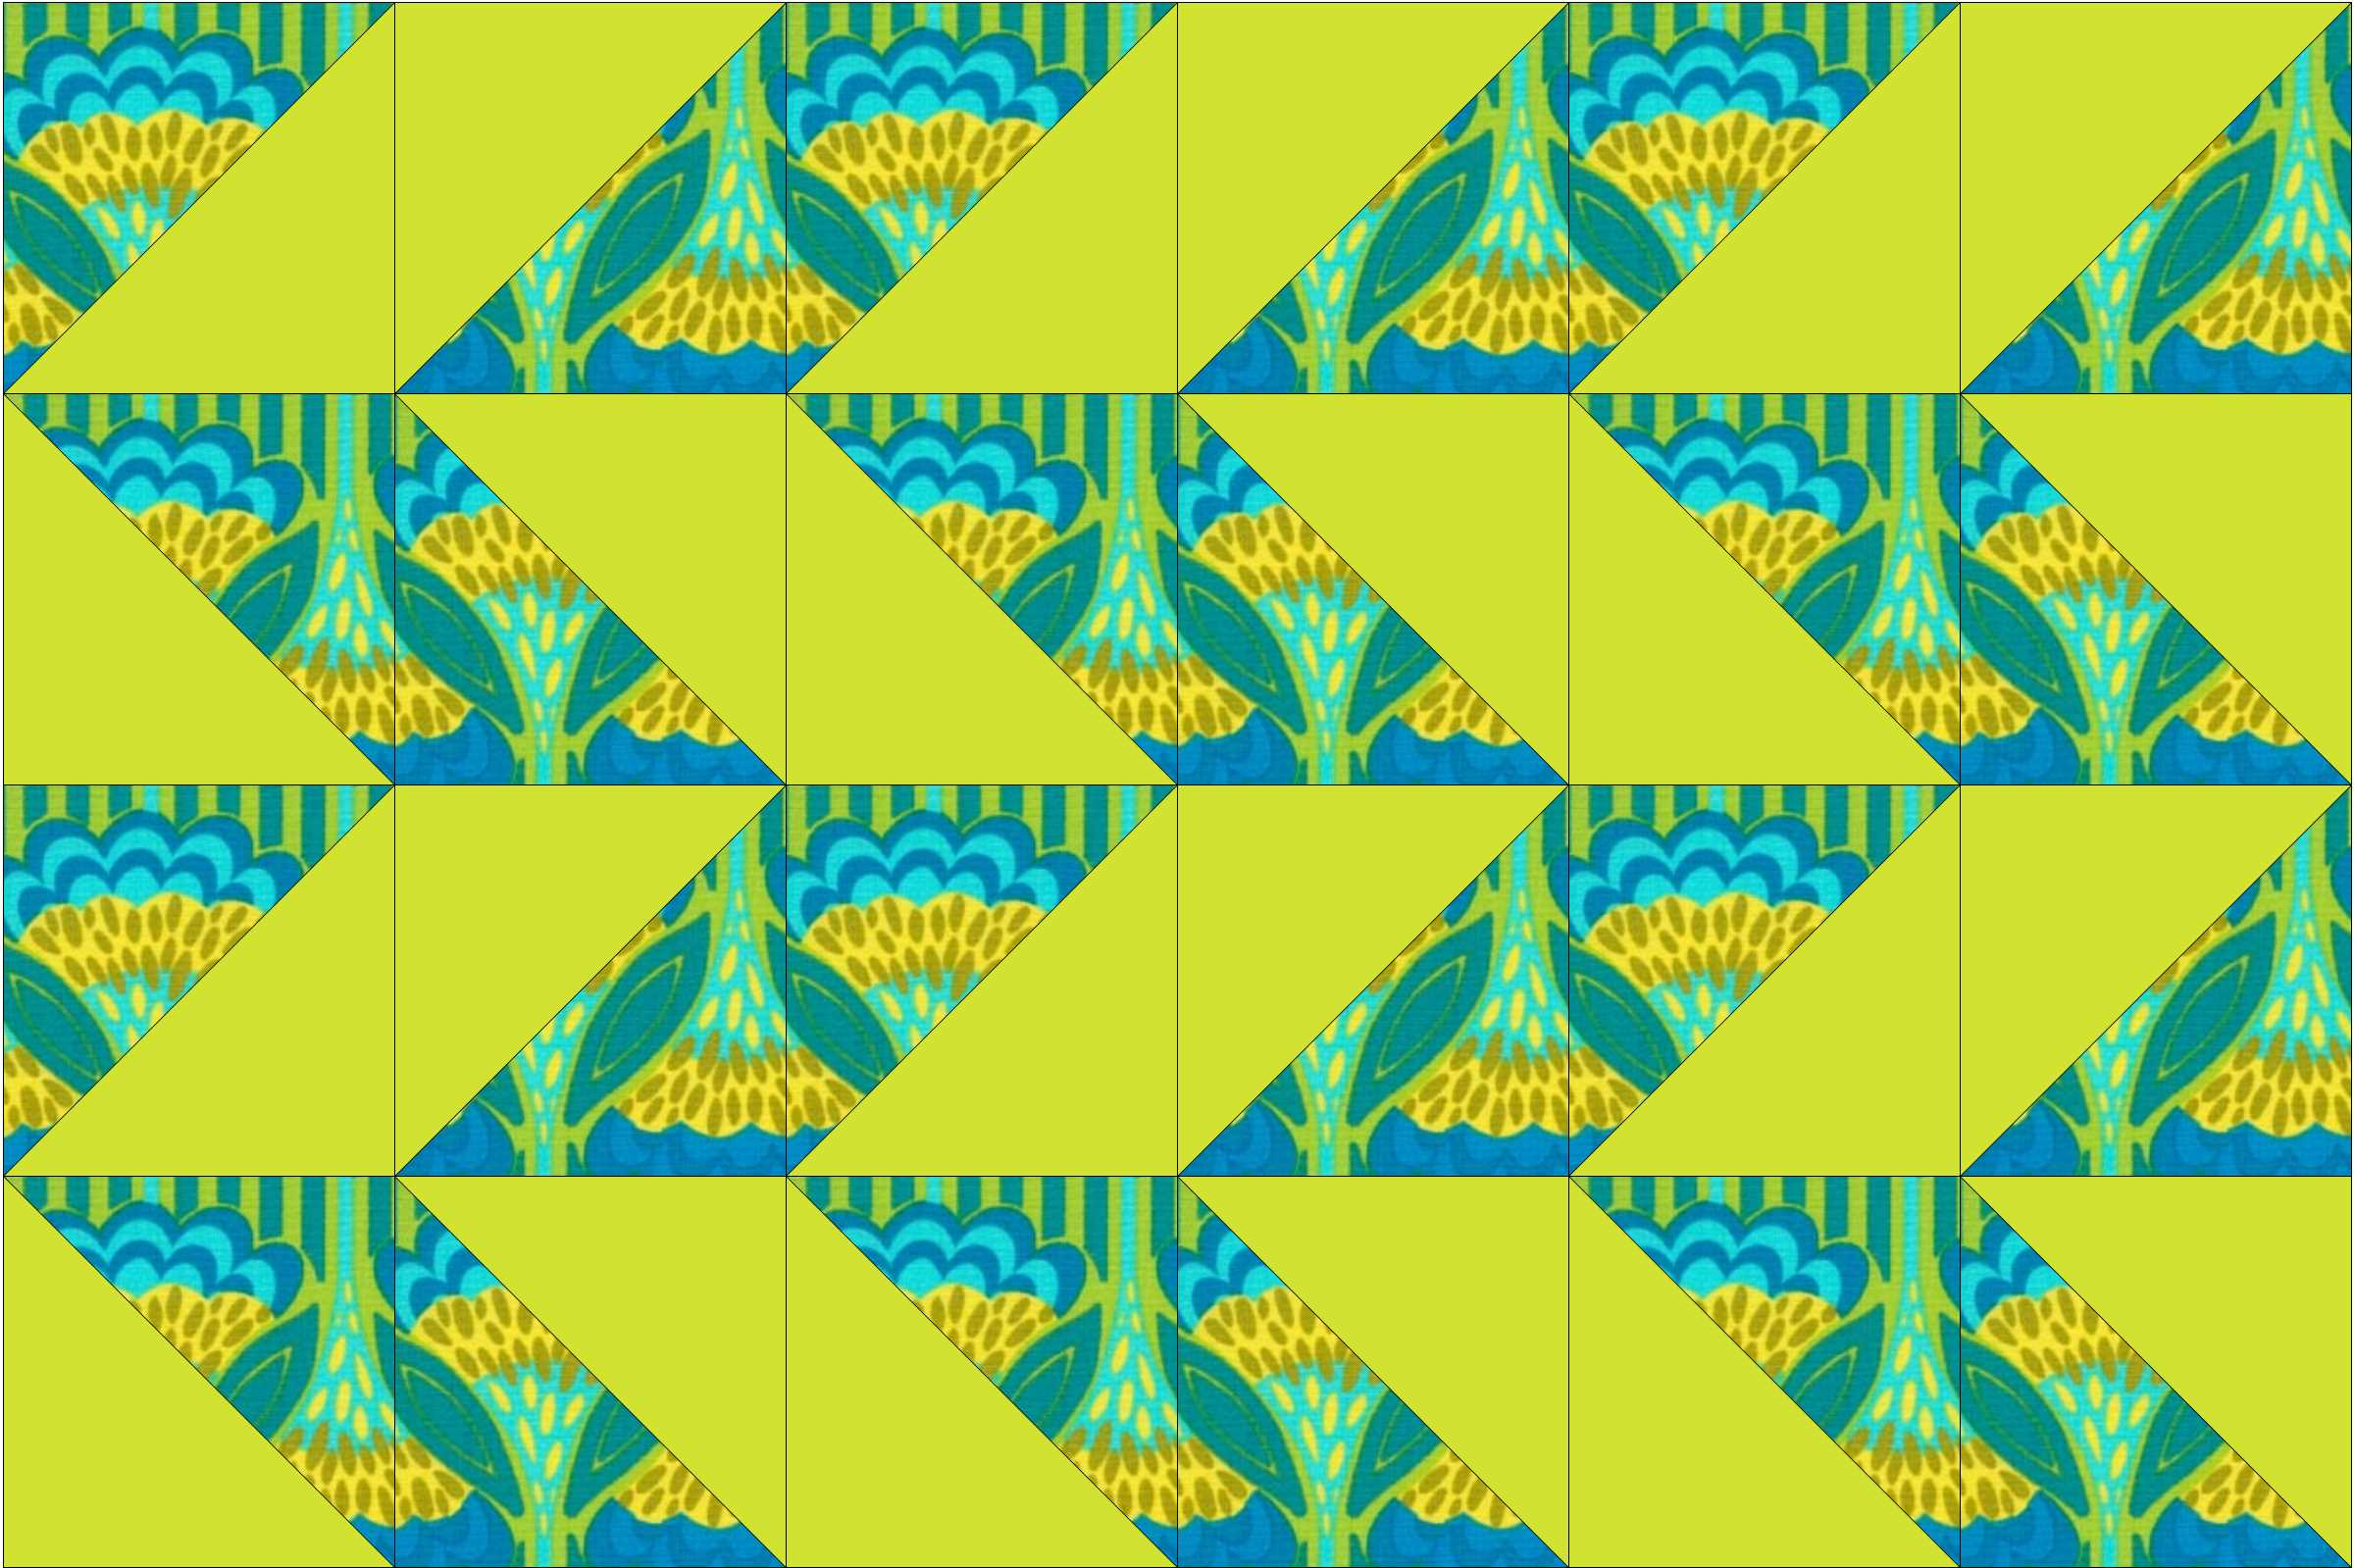
Happy Plaids is my own design, but there are MANY similar quilts out there