Last weekend we had the opportunity to see some of the Orange County Artists Guild open studio tour. Our first stop was at the studio of Susan Brubaker Knapp, who makes really remarkable quilts. She also hosts a quilting art TV show, which is how most people know her.

Susan in her studio
Susan is a gracious hostess, and answered many questions for both me and the non-quilter friends who were with me. Her work is absolutely amazing!

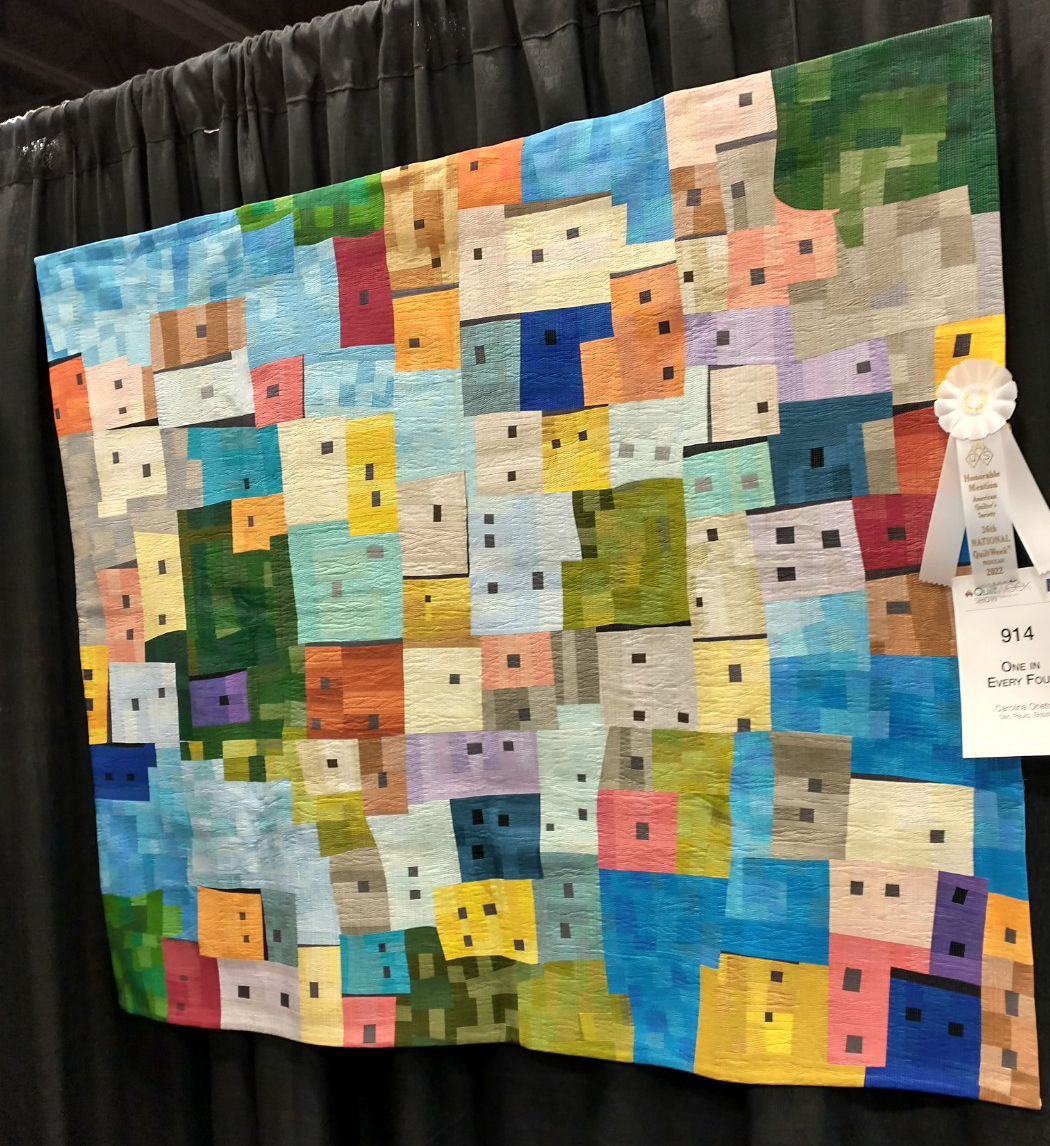
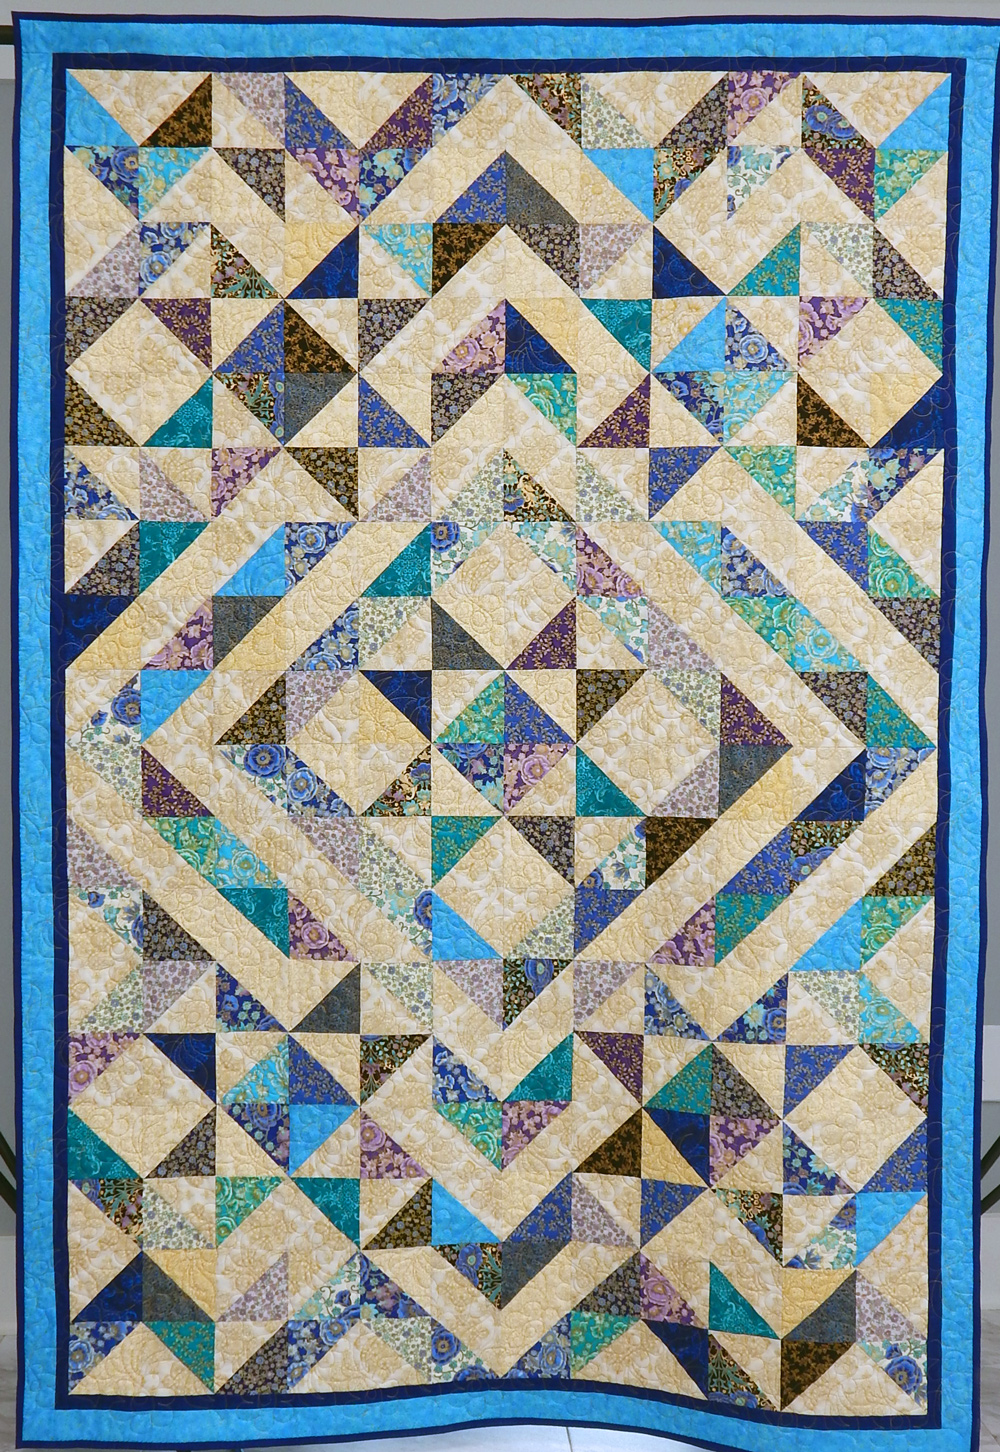
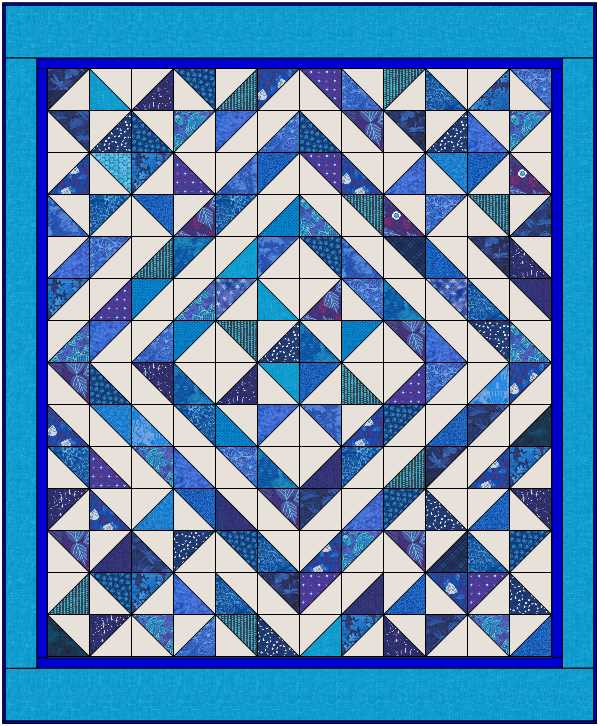
One of Susan’s beautiful quilts
She discussed her methods, which you can read more about on her website. She also hosts Quilting Arts TV, so that’s another useful resource if you’re looking for information on how to make art quilts. A lot of her quilts are whole cloth works, painted with textile paint and then extensively quilted on one of her Bernina machines. The quilts are based on her own photographs, and she often begins by tracing a photo on white fabric.

The sheep quilt is amazing, and Susan loves chickens so she has them in a lot of quilts

The body on this butterfly is 3-dimensional
Here are more photos Susan allowed me to take during our visit. Please note, however, that she copyrights her designs.

I am in awe of Susan’s detailed work, and it was lovely to get to visit with her. You can find her teaching schedule on her website if you’re interested. When I expressed amazement at her free motion quilting, Susan pointed out that she has thousands of hours of experience with it! Nevertheless, her skill is amazing.

Poke weed is a native plant and is well represented in this quilt

This is my favorite! I’m happy to say that pitcher plants can grow in the yard here given the right conditions.

Here’s the back of one of the quilts so you can see Susan’s amazing free motion quilting

Of course every quilter needs a vintage machine on display in her studio
You can see much more extensive pictures of her studio on her website, here. Additionally, she has several tutorials on her techniques. You can also visit her blog and subscribe to keep up with what she’s doing. That’s how I learned about the tour. And if you have questions about her techniques, look at both the tutorials and the blog in detail.