The Perfect is the Enemy of the Good
1. The perfect is the enemy of the good.
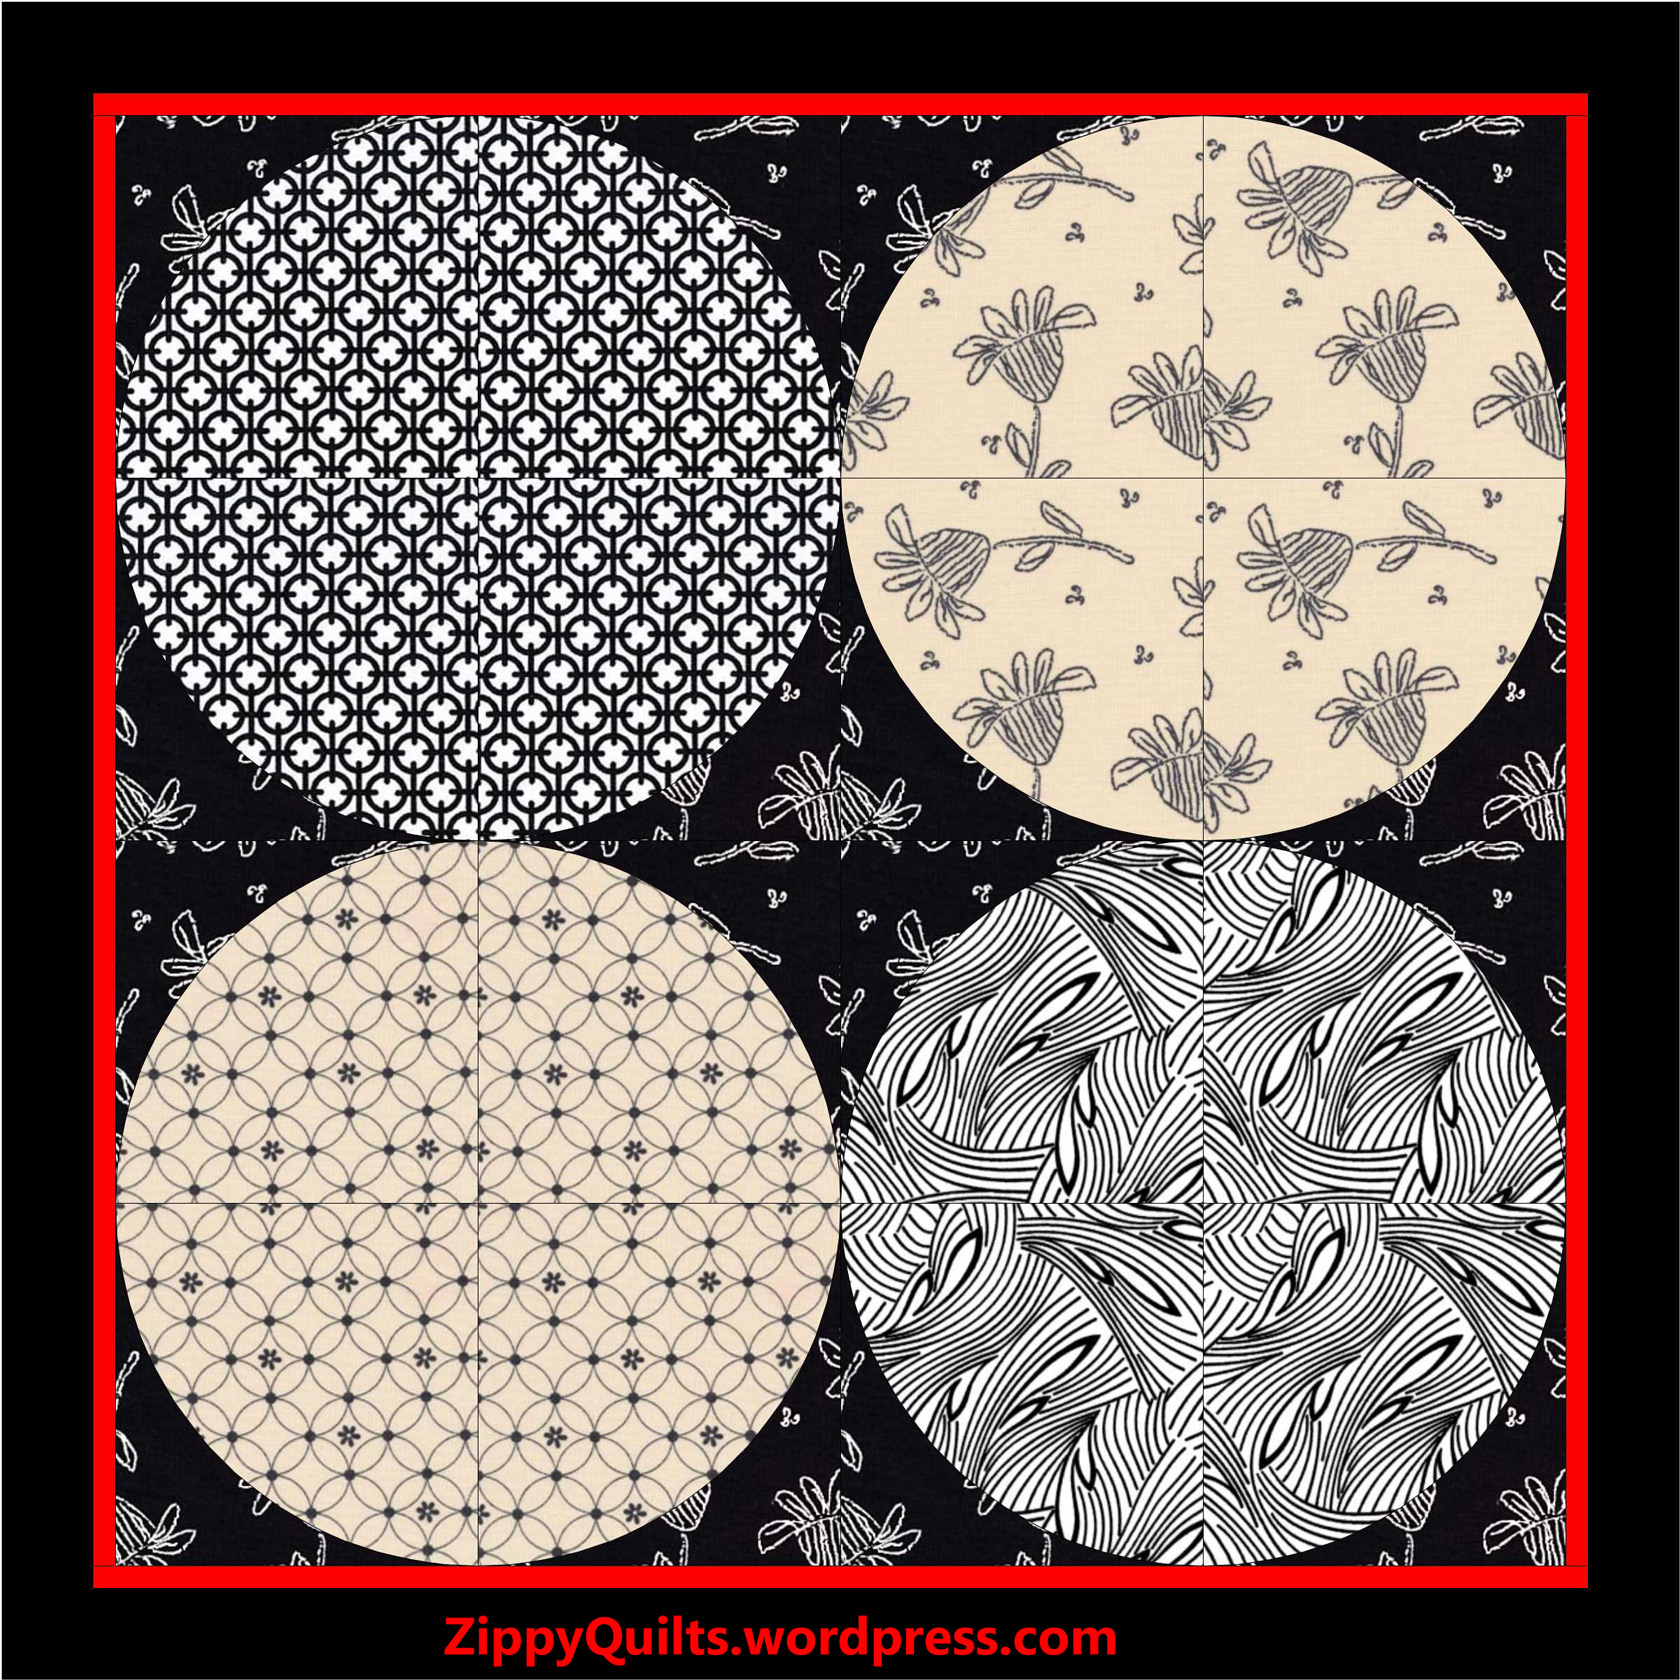
I made this quilt a long time ago to practice circles, and the quotation that inspired it came to mind recently when I was debating which quilts are “good enough” to be submitted to juried shows. It probably is obvious that the design above is more interesting than the “perfect” one shown below:
Perfect Isn’t So Good
2. “Perfect” is well enough done that you are satisfied when you look at it, but not so over-worked that you’re sick of quilting by the time you finish it.
To make a perfect quilt, It helps to start with:
- The right pattern for your skill level
- Fabric you love
- Techniques you enjoy (e.g., paper piecing, applique, whatever)
- The right tools, well maintained
3. You may be more capable of “perfect” than you think. It helps to have friends who keep you honest! I recently had trouble making my seams line up on a medallion-style block and my friend Jerri said, “You’re too good a quilter for that! You just don’t want to bother!” Oops, she was right.
And here’s a book that helped me with “perfecting” my blocks:

I found this book with lots of tips on how to improve piecing accuracy and got a lot better with just a little practice!
I recommend the book if you want to improve some of your skills, too.

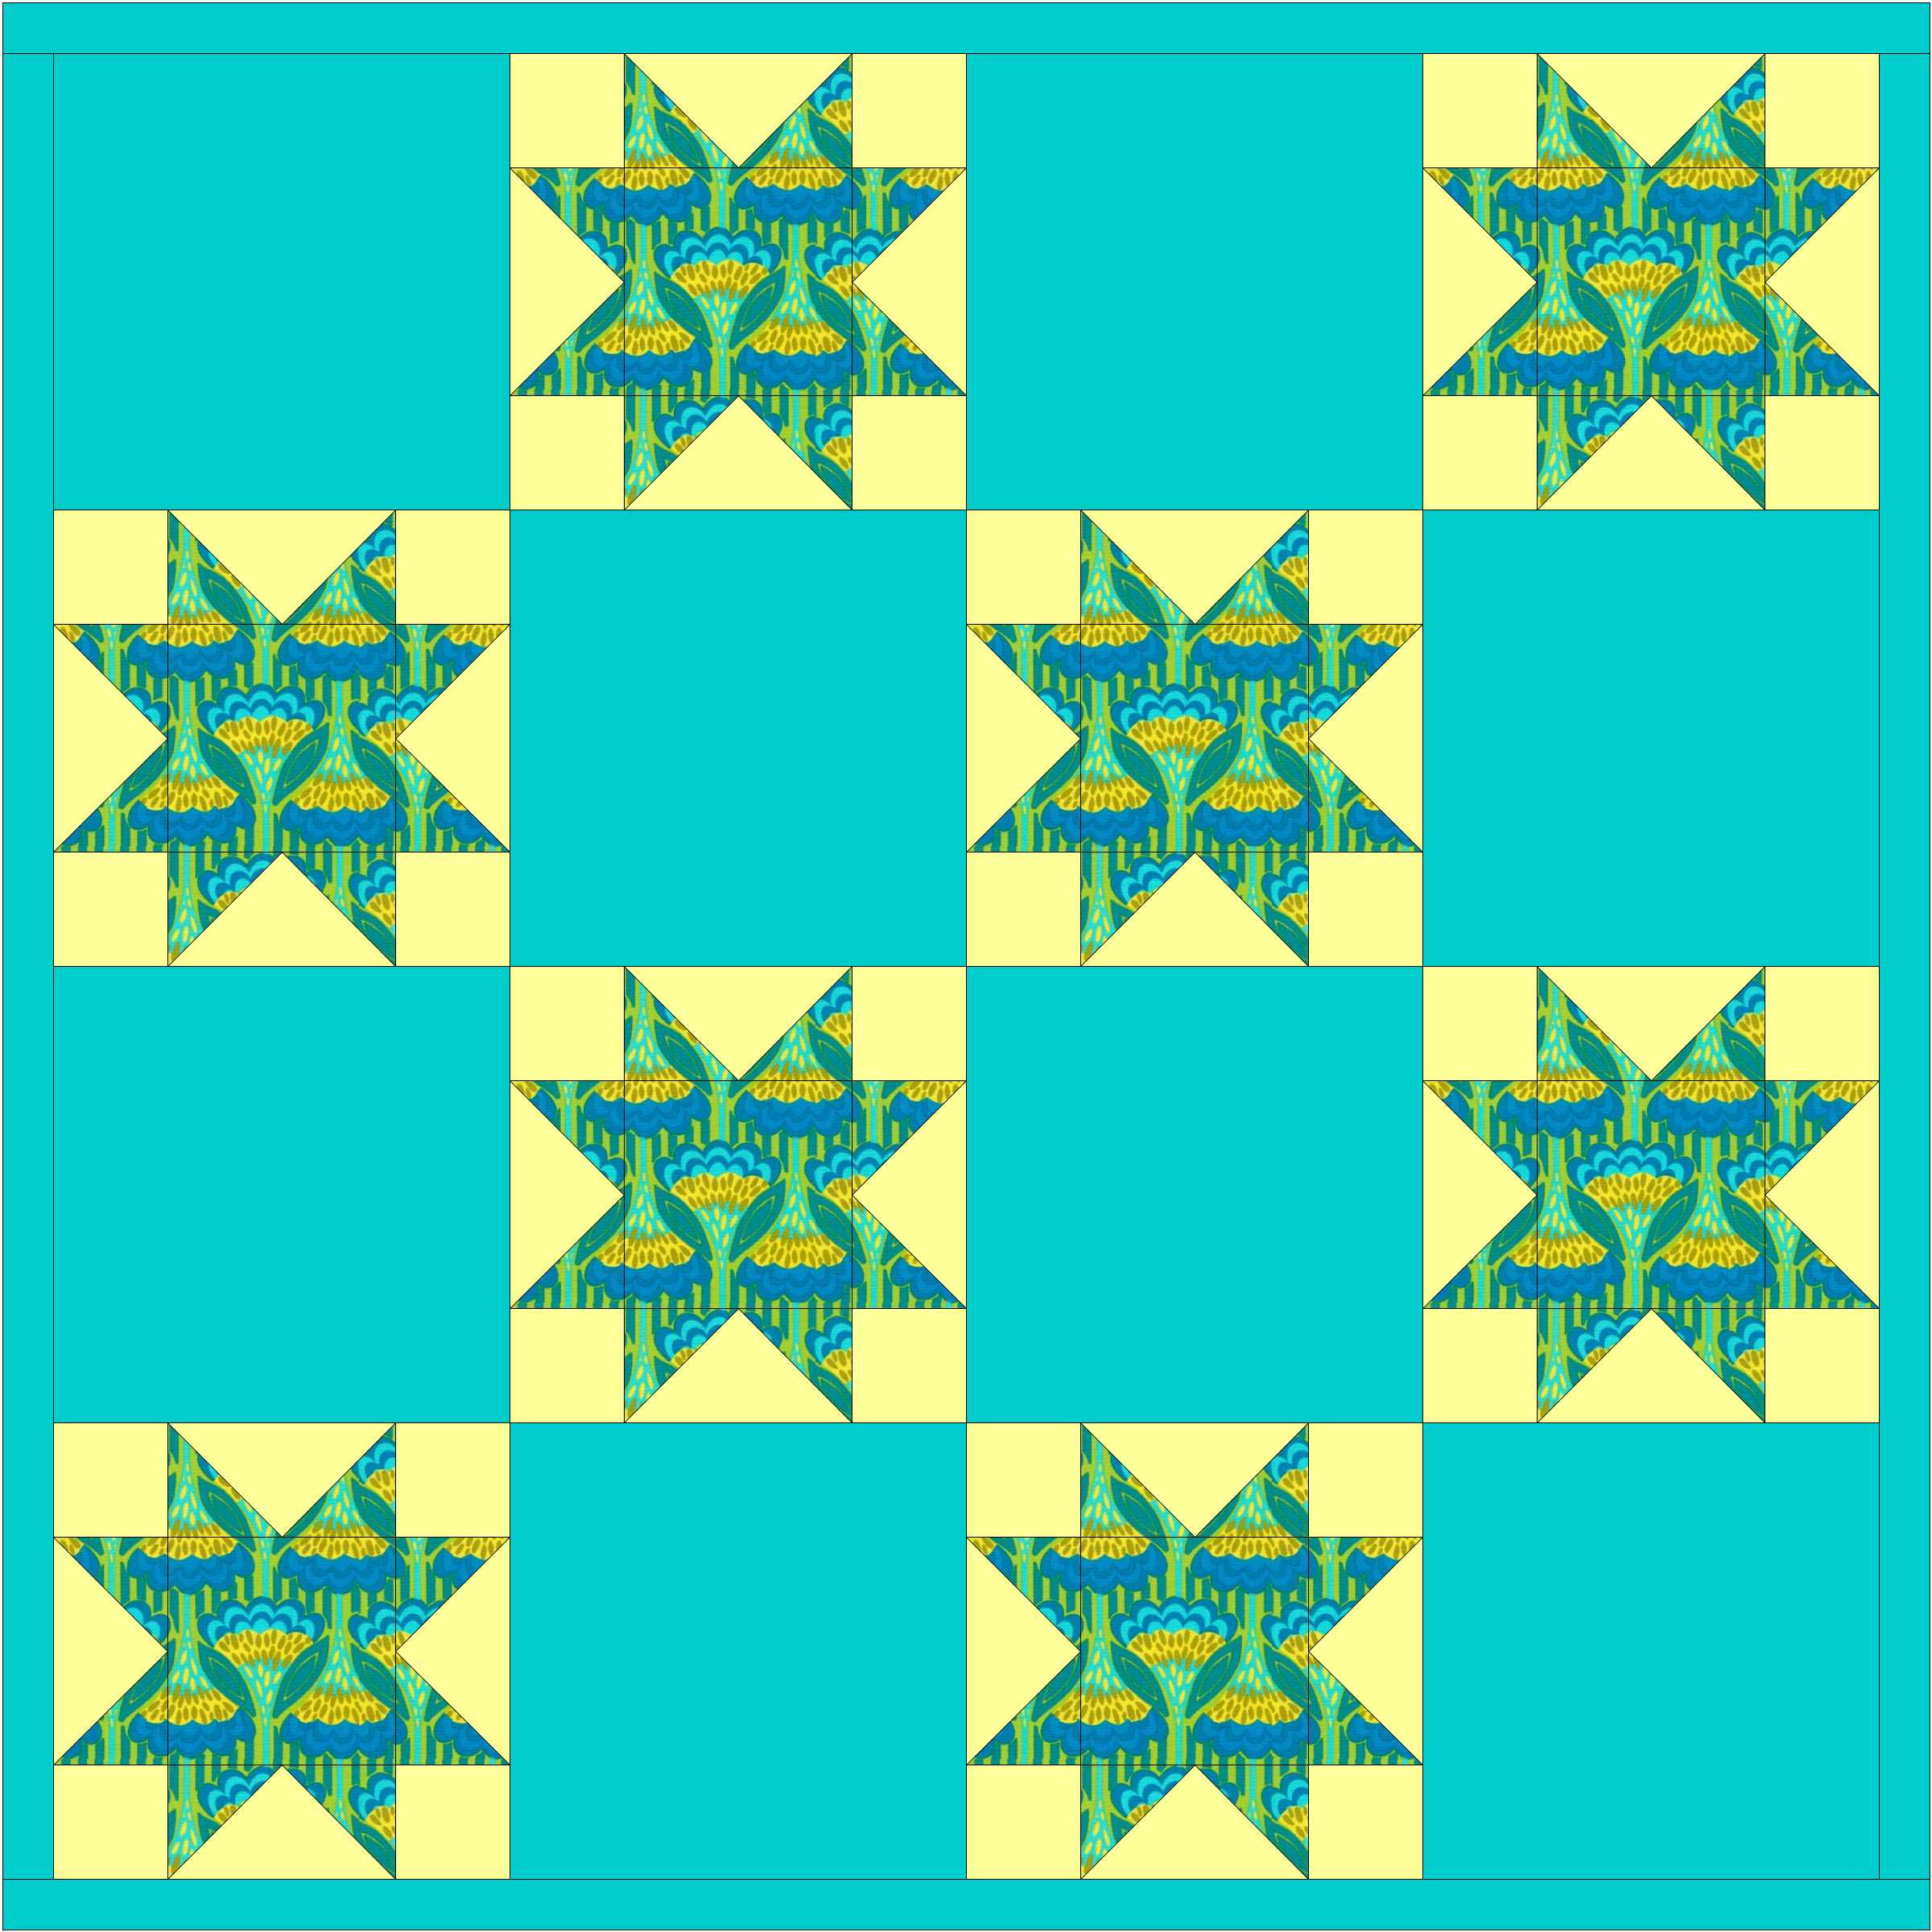
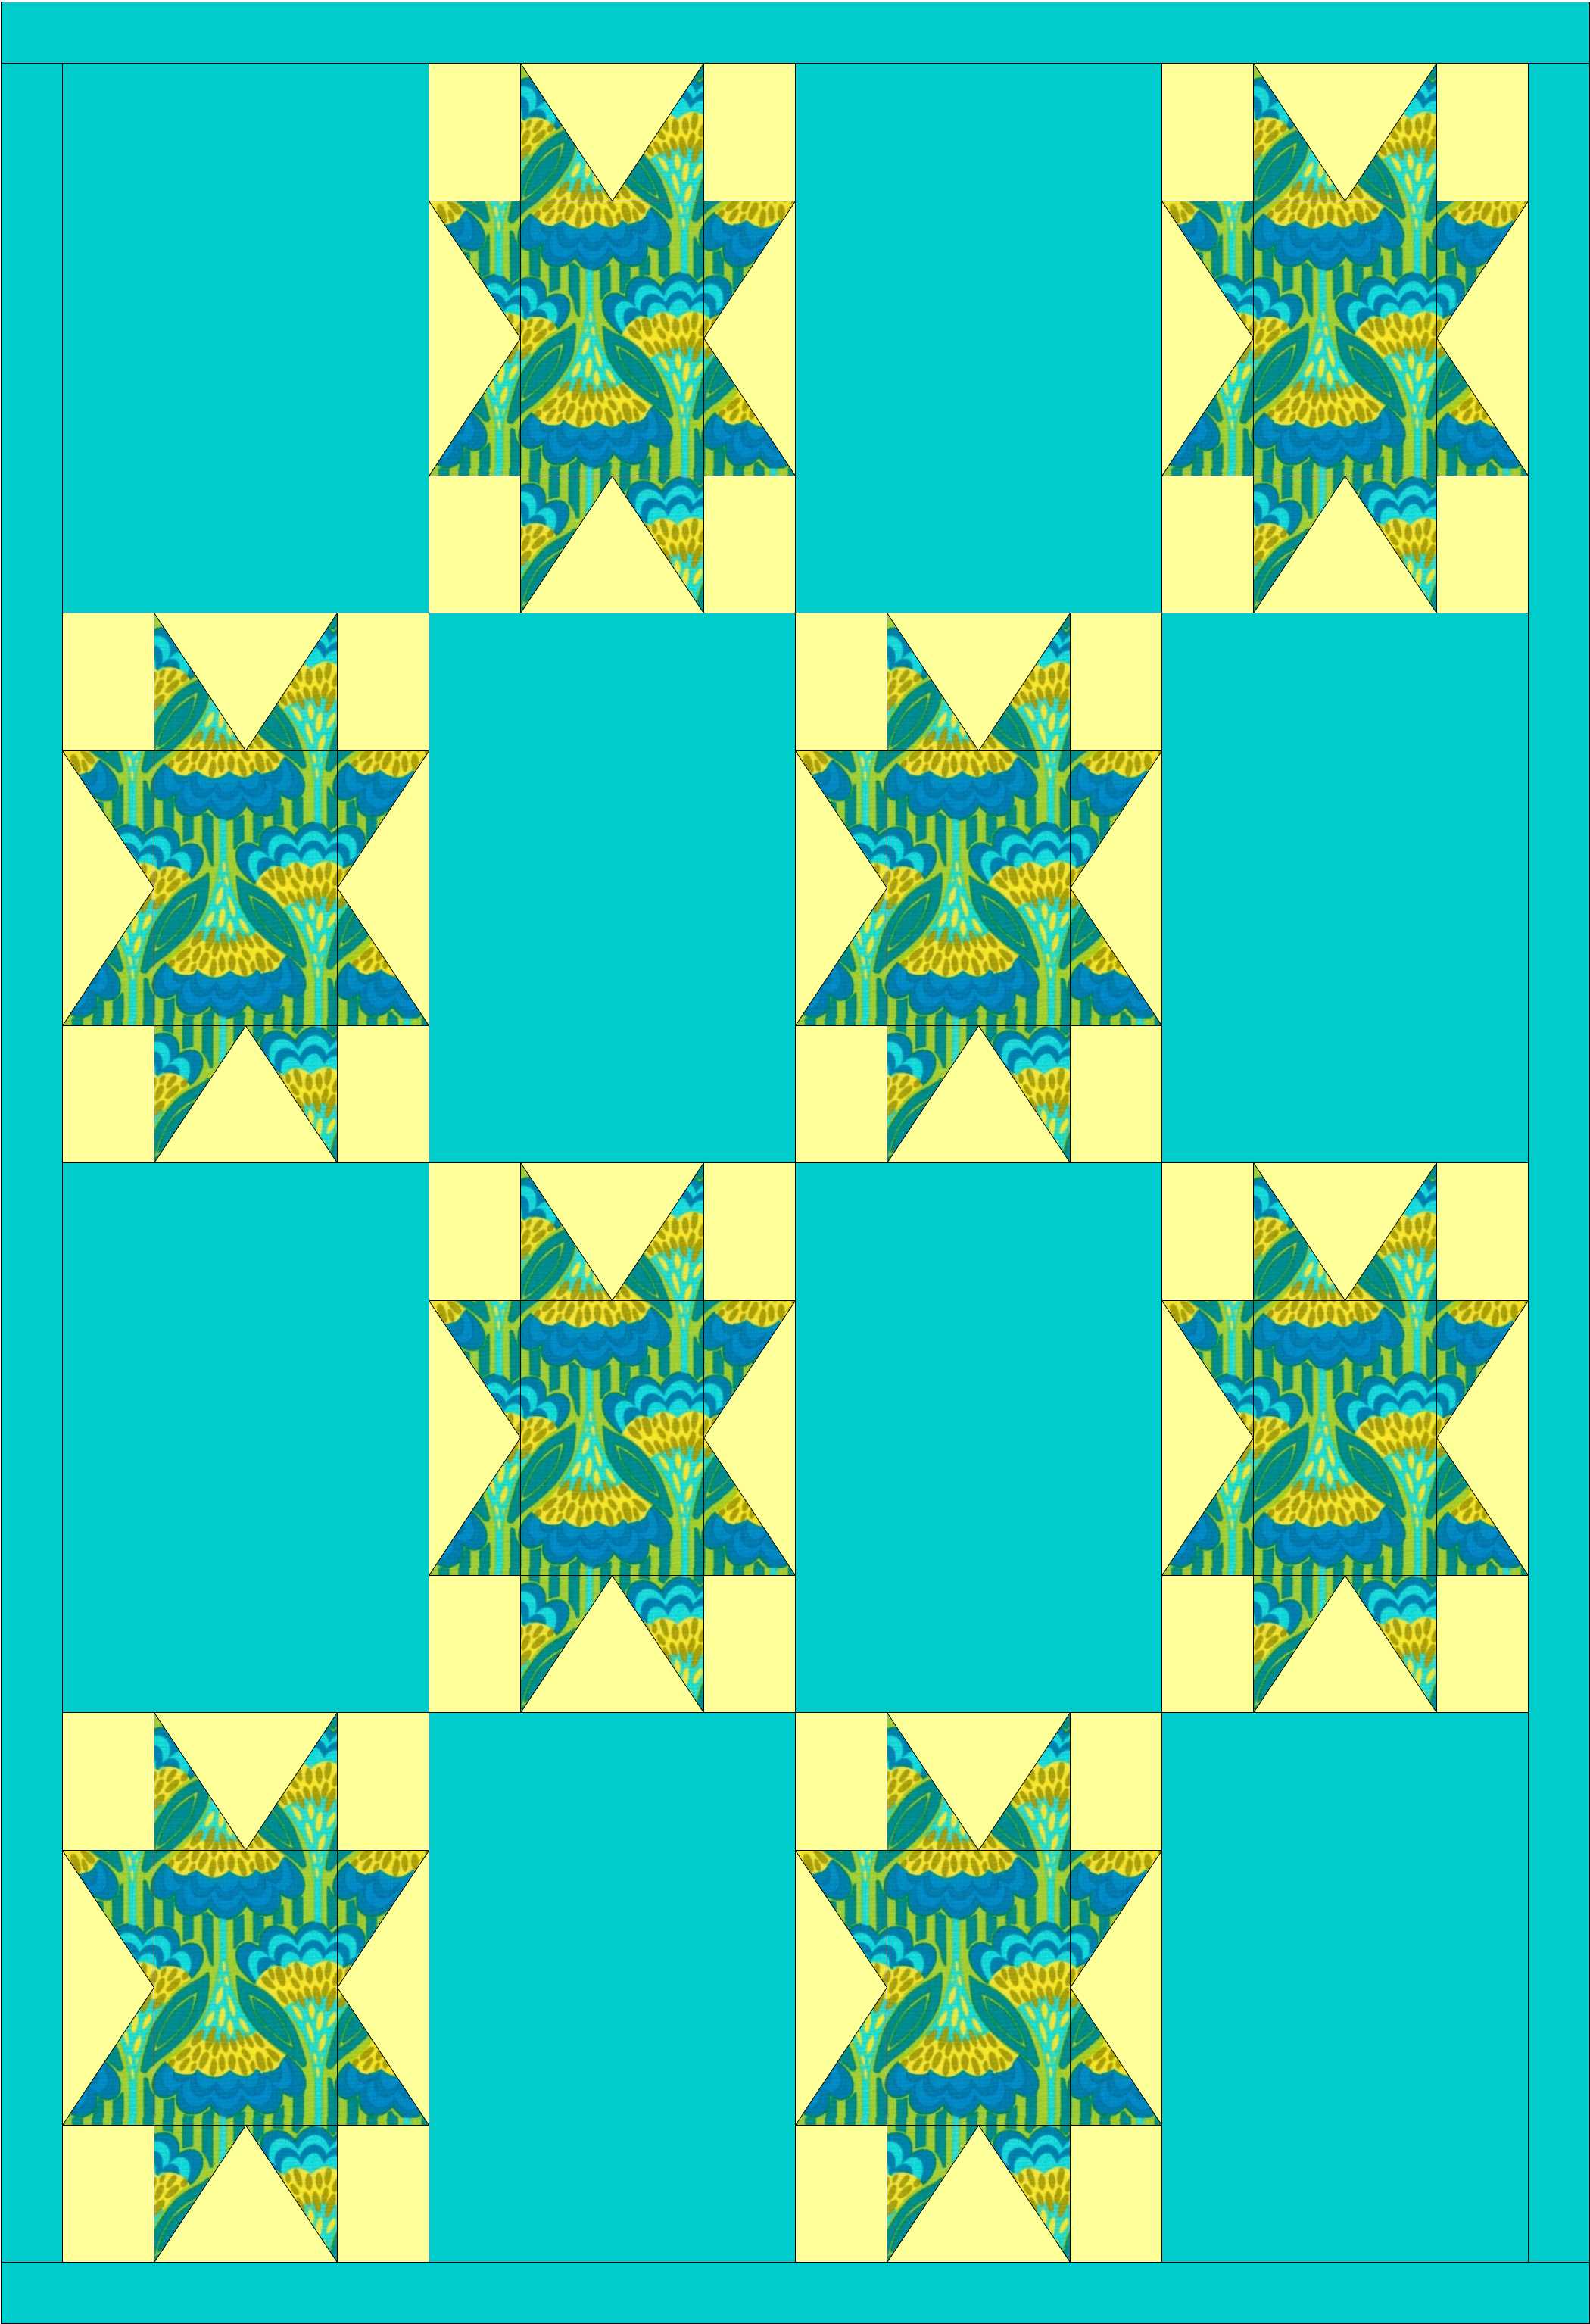
Swap Block–88 little squares!!!
And look at this lovely swap block with the corners all matched up! It isn’t perfect, but it’s good enough 🙂