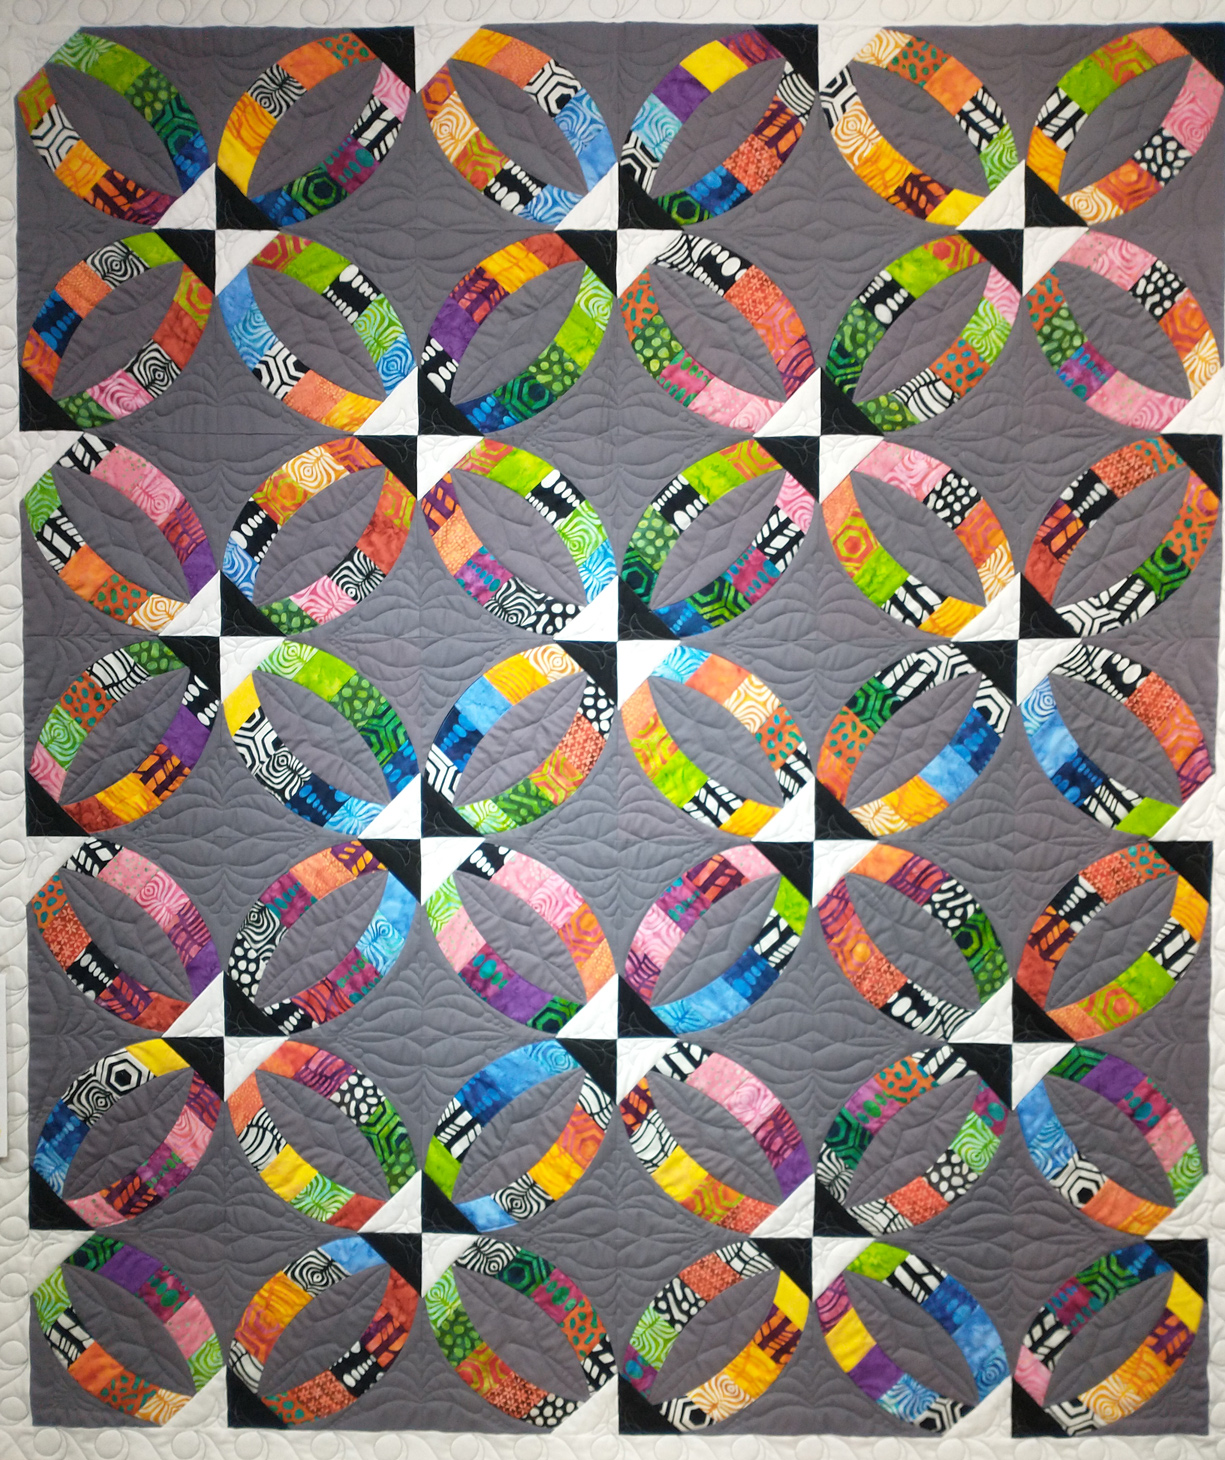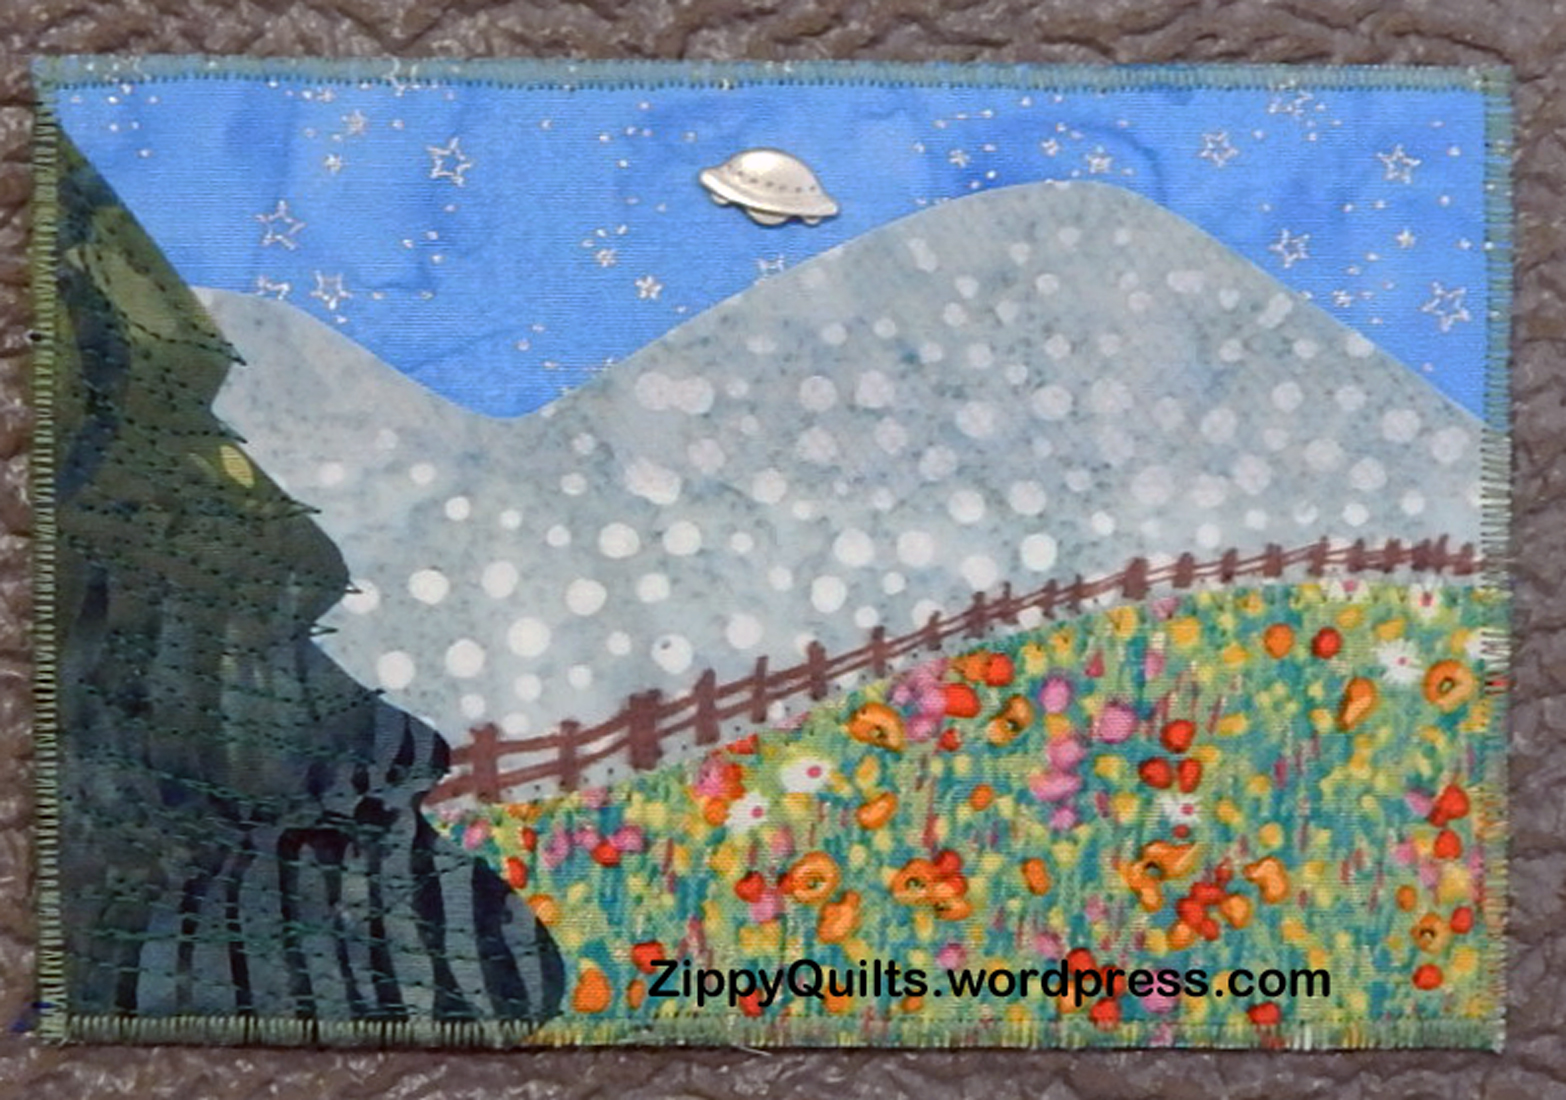
Batiks and markers were used in this little quilt, and I put a UFO in the sky 🙂
The little quilt above was entitled “The Other UFO”. Most quilters are all too familiar with the UnFinished Object type UFO!
And sure enough, I recently found this box in one of my storage areas:
I dated it, back in November of 2021, thinking that if I hadn’t finished the UFOs in it within a year I probably should throw them out.
WELL! Some of these are too good to throw out, but maybe this is the year to get them done! Look what I found, and for goodness sake pass on any ideas about what I should do with each of these.
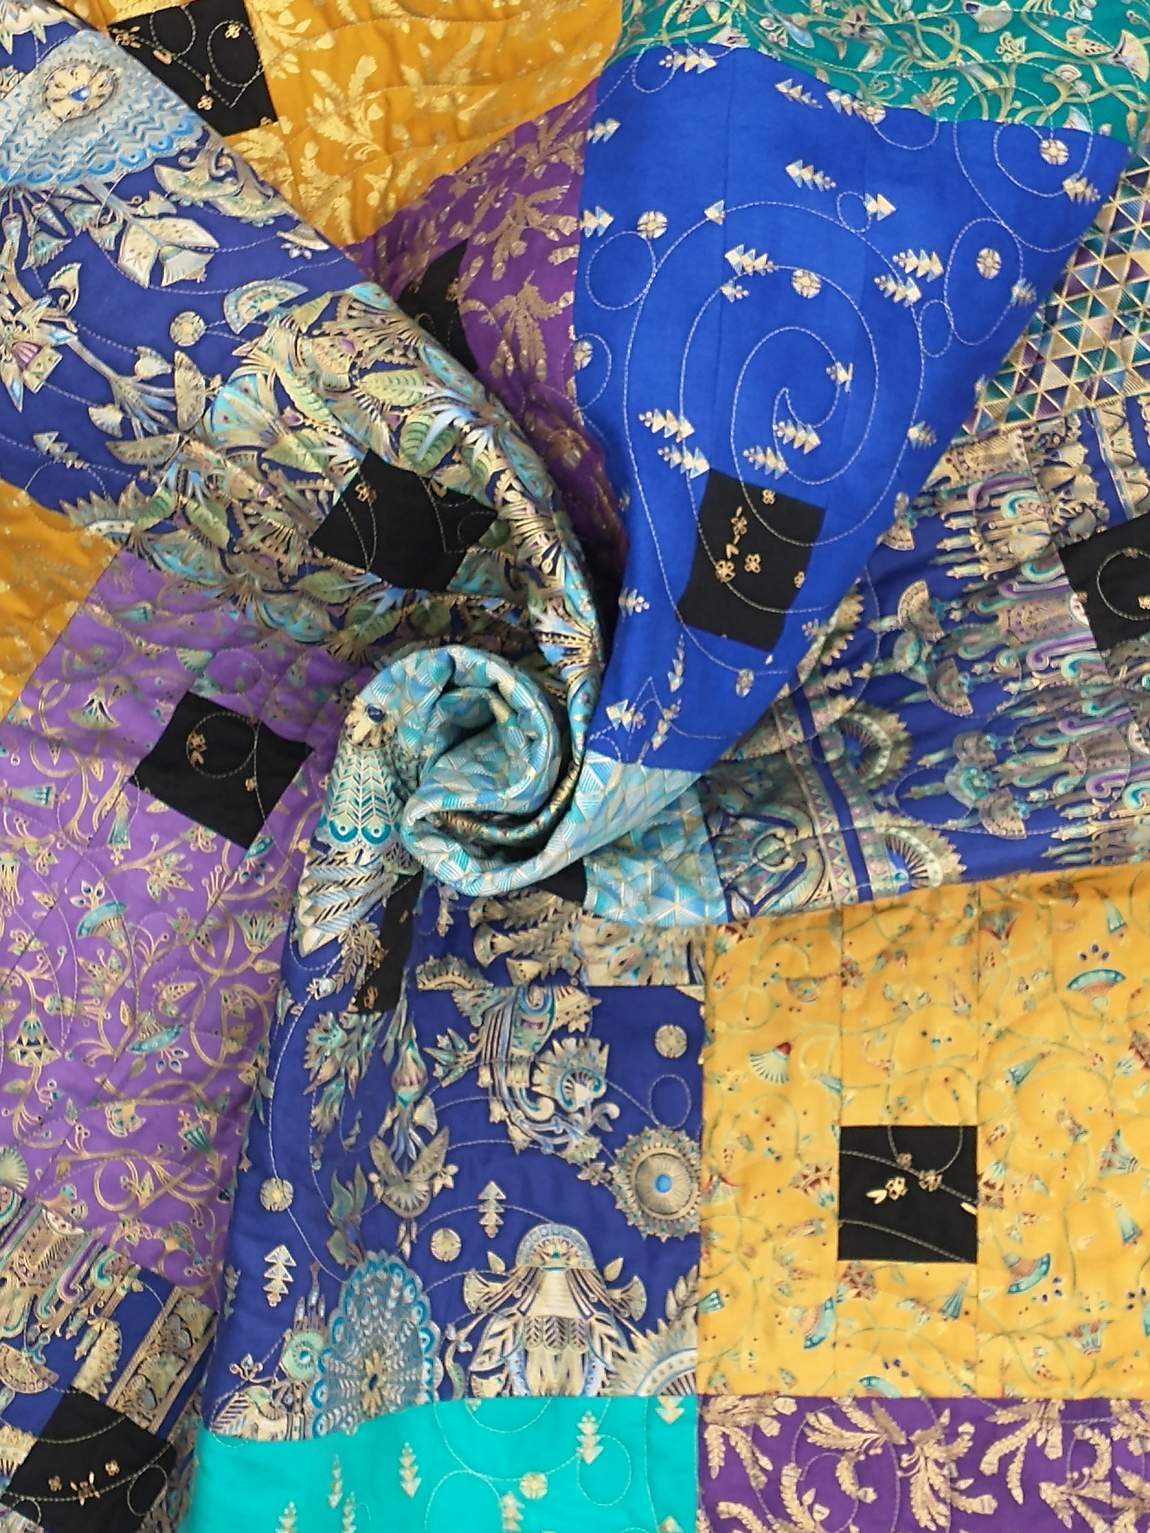
#1 I bought this panel years ago at MaryJo’s fabric shop in Gastonia, NC. MaryJo’s is, sadly, long gone, but here’s this panel. 
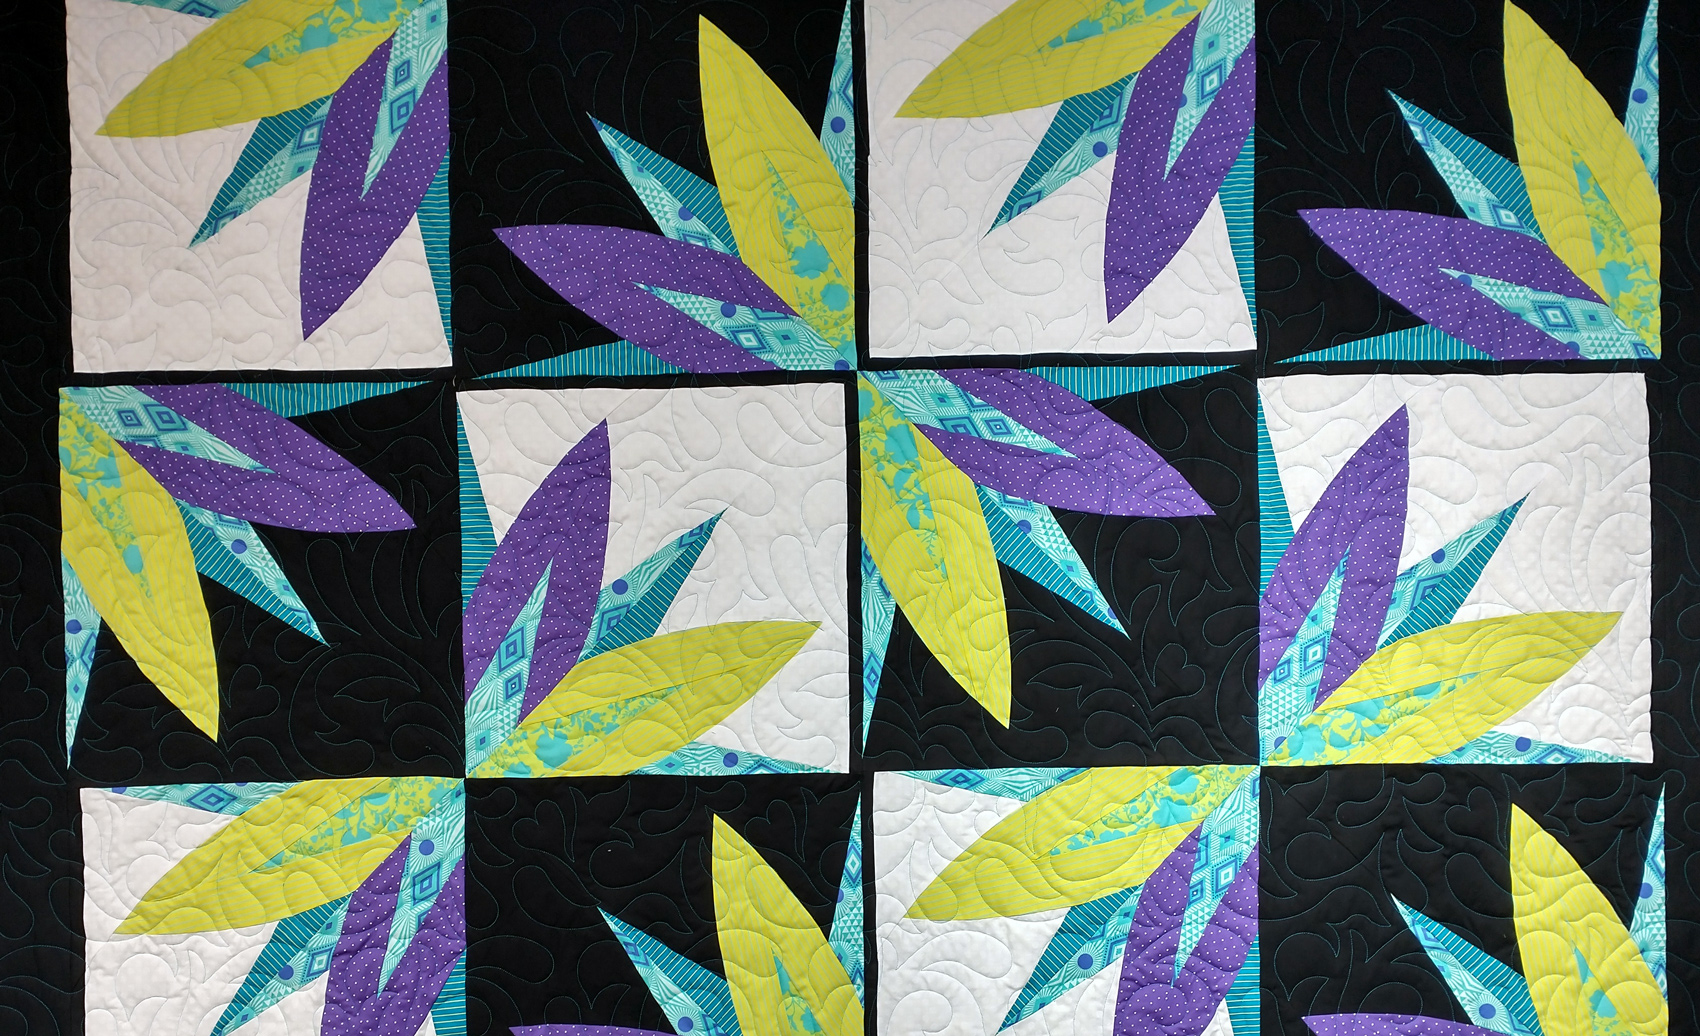
#2 This is a leaf pounding I did years ago and eventually set aside unfinished because I didn’t like the way my echo quilting turned out.
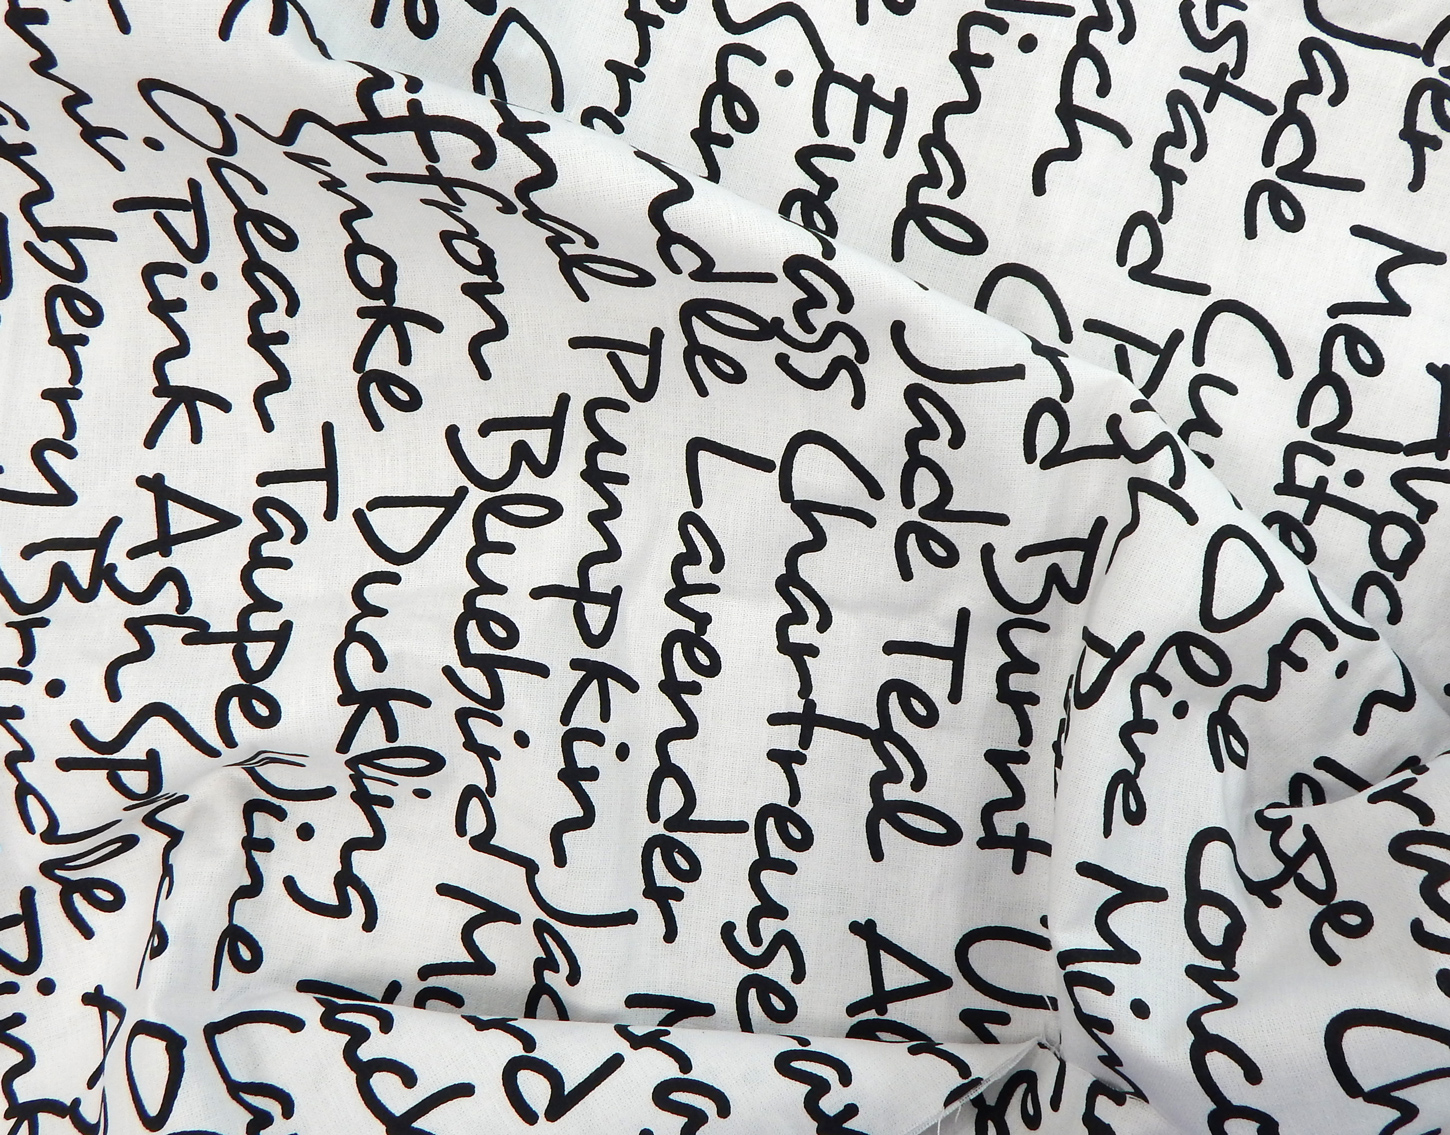
#3 I believe I bought this fabric at an antique shop, thinking it was a feed sack. Looking at it now, it is 50″ long after washing and has selvedges on two edges. I think it probably is a feed sack because there are a few holes where twine stitching could have been removed. However, it’s too loose-woven to be used in a quilt.
#4 Orphan block set from a long-forgotten improv block spree
#5 Small mola (reverse applique) blocks bought at a craft sale. The Craft Guild of the Southern Highlands includes Hmong artisans who do beautiful work, so of course I had to buy a few blocks. 
OK! I have 5 potential projects and 4 months left in the year. Maybe I can get these finished in 2024?
Or I could just go back to trying to balance pins on point on my magnetic pin holder…
But of course that wouldn’t get the UFOs done. Any suggestions for what to do with these would be appreciated! And I’ll let you know what I do, including any I discard.