Here’s a QUICK, EASY way to use up scraps while making some gifts. Could be gifts for you, of course 😉 I like to make them ahead of time to have as hostess gifts, housewarming surprises, etc.
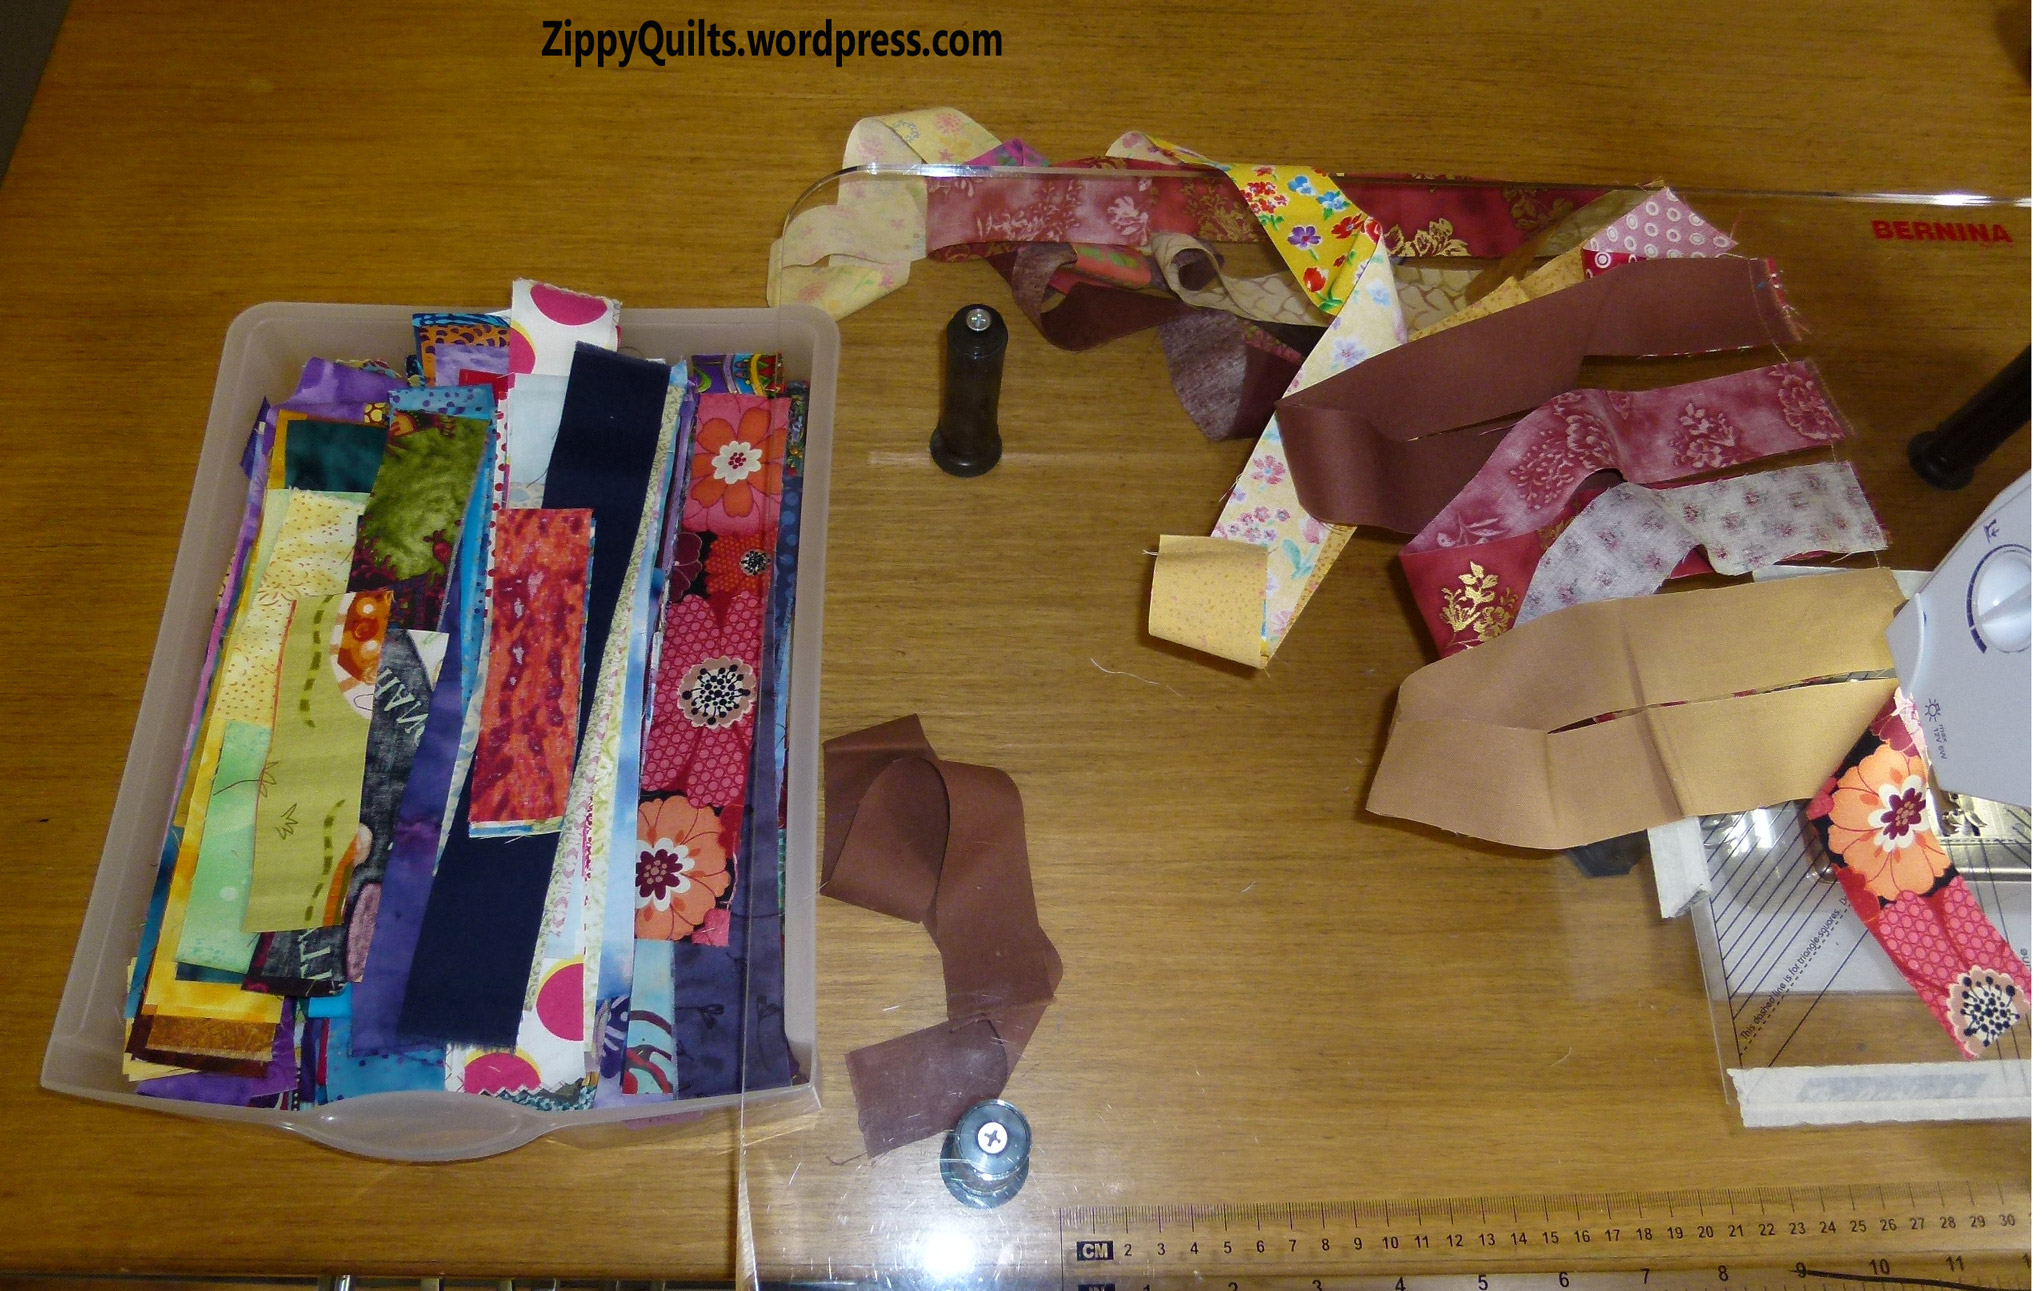
A bin of scraps being made into a long strip
Start by cutting scraps into strips of set widths. (I cut and sort all my scraps, so I have bins of strips ready to go.) 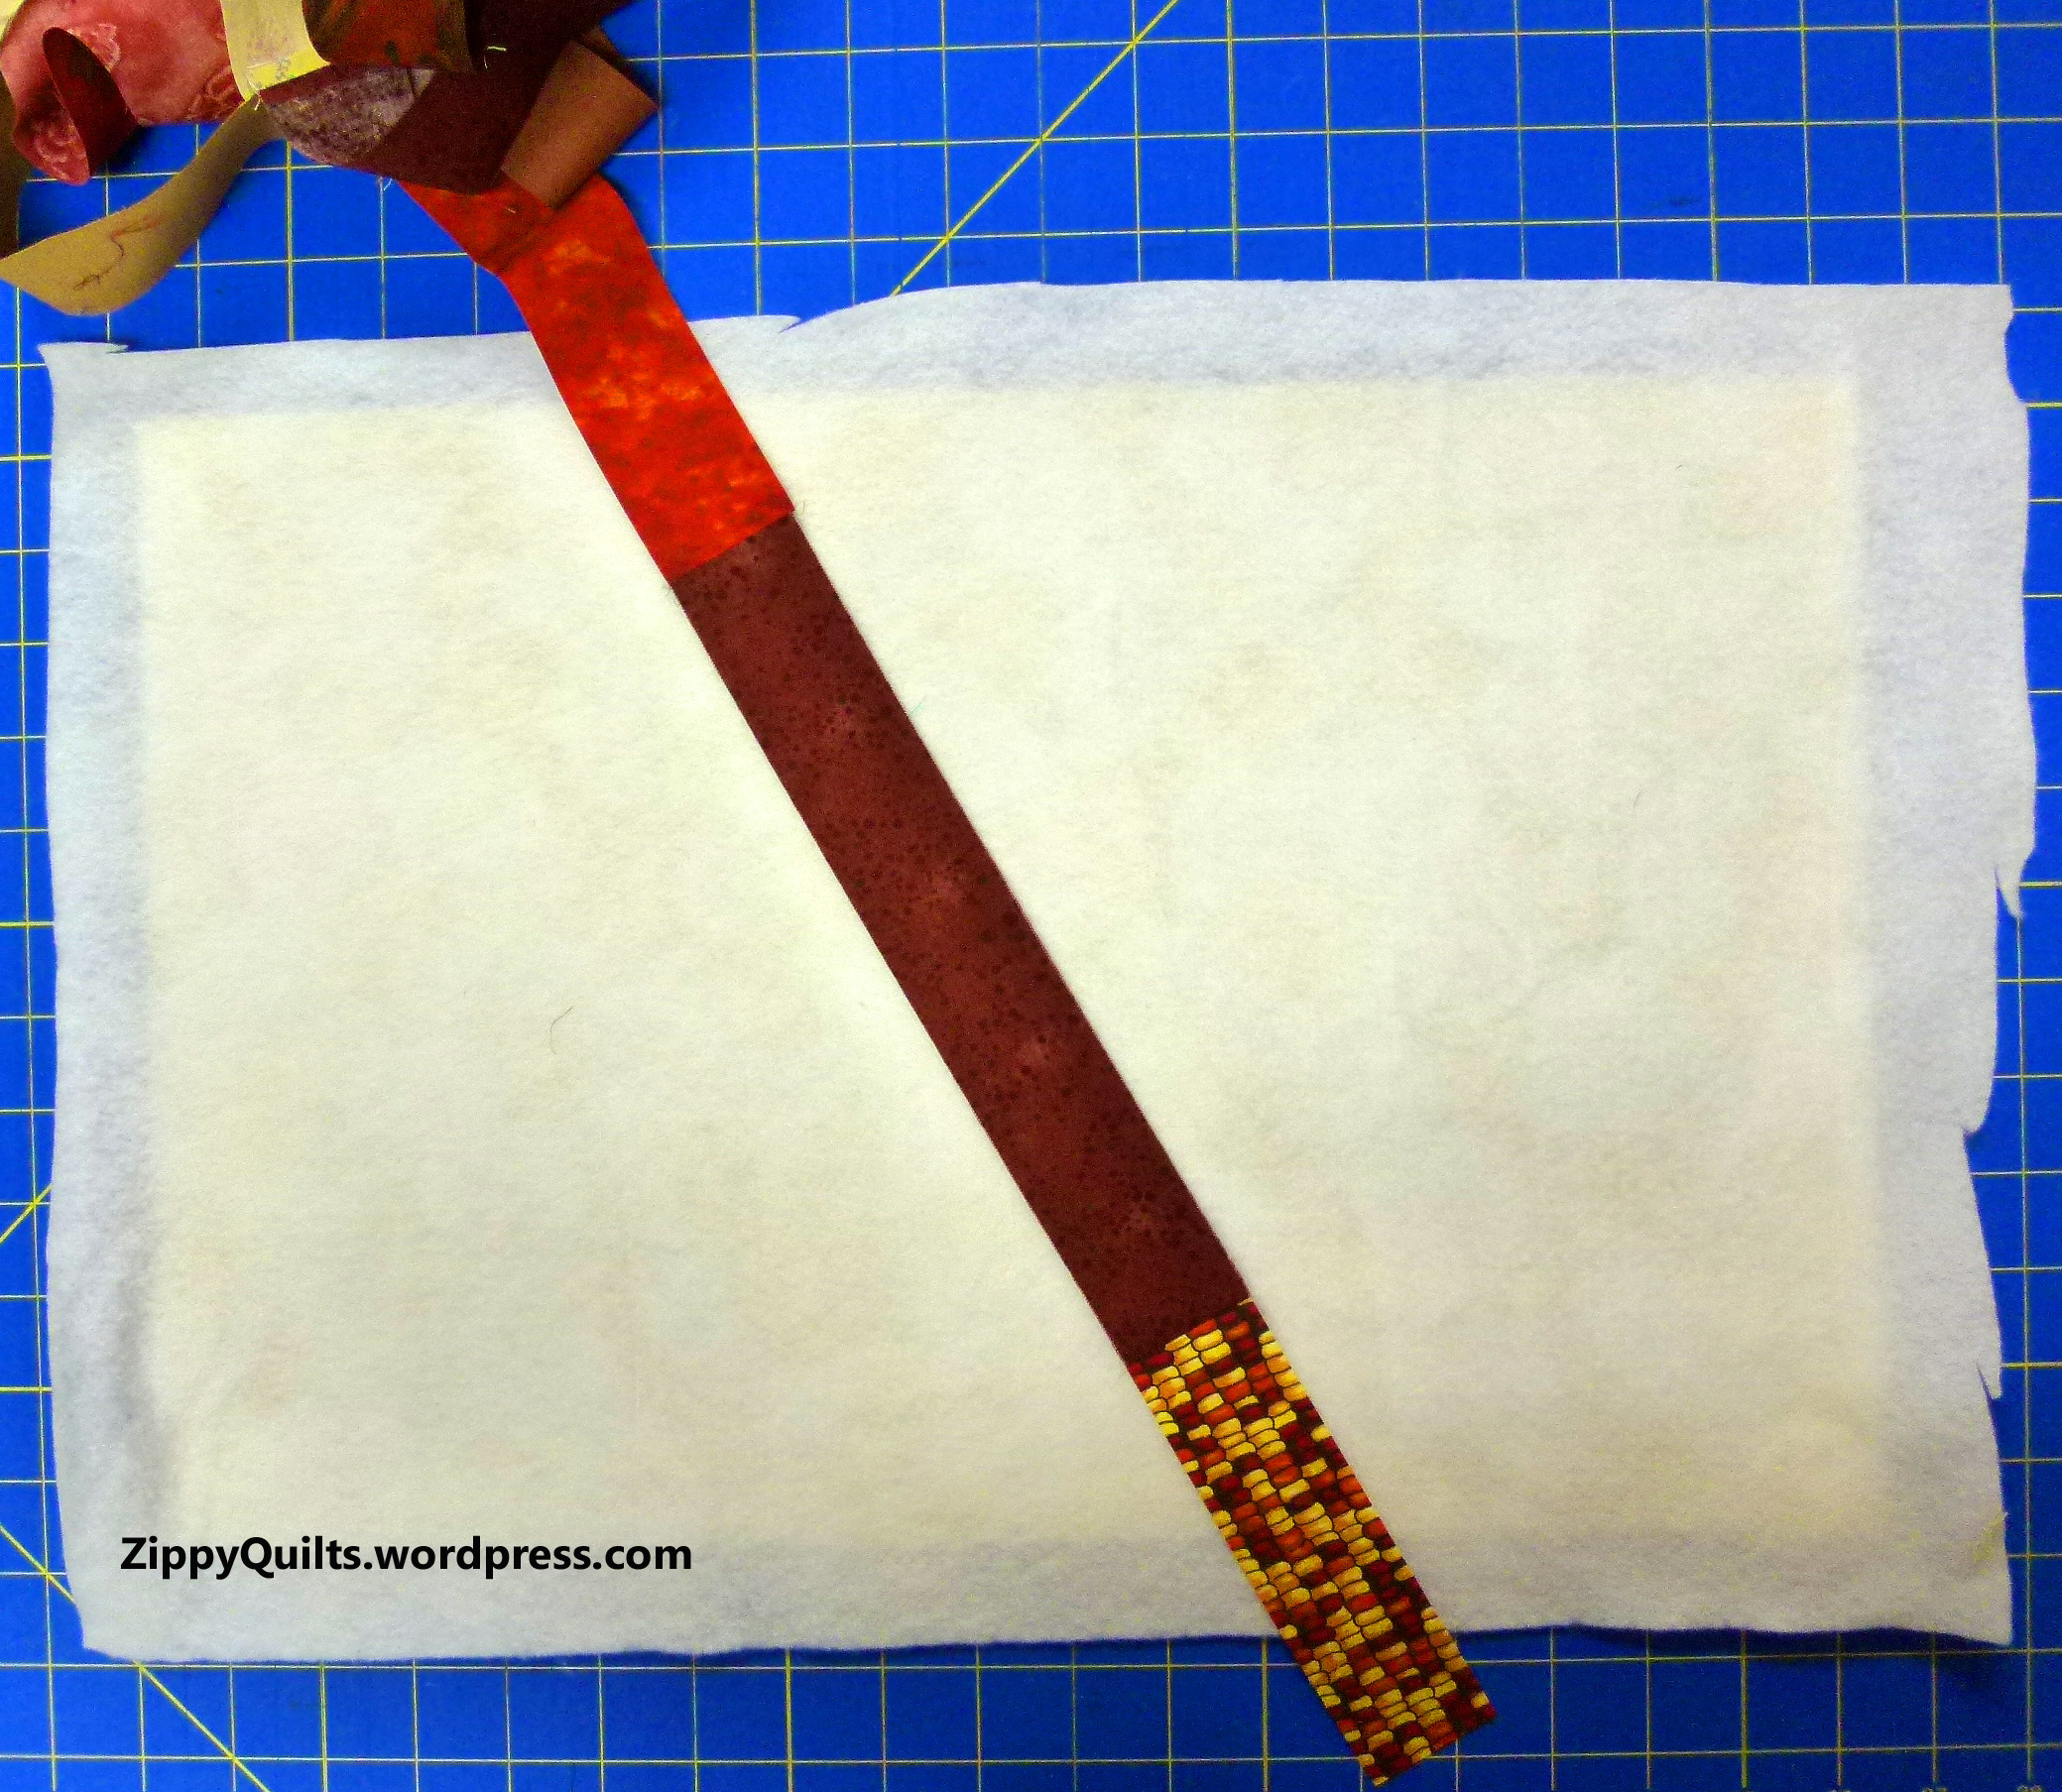 In this project, I used strips in widths of 1.5”, 2”, 2.5”, and 3”. Sometimes I just use whatever color comes next, but for this project I selected yellow/gold, orange/red, and brown/tan scraps. I joined the strips end-to-end to make long strips of a given width. So, for example, a strip may be 1-1/2 inches wide and be made up of scraps of various lengths from 1-1/2 inches to about 8 inches.
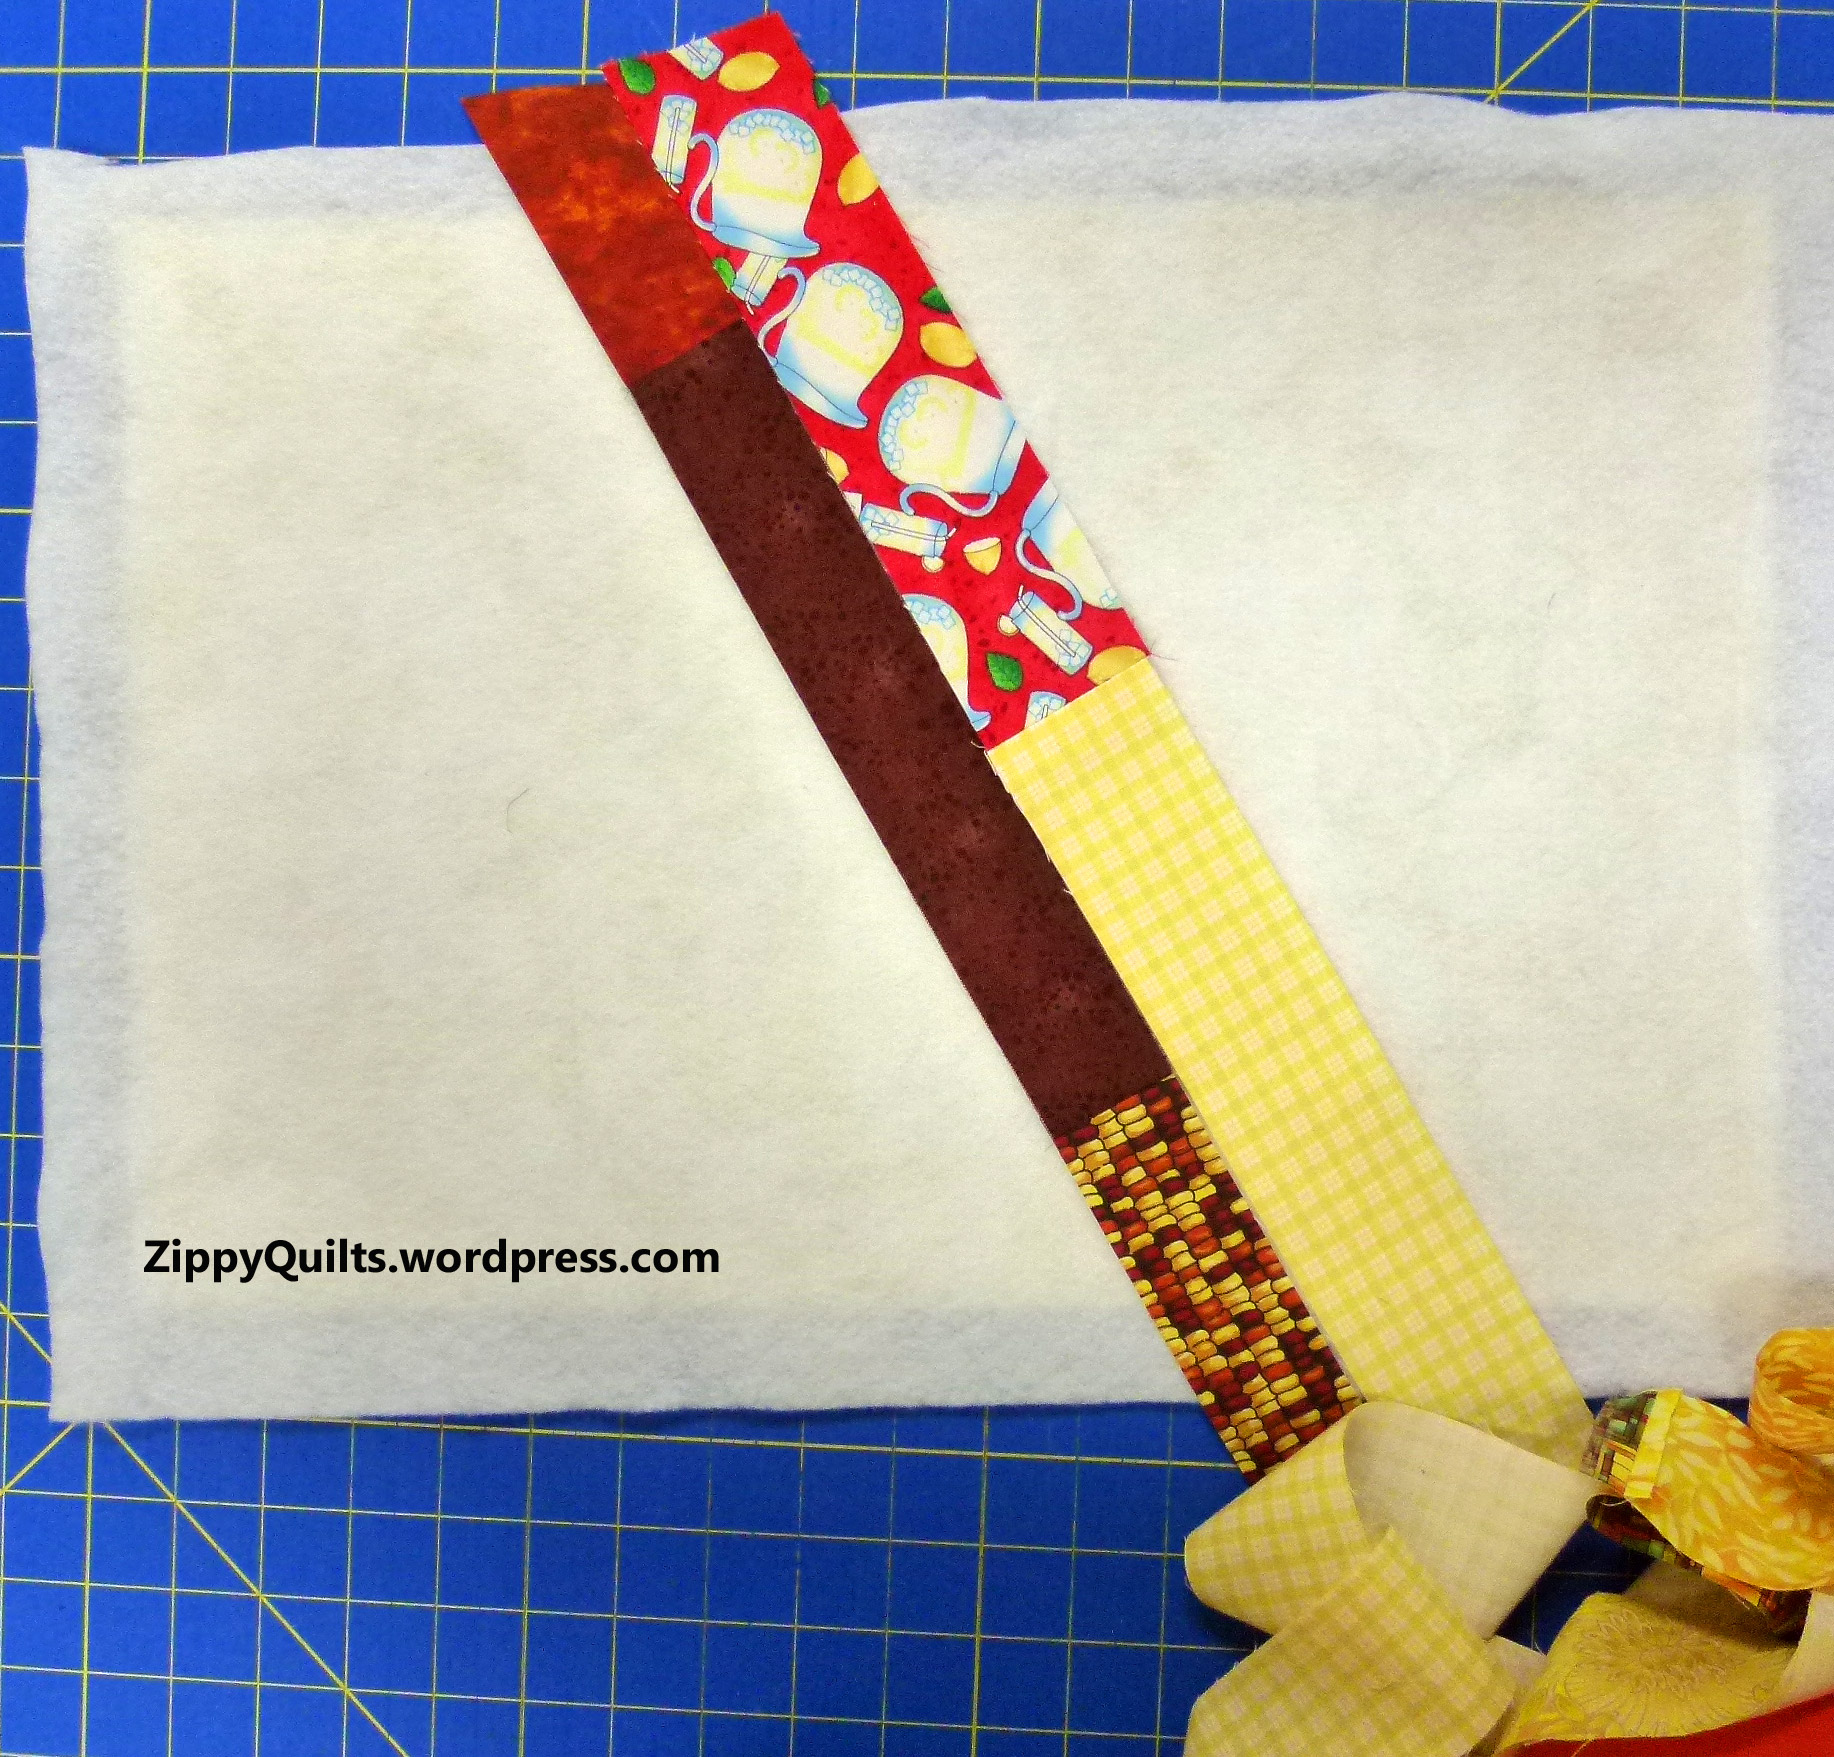
add another strip, then fold them right sides together and sew the seam through all layers
After piecing my long strips, I started a placemat as follows. I cut a piece of backing 14 x 20 inches, layered a piece of batting 13 x 19 inches on top (batting scraps, yes!), and placed a strip in the middle of the batting. [picture] I used the flip and sew method to add strips on each side, sewing through all layers as I went so that I was quilting while assembling the placemat top.
Strips can be oriented horizontally, vertically, or at any angle you choose! You can mark your first line to be sure it’s straight if you want, but I just eyeballed it.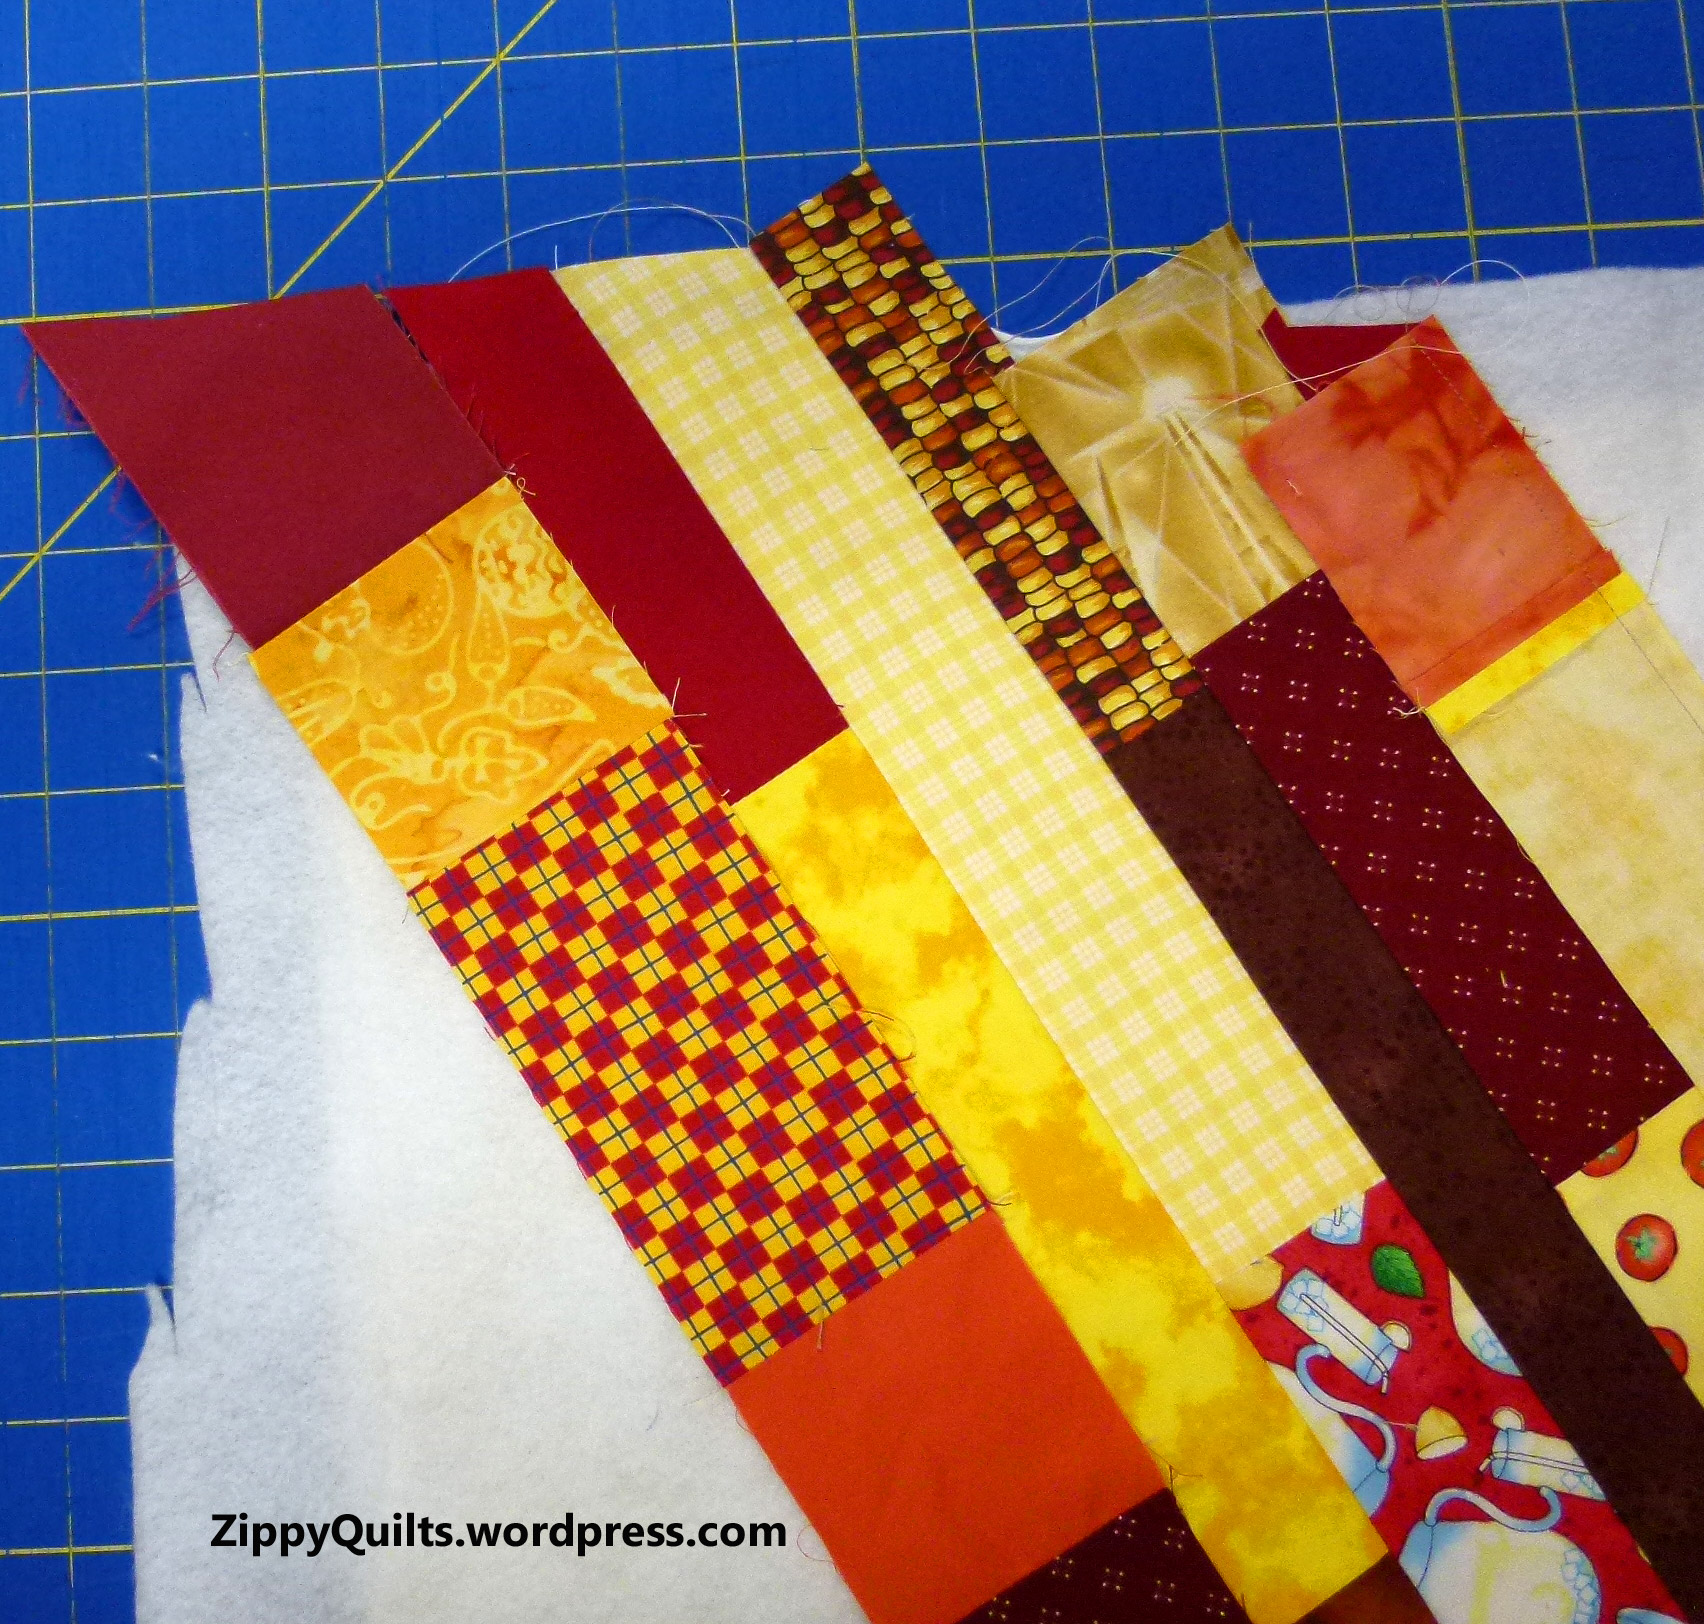
I pressed after adding each strip, and every few strips I turned it over and ironed the back of the mat, too.
.
.
.
.
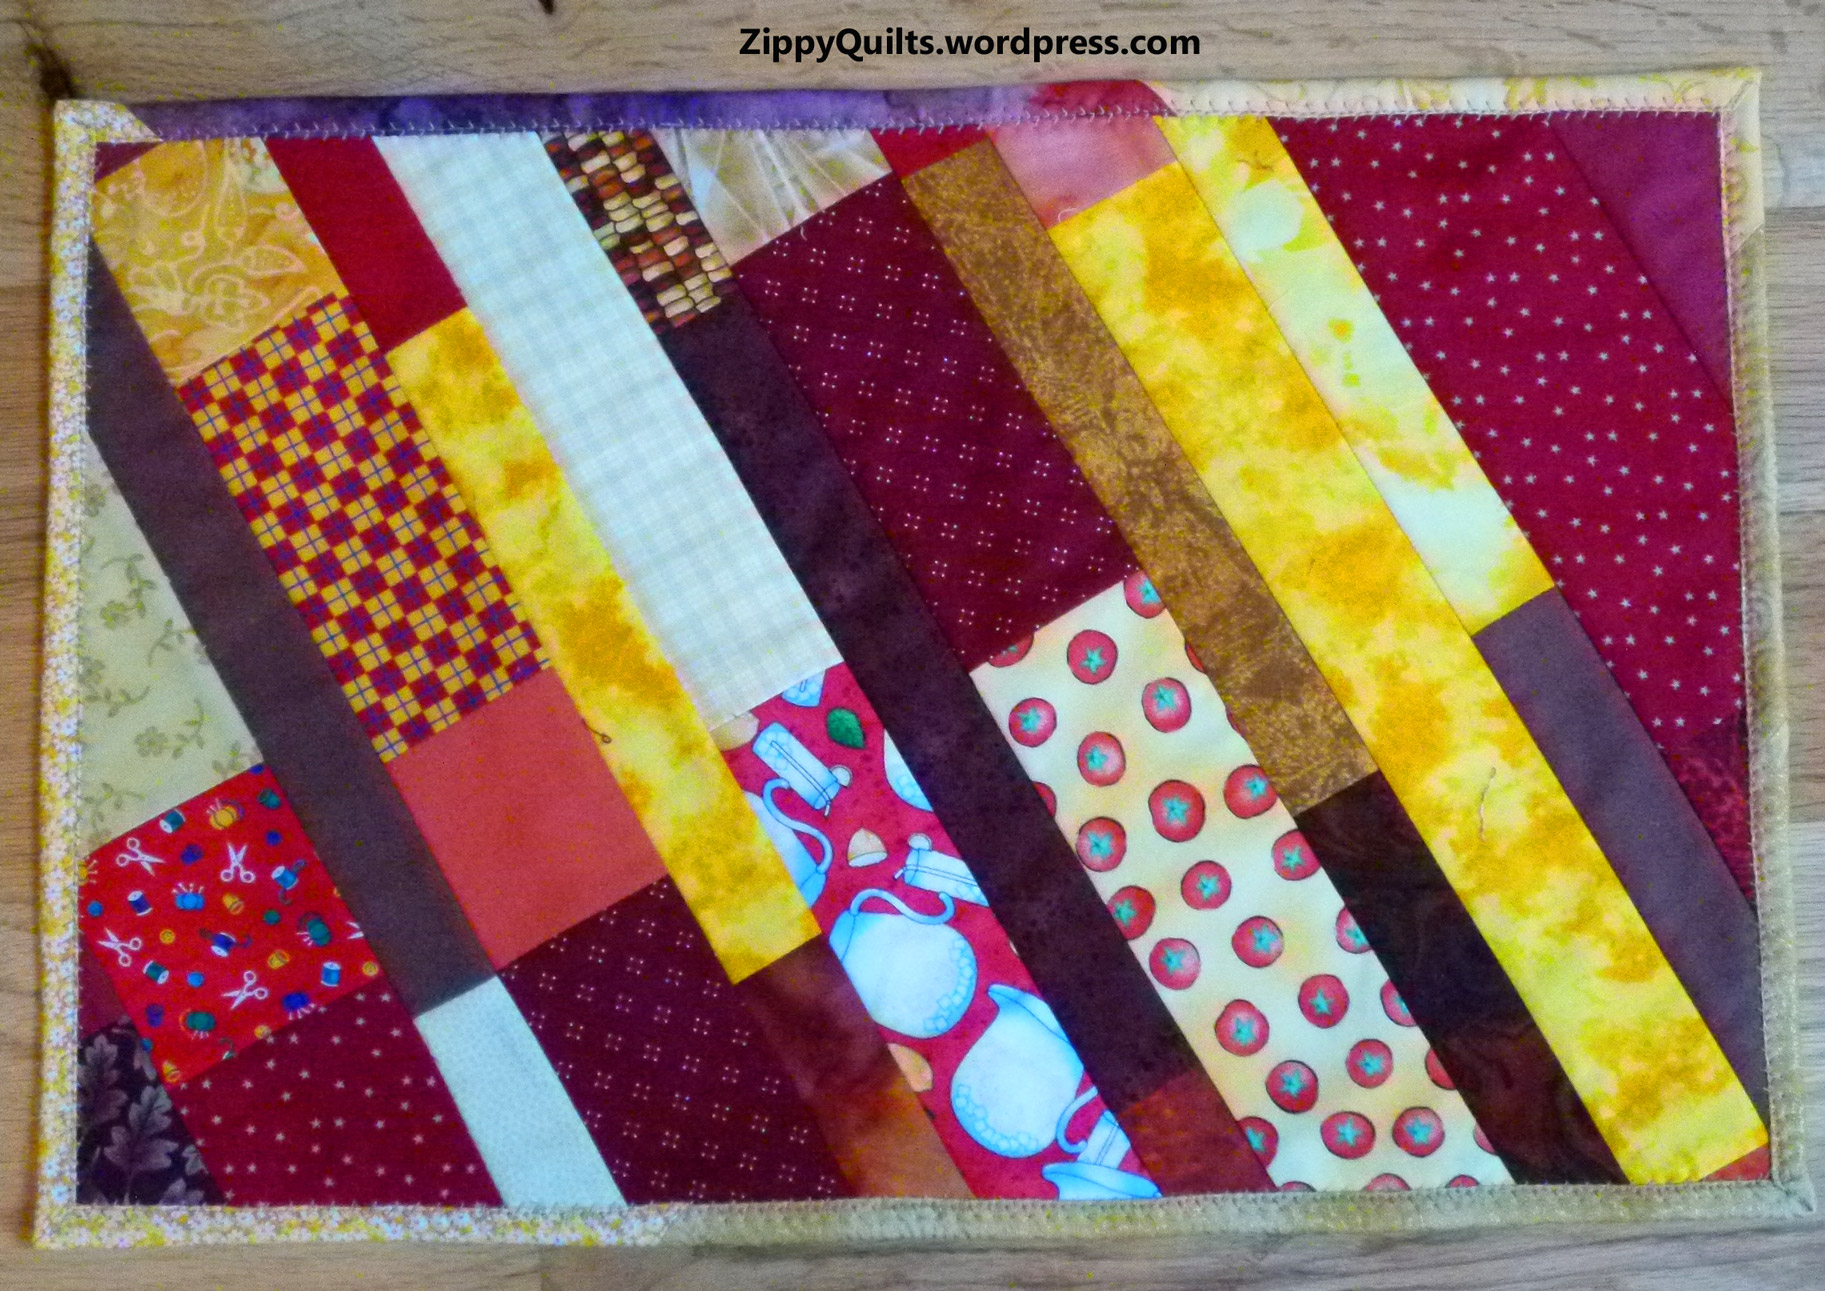
When the mat was finished, I trimmed it to 12 x 18 inches. Note that it helps to make the last strip added a wide one so the mat can be trimmed to size without leaving a really skinny strip on one edge.

Last strips added are wide to allow for trimming to size
I bound the edges with scraps of bias binding left over from various quilts as well as scraps from my bins. I got four mats done easily in a day, so this would work as a last minute gift—we all need those!