As mentioned previously, I have well over 100 “orphan blocks”. Many are just leftovers from quilts where I made extra blocks. A friend recently asked WHAT I could do with them!
I know some of you like to put those on the back of the quilt, and I agree it looks good, BUT: I hate piecing backs, and long-arm quilters hate pieced backs. That’s two reasons, and the second one is the more important; I DO NOT want to aggravate anybody who is willing to quilt for me.
I do piece backs sometimes anyway. For example, this quilt had so very many extra blocks that I just made it reversable:

This and other patterns by Sassafras Lane are surprisingly easy and are good for using fabric collections
But what else can be done with them?
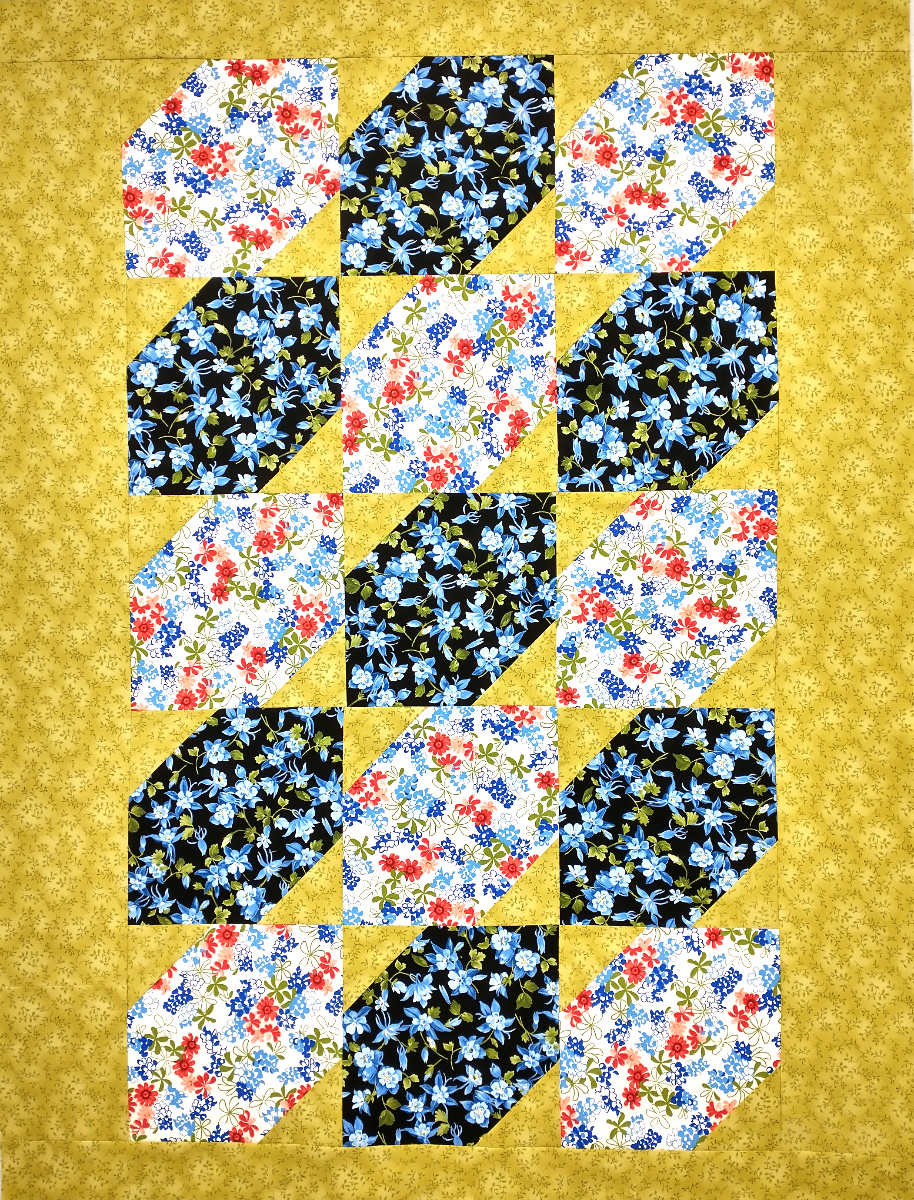
If you have 9 that are similar enough in color/value/style/whatever, a Circle of Nine quilt works well. There are multiple Circle of Nine quilt books by Janet Houts and Jean Ann Wright; just look on the used book websites.

A couple of Circle of Nine Quilt,s to use up orphan blocks
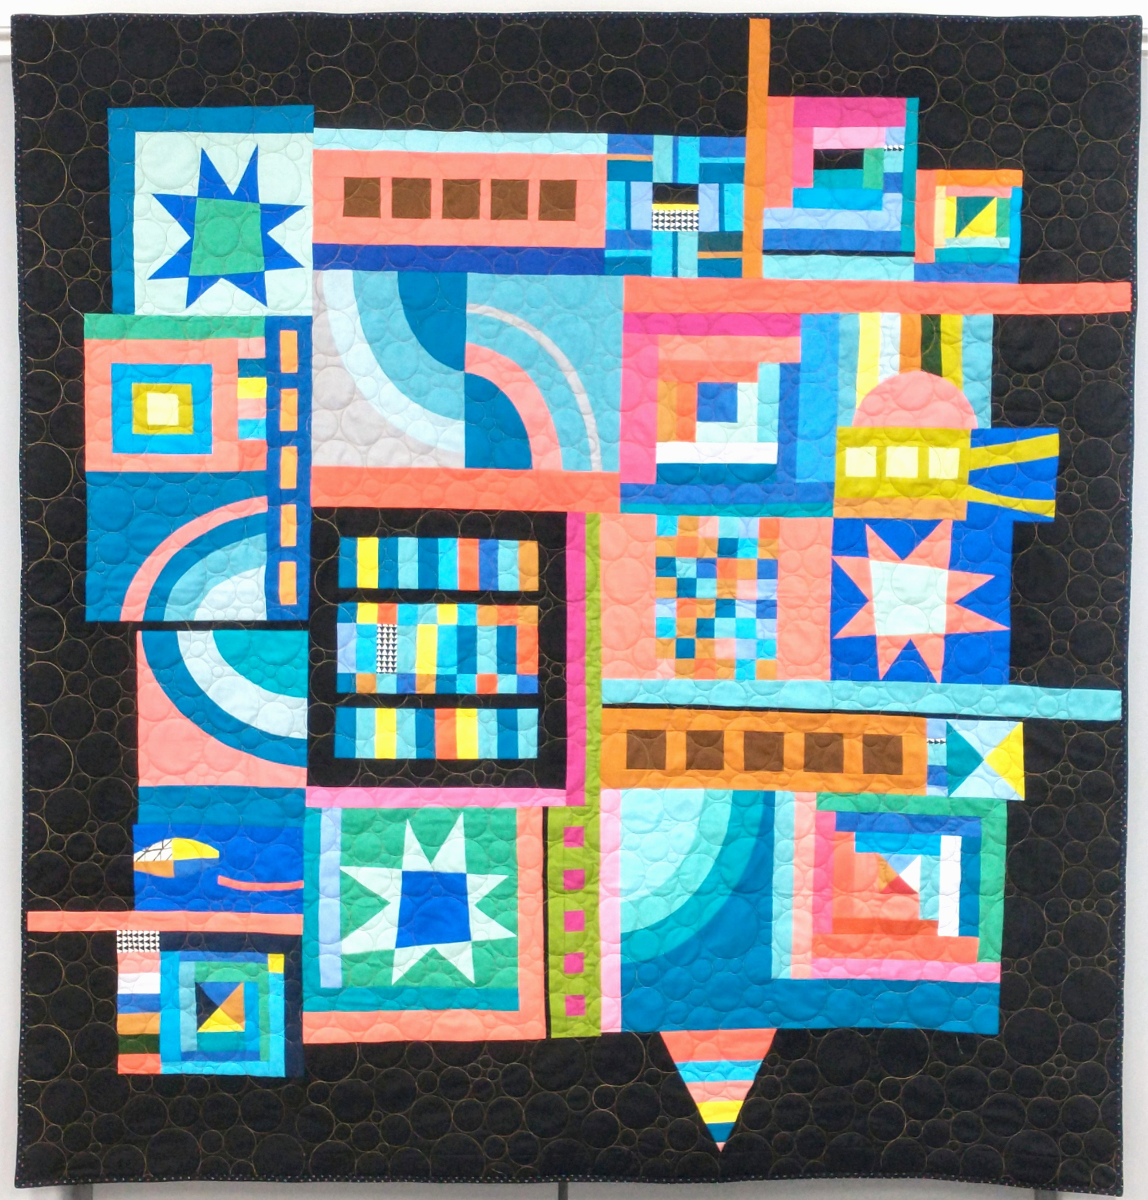
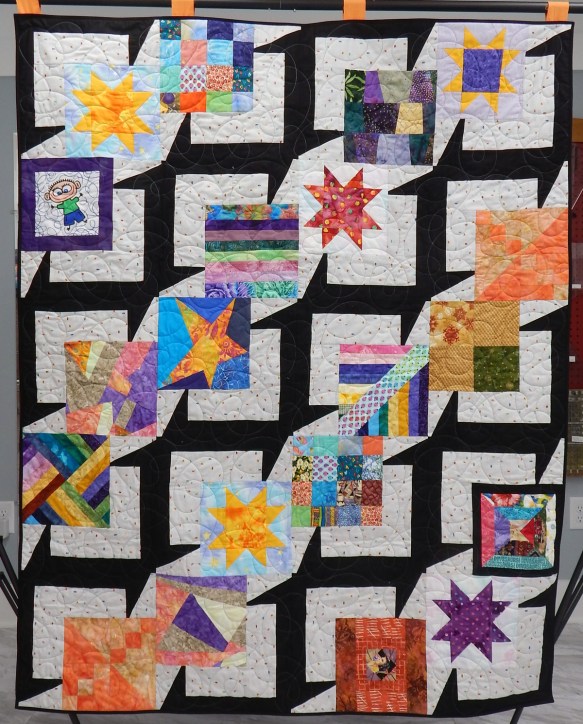
I’ve also taken a bunch of leftover blocks, cut them up, and put them on the design wall with variable sashing to make an improv quilt.

I made this quilt from orphan blocks
Orphan blocks can be used in place of focus fabric in quilts designed for big prints, like the BQ patterns.
Orphan blocks can be used as the “focus fabric” in patterns designed for big prints
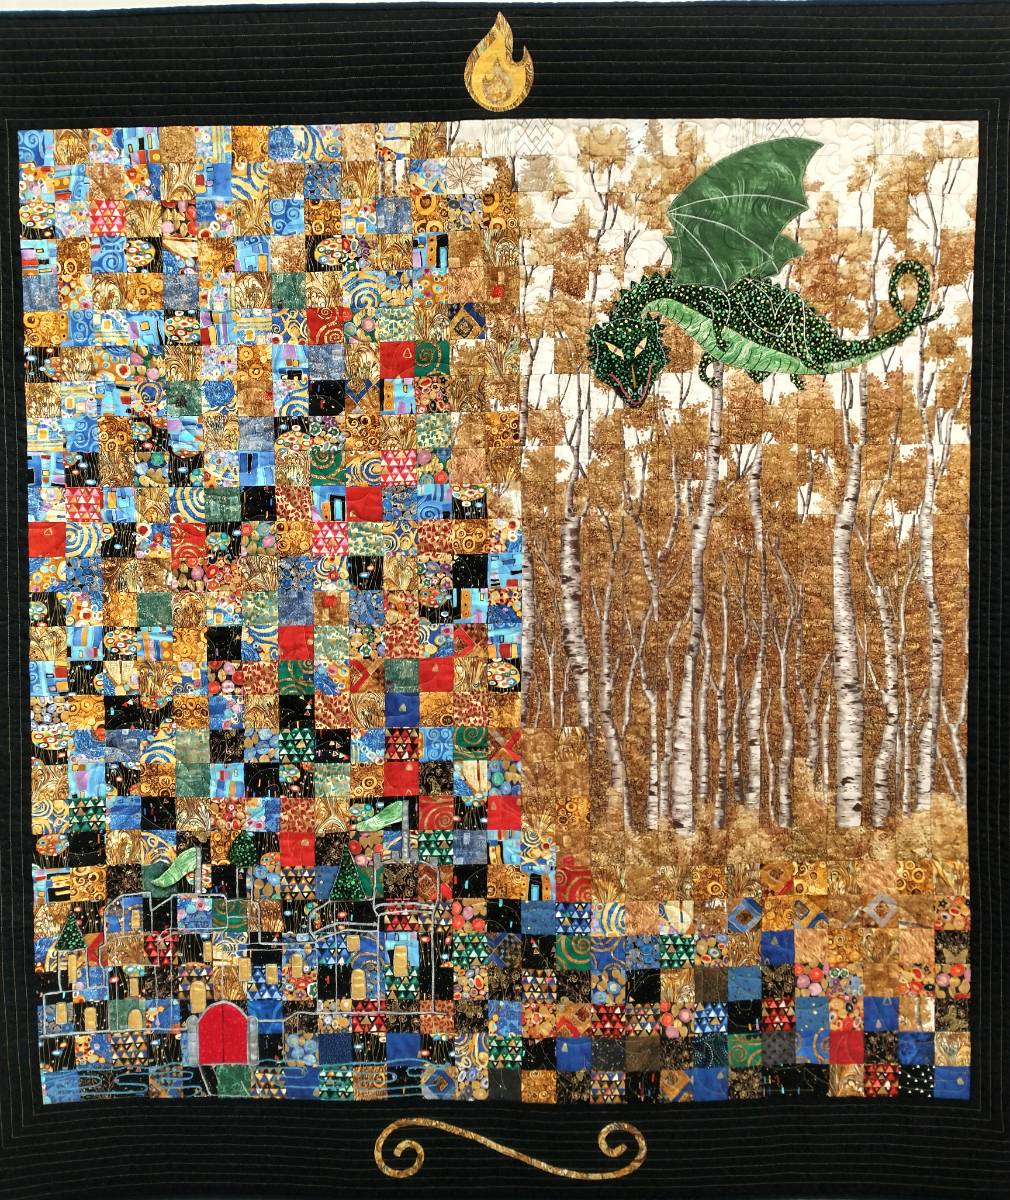
And some of us are so stuck on the same color families that blocks from many different quilts can be combined into one. This next quilt is made entirely from orphan blocks. Some had to have sashing added, some had to be cut up, but they all worked.

Blue Sky and Sunshine, 60″ x 72″
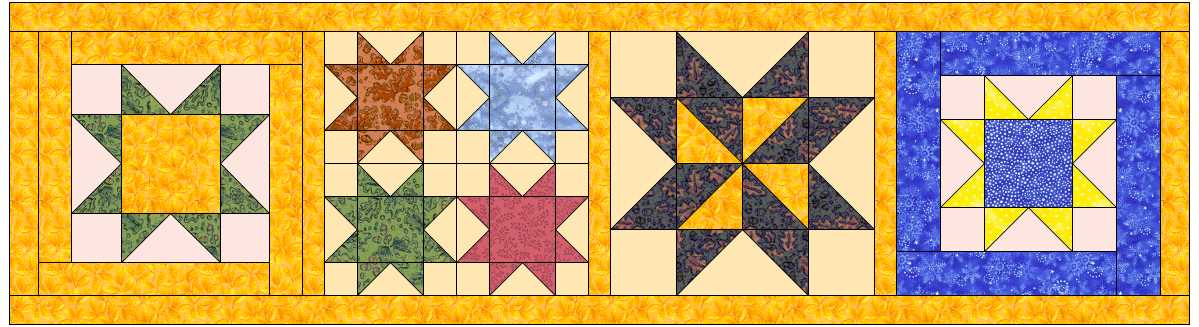
Of course a limited number of similar blocks can be combined into a table runner, even if it’s necessary to add sashing to make the sizes equal..
This little block was hand quilted and given a facing to finish the edges for a wall hanging.
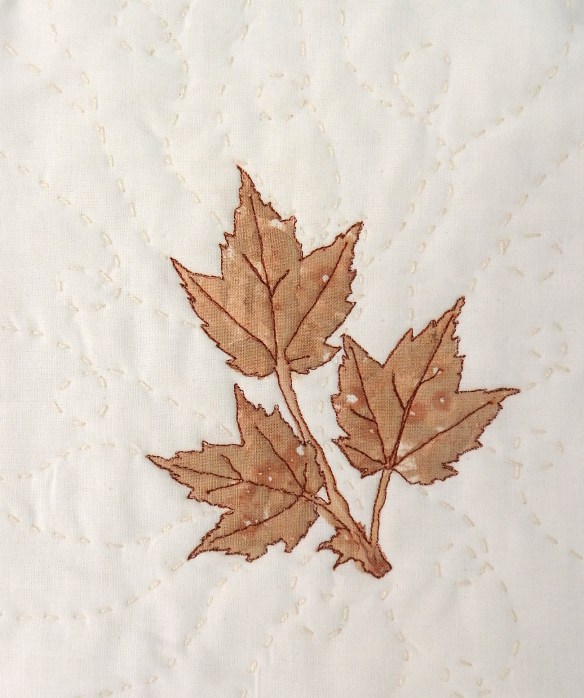
I had forgotten about this little leaf-pounding piece that I quilted by hand.
And individual blocks can be made into placemats, mug rugs, potholders, etc.
What do you do with orphan blocks?

 Look at the cool quilting as well–it’s a panto from Urban Elementz called Retro Lines One.