I’ve seen some fun quilts lately, all made by other people, so I’m sharing a few of them.
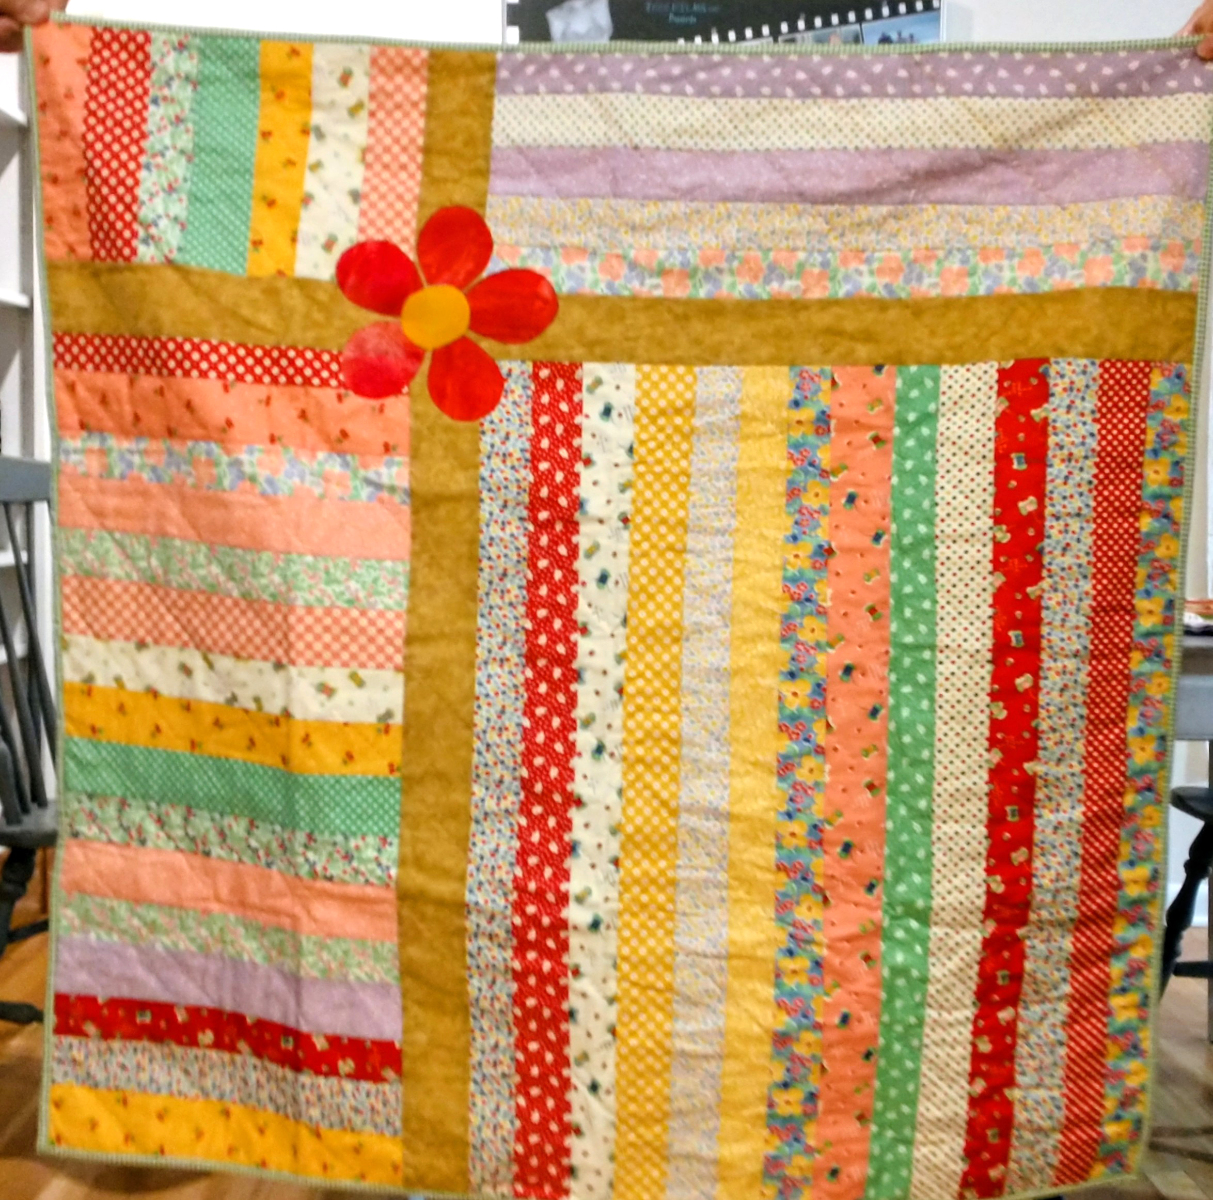
First, my friend Michele made these 3 tulips to hang in her exercise room.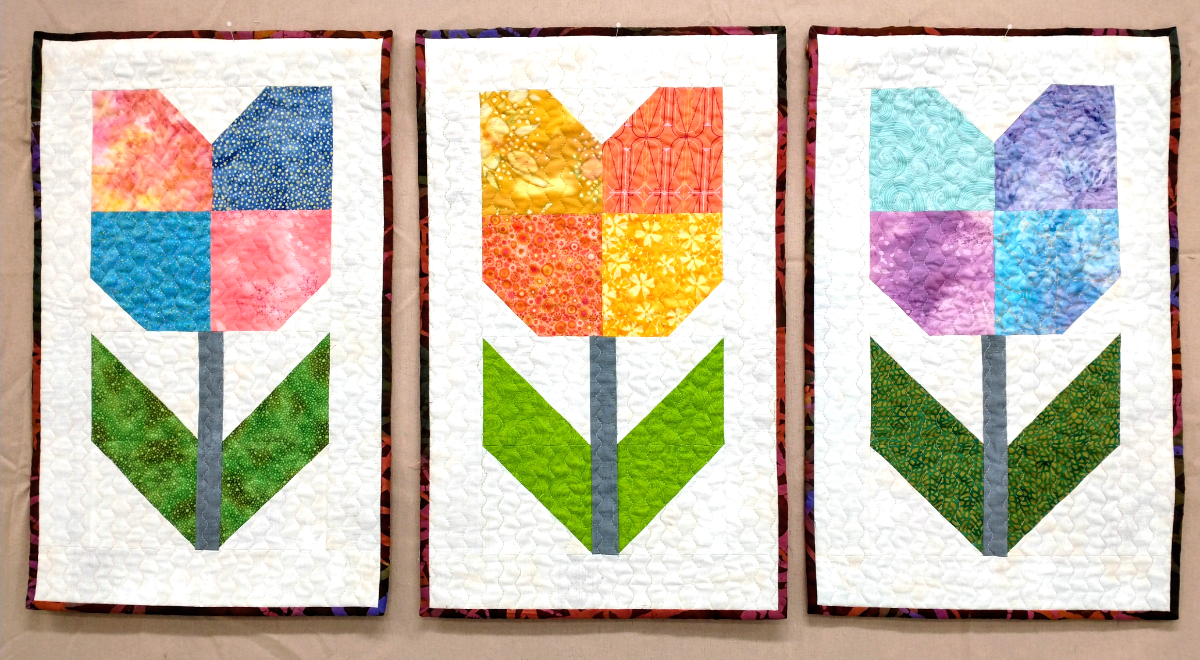
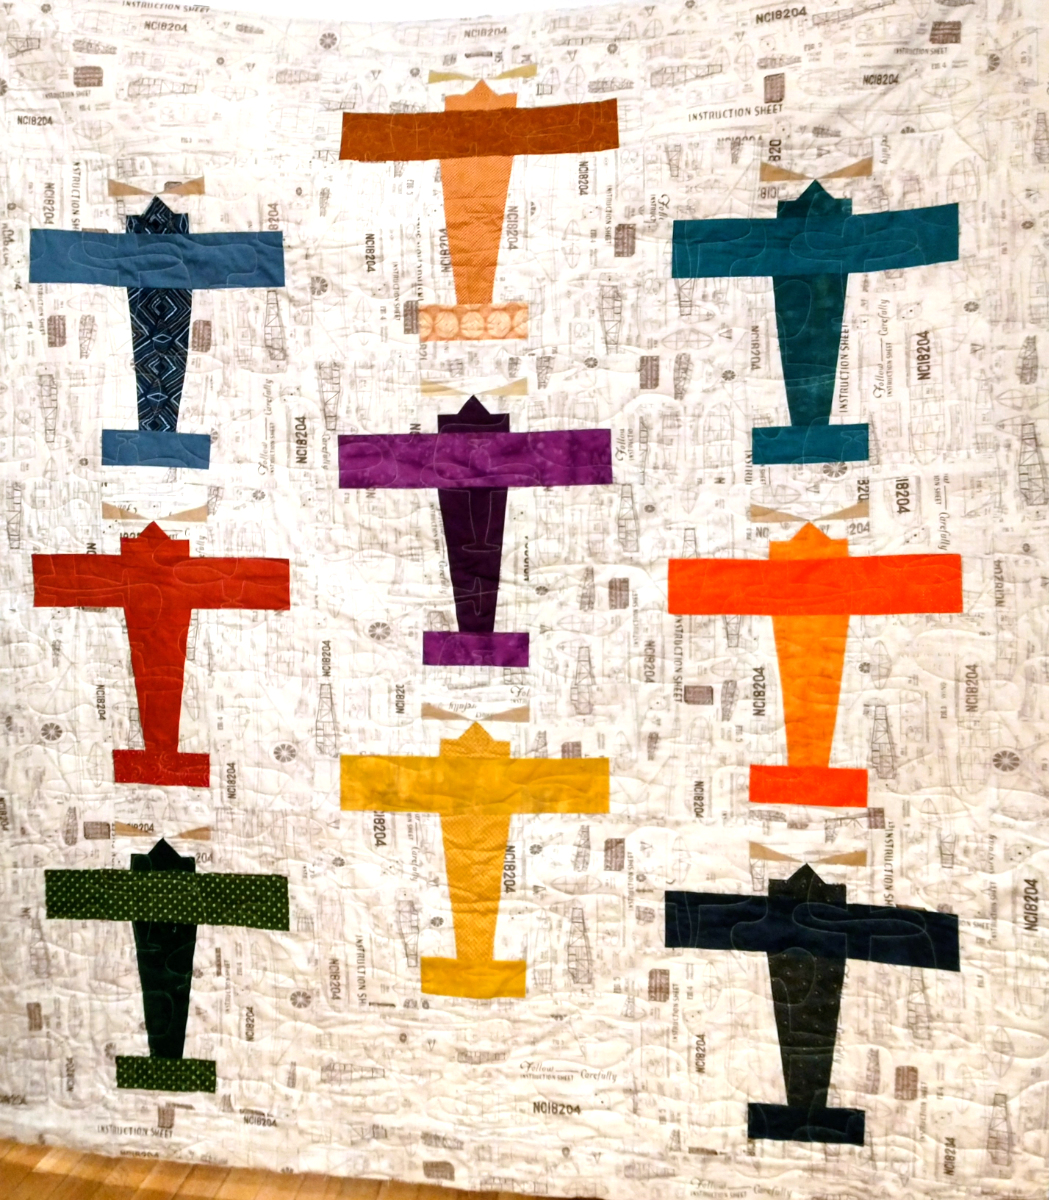
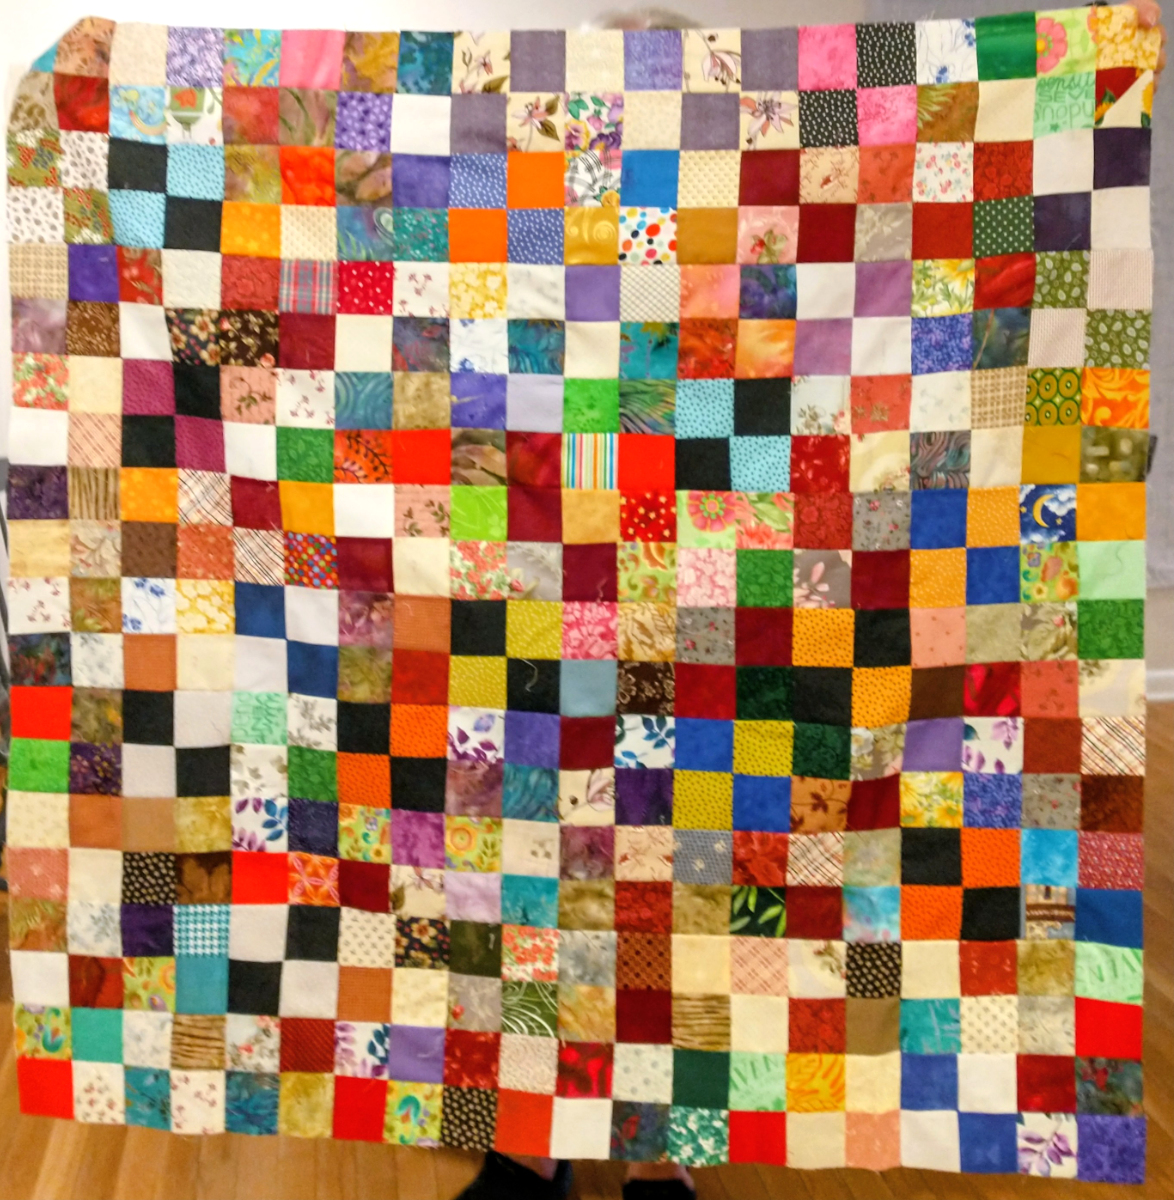
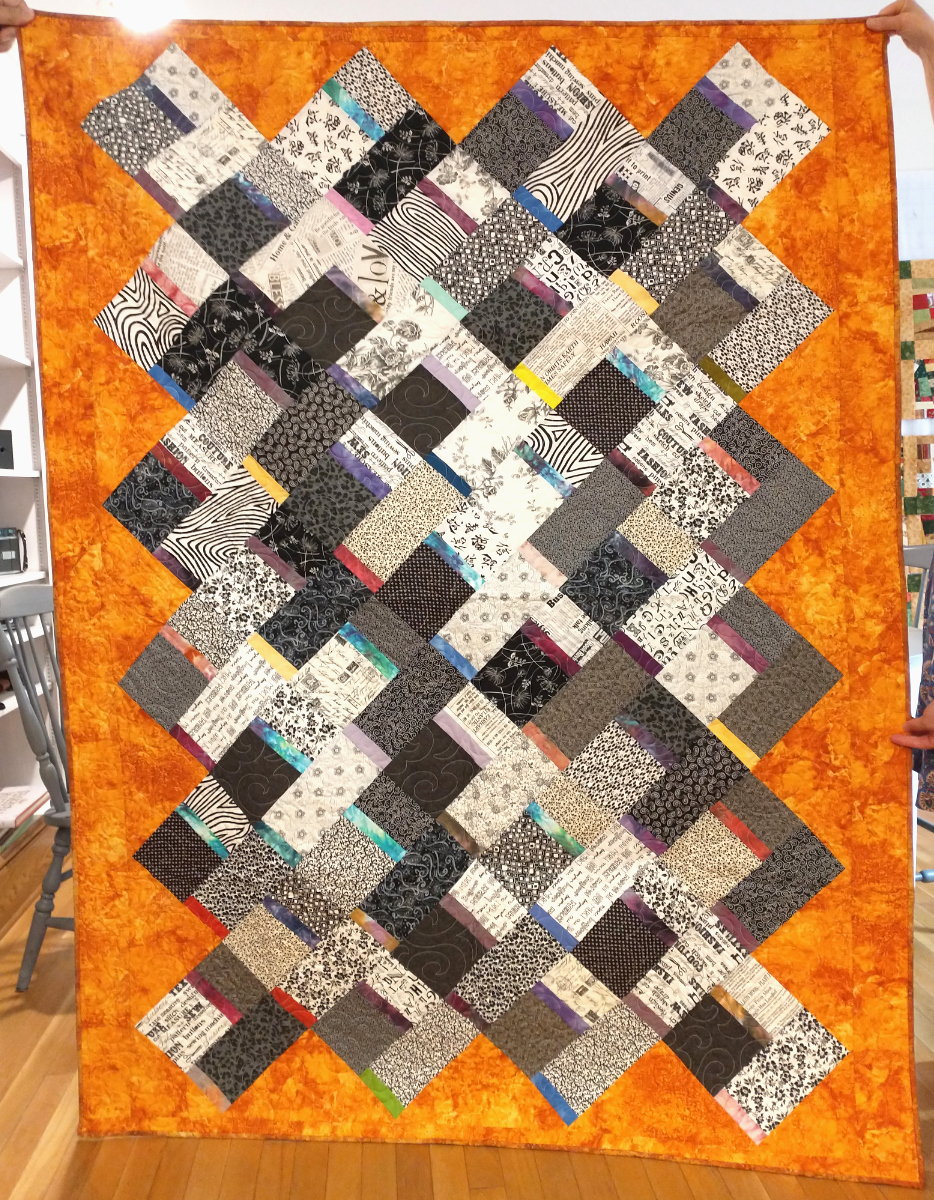
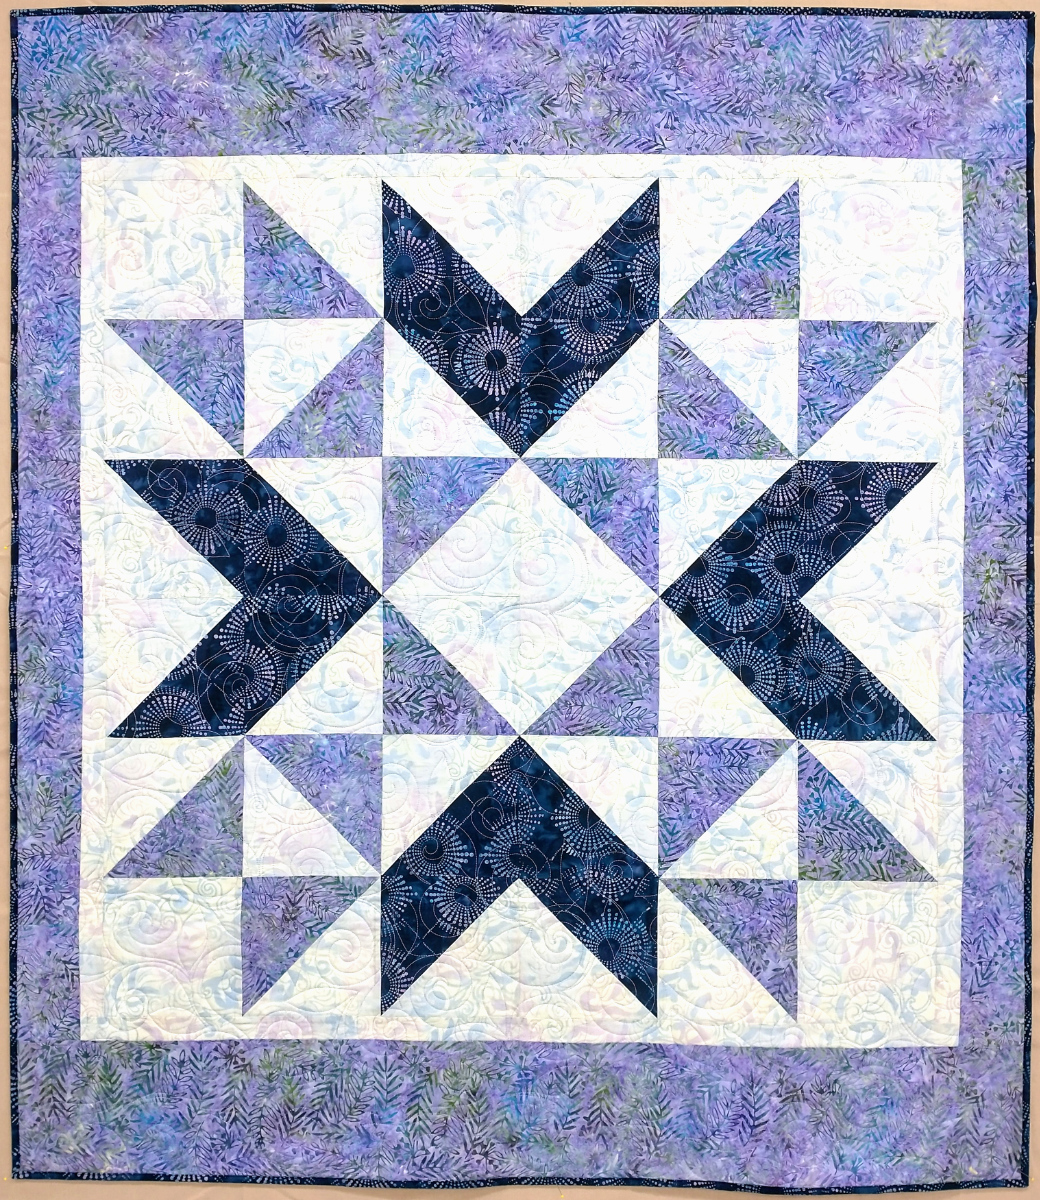
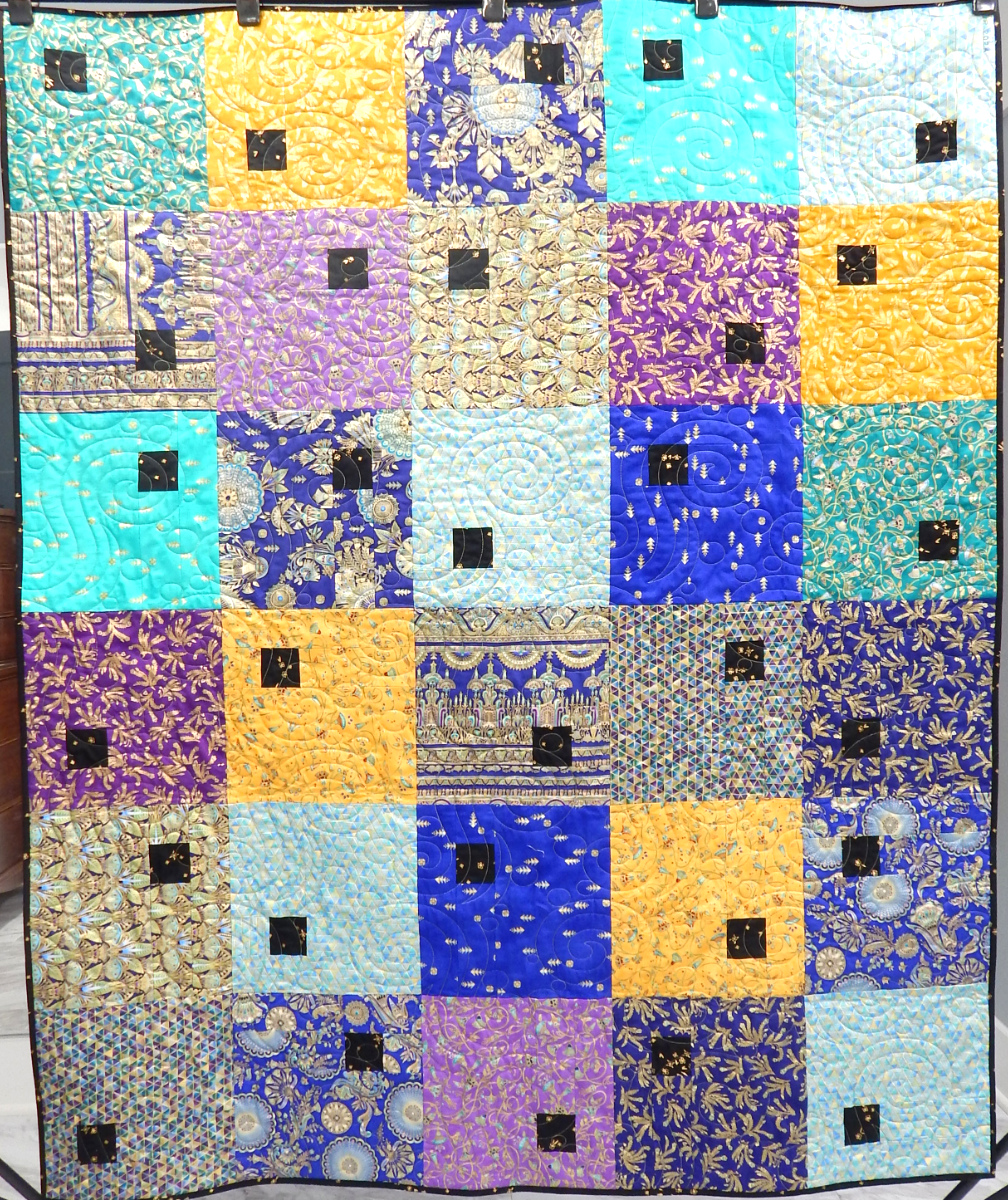
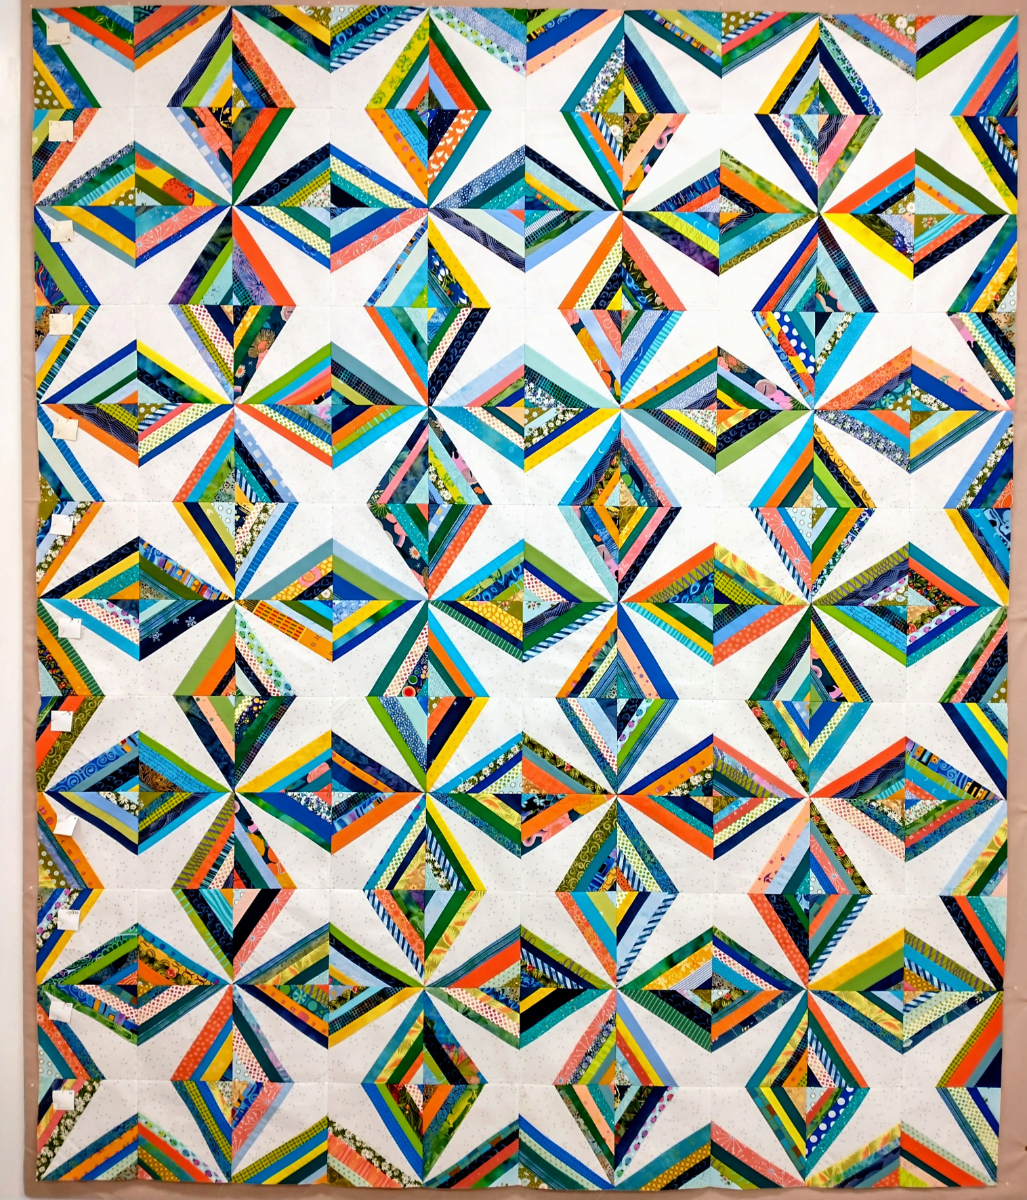
This quilt has been in several shows in my area and I love it:
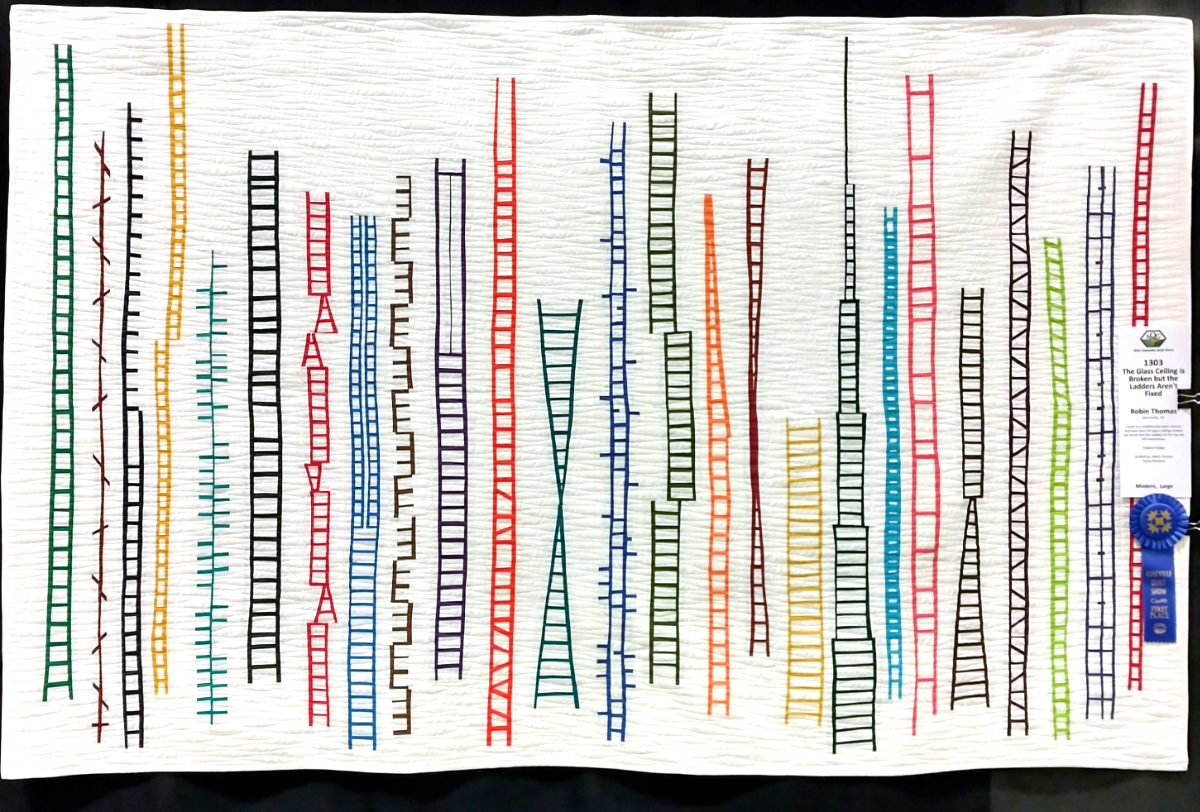
The Glass Ceiling Is Broken But The Ladders Aren’t Fixed, by Robin Thomas
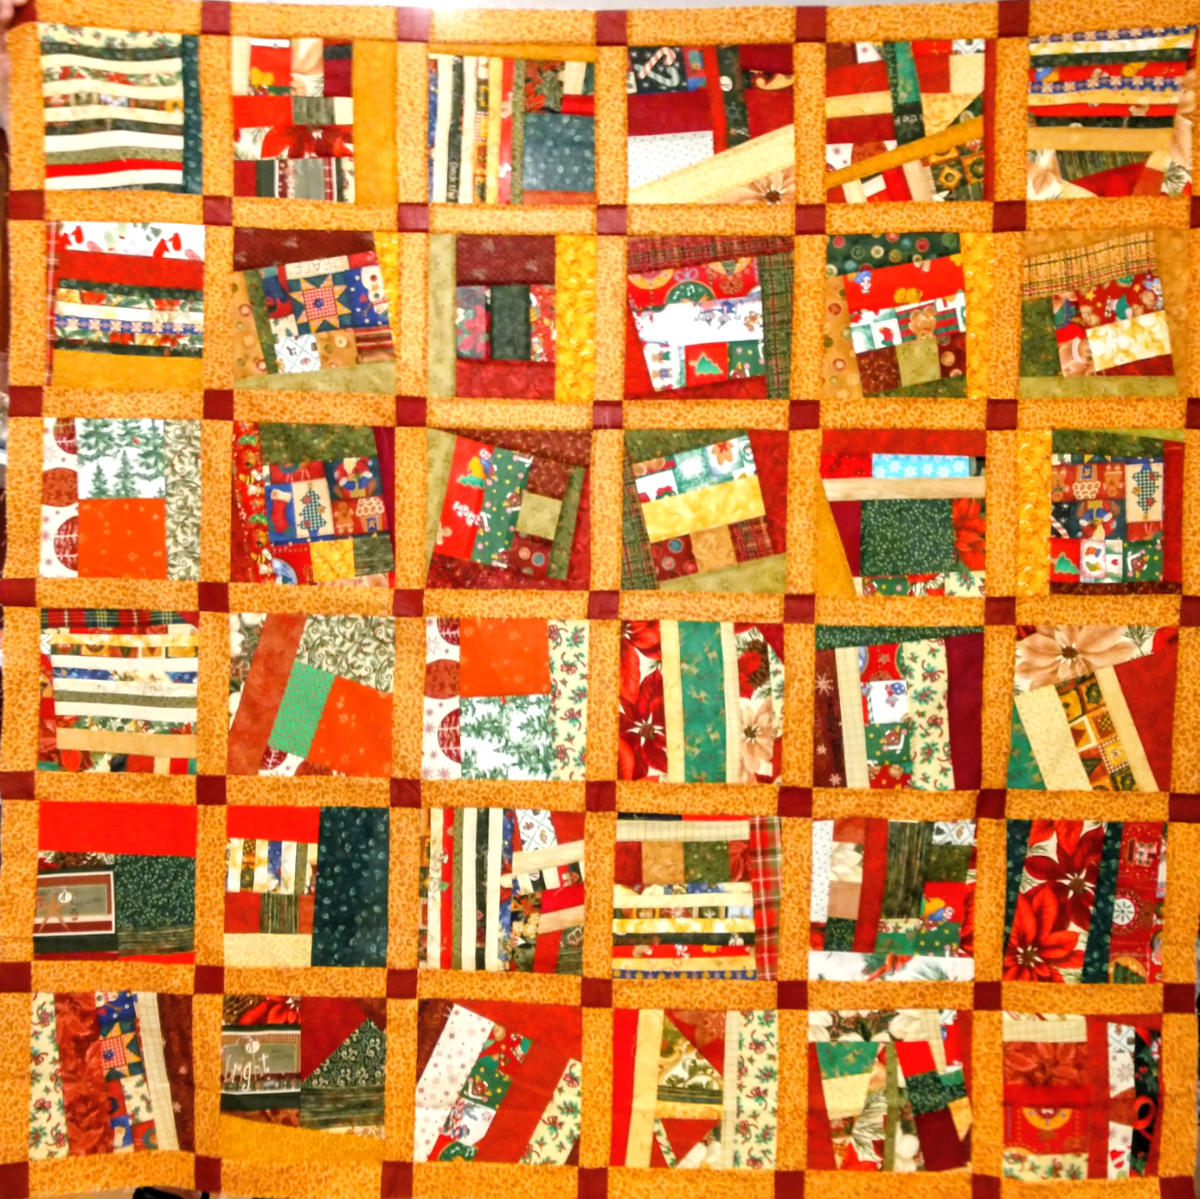
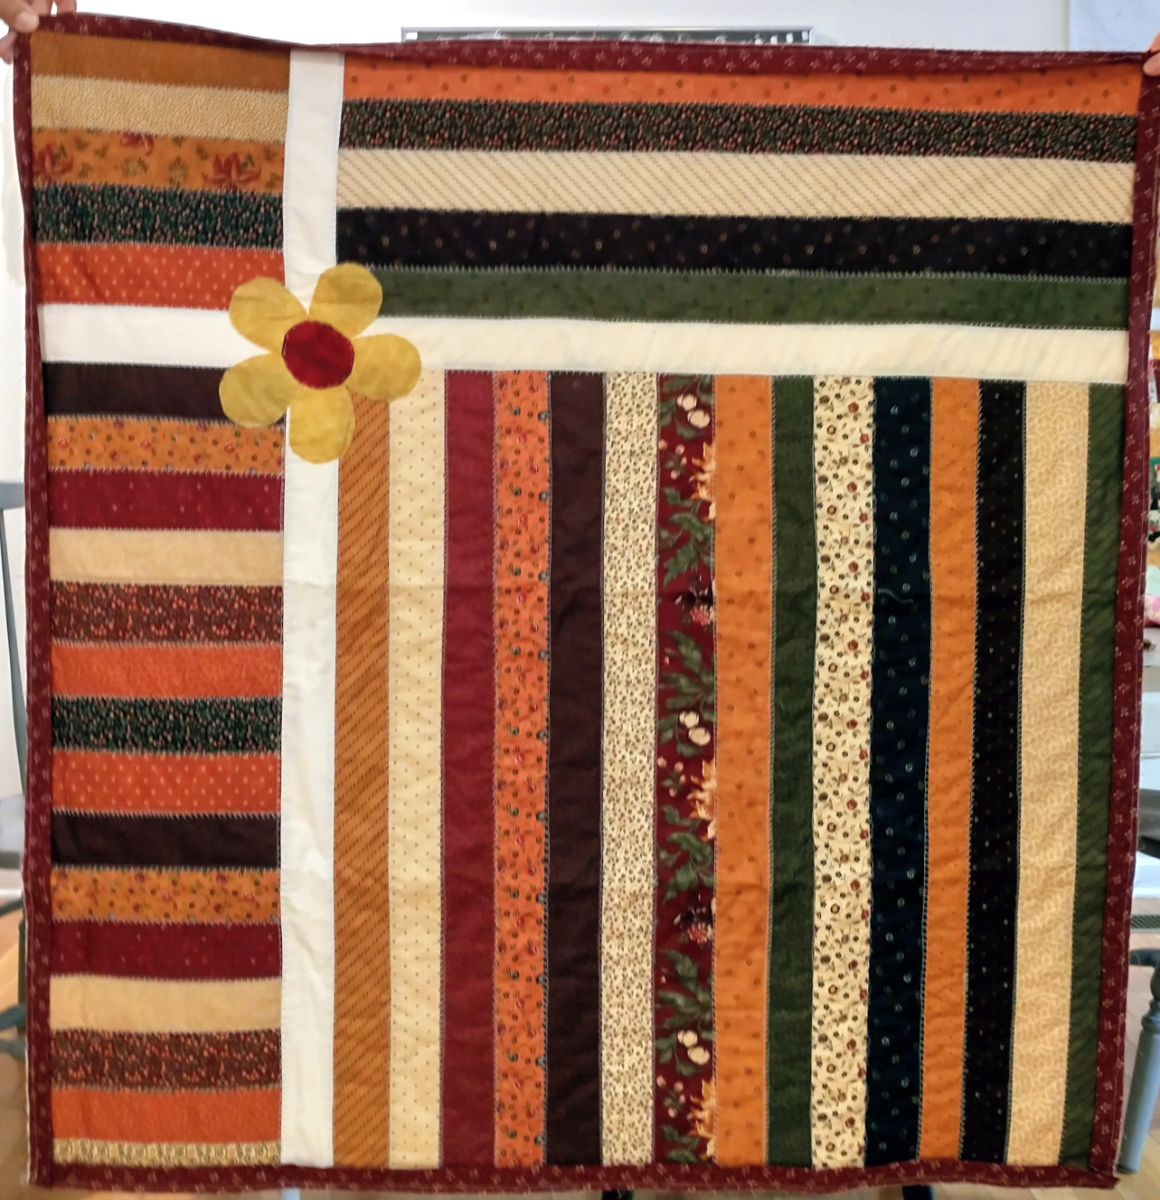
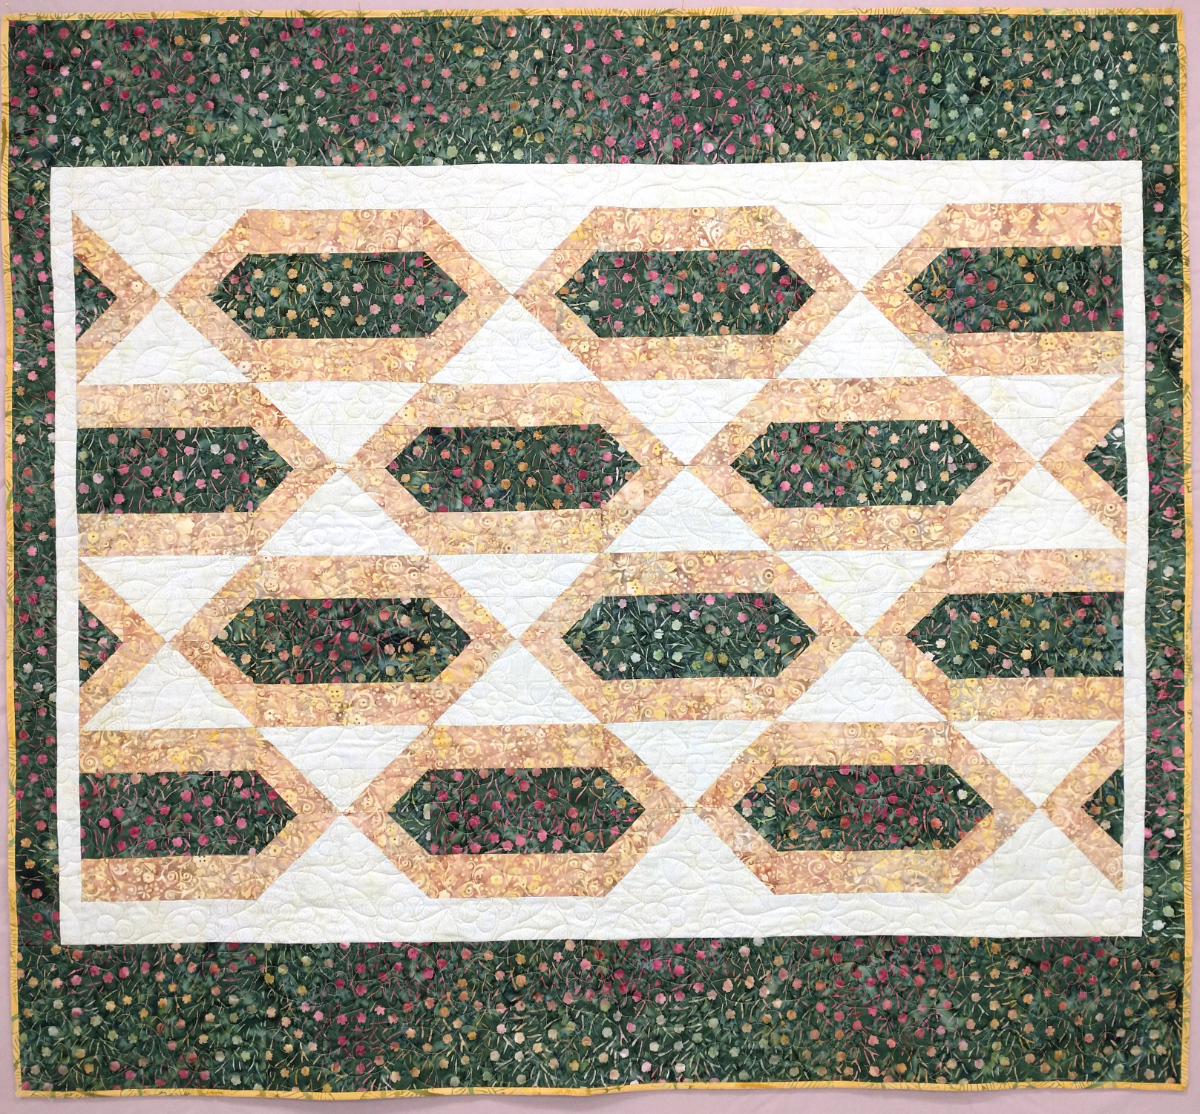
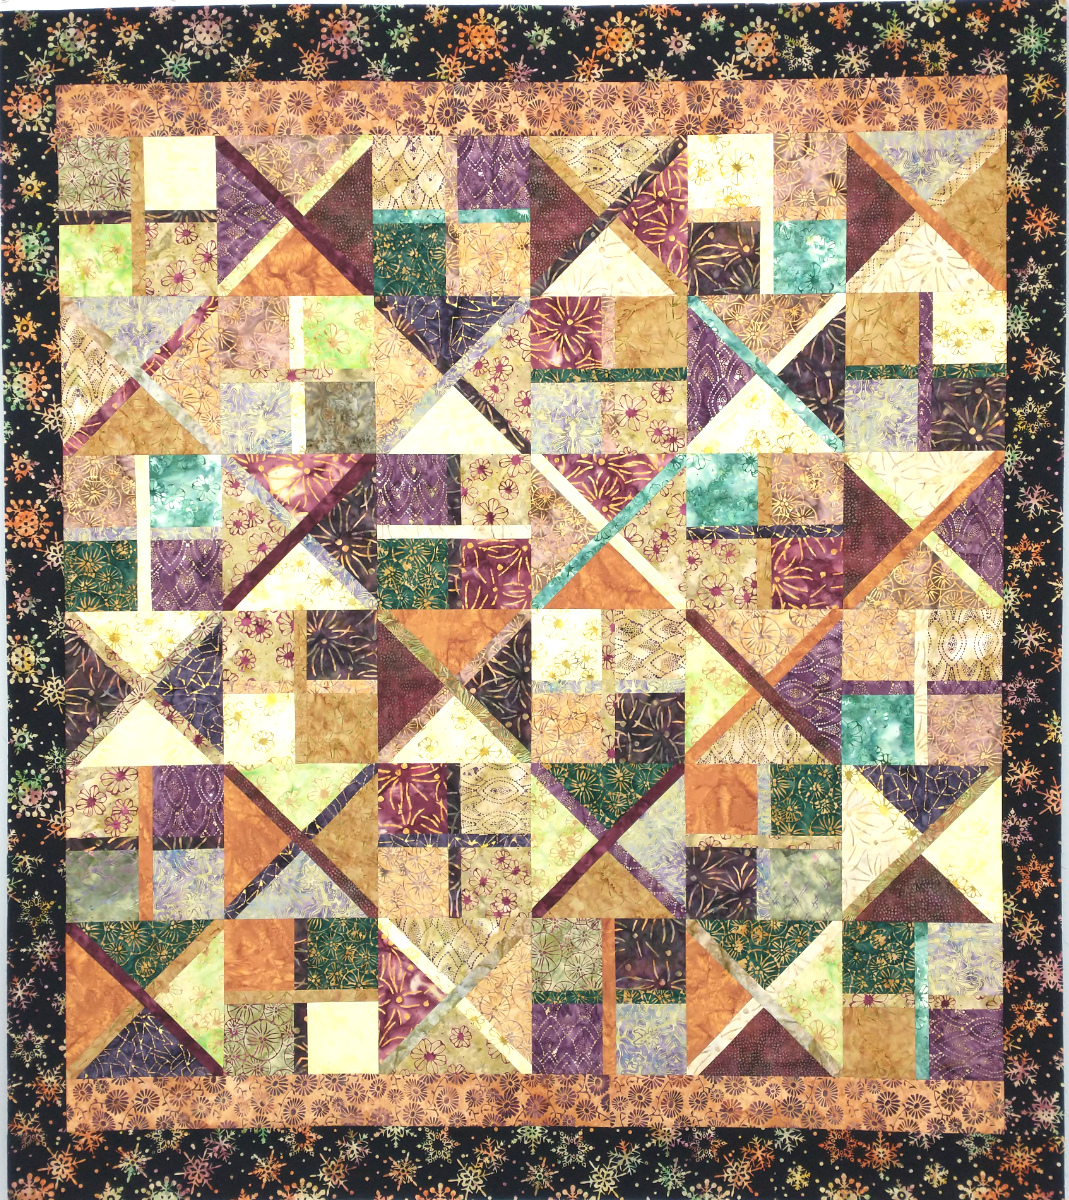
This quilt has been displayed at the Grove Park Inn for years, but it used to be under glass. There is no attribution with the display.

 I’m hoping they have (or will hire) a conservator and will hang it with protection again.
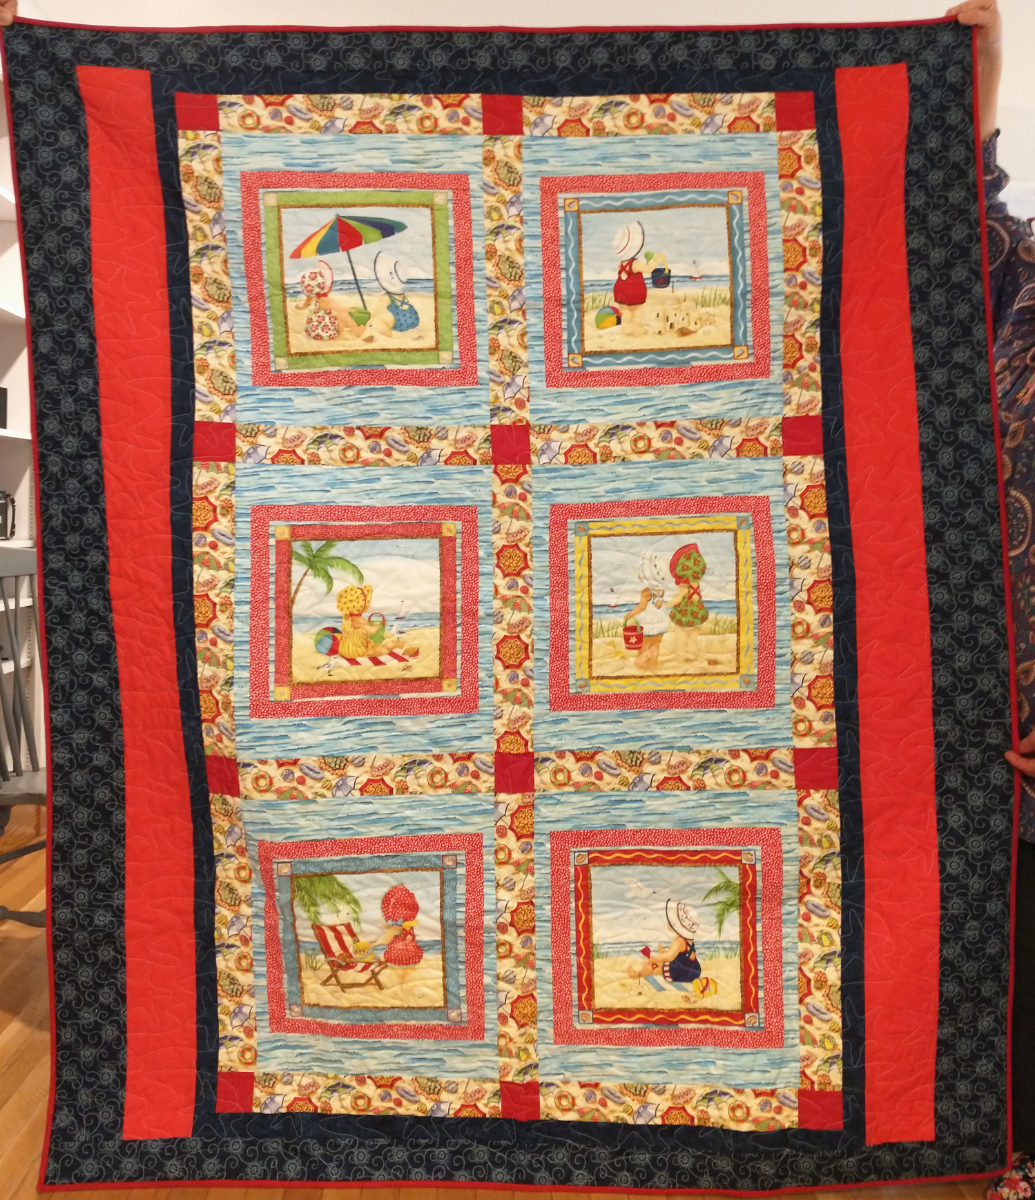
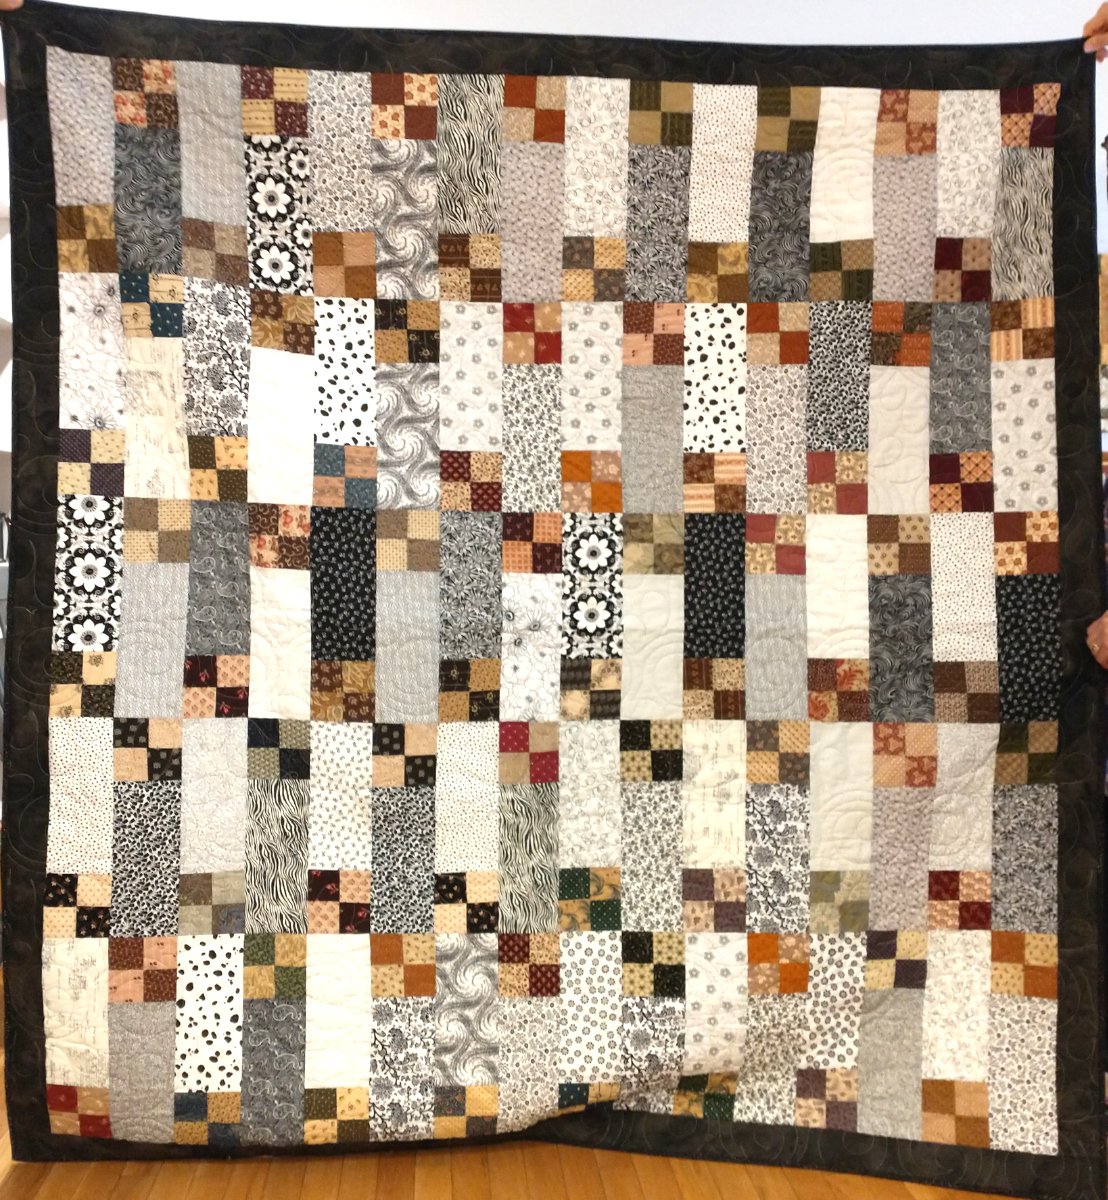
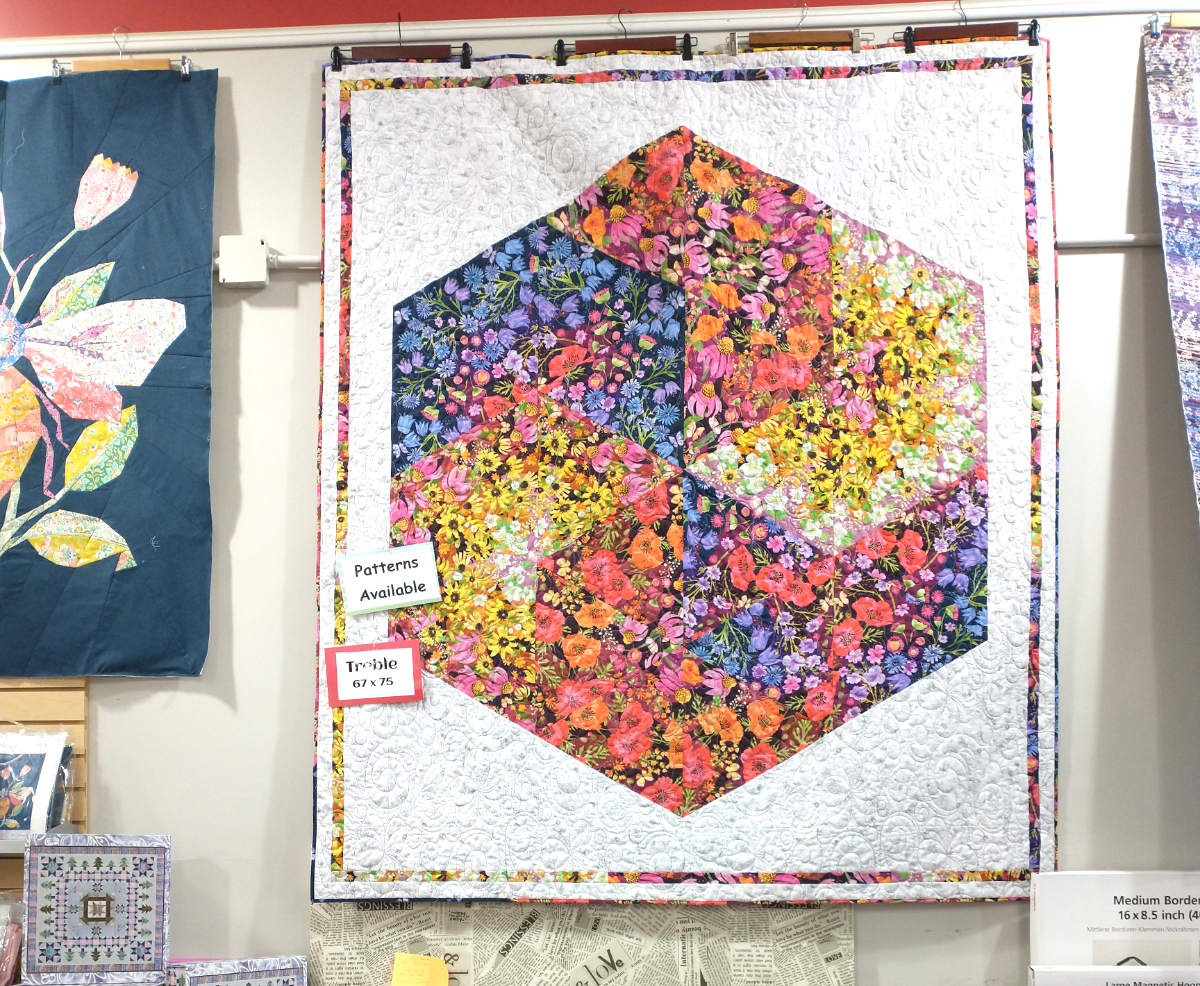
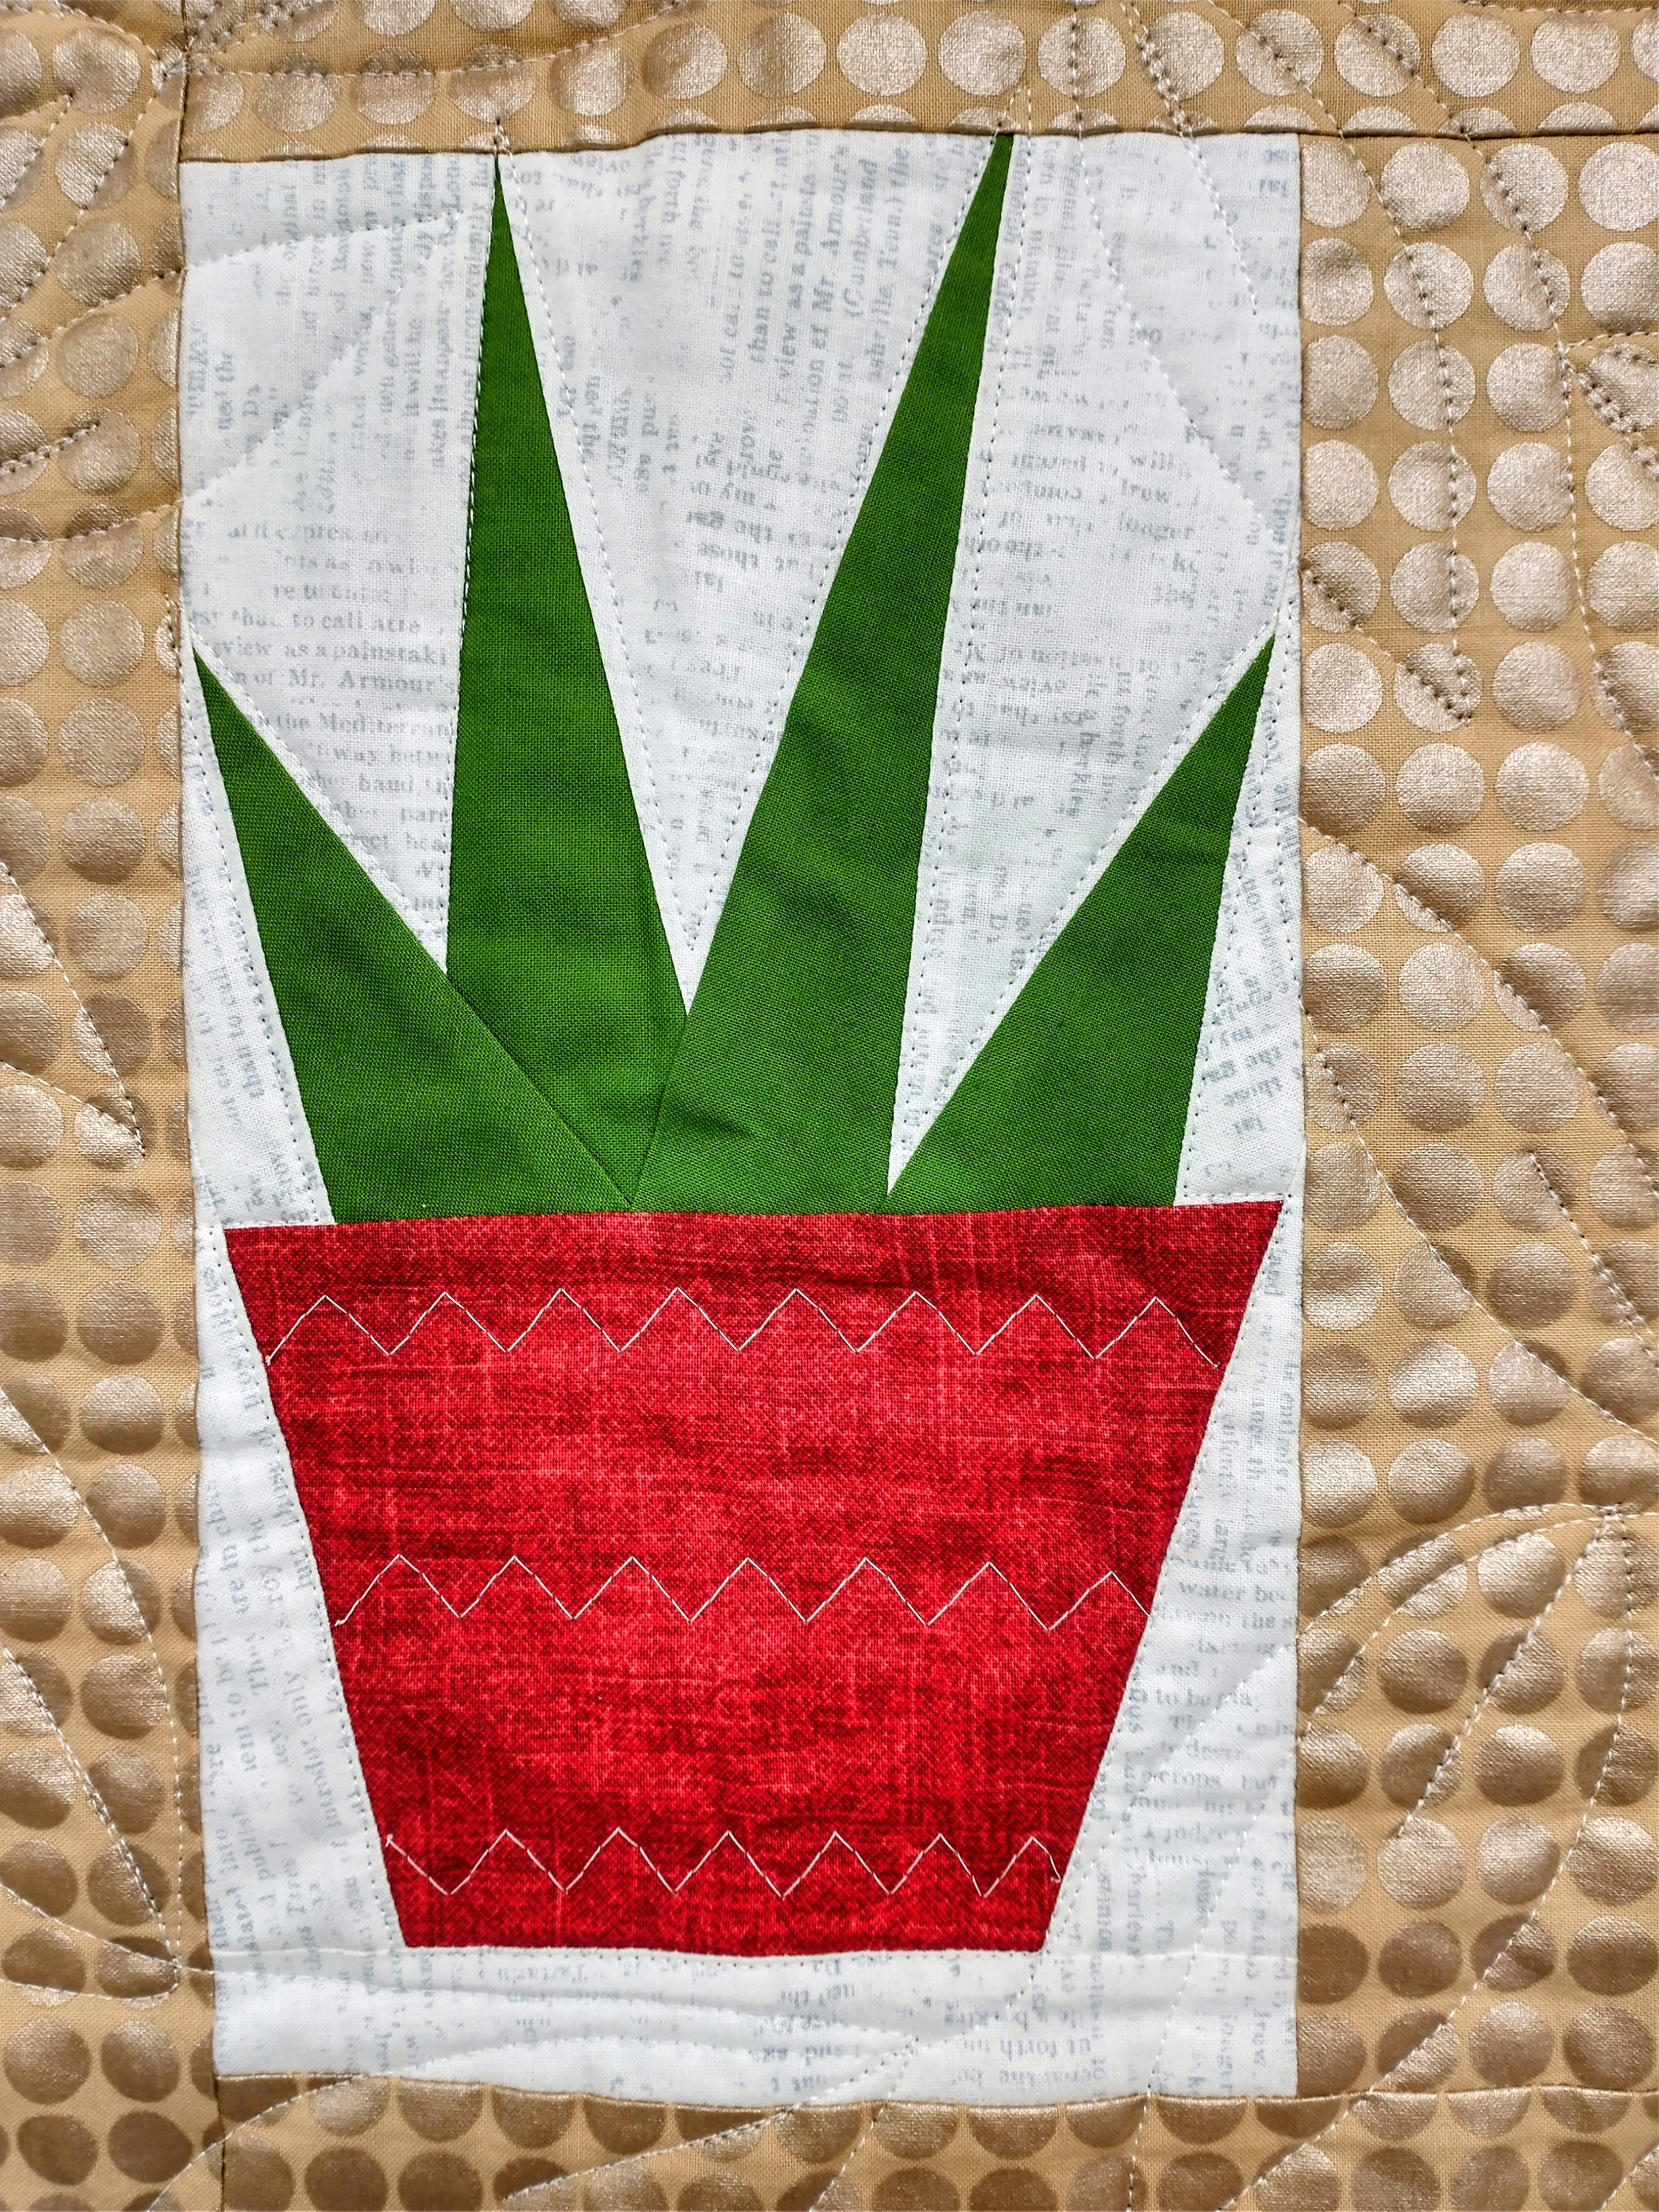
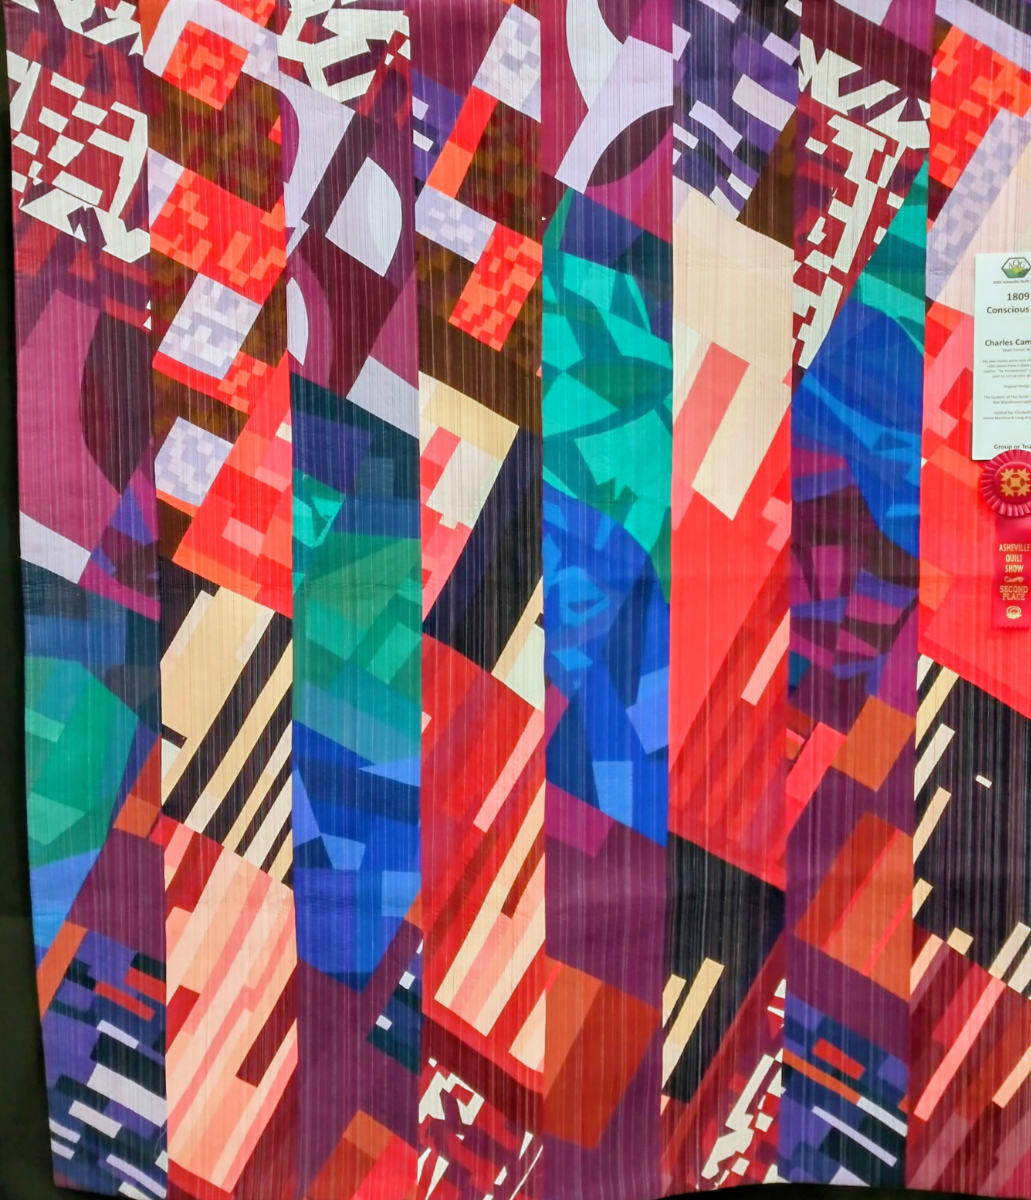
Charles Cameron has shown this quilt in his lectures and elsewhere, and I was pleased to see it in person:
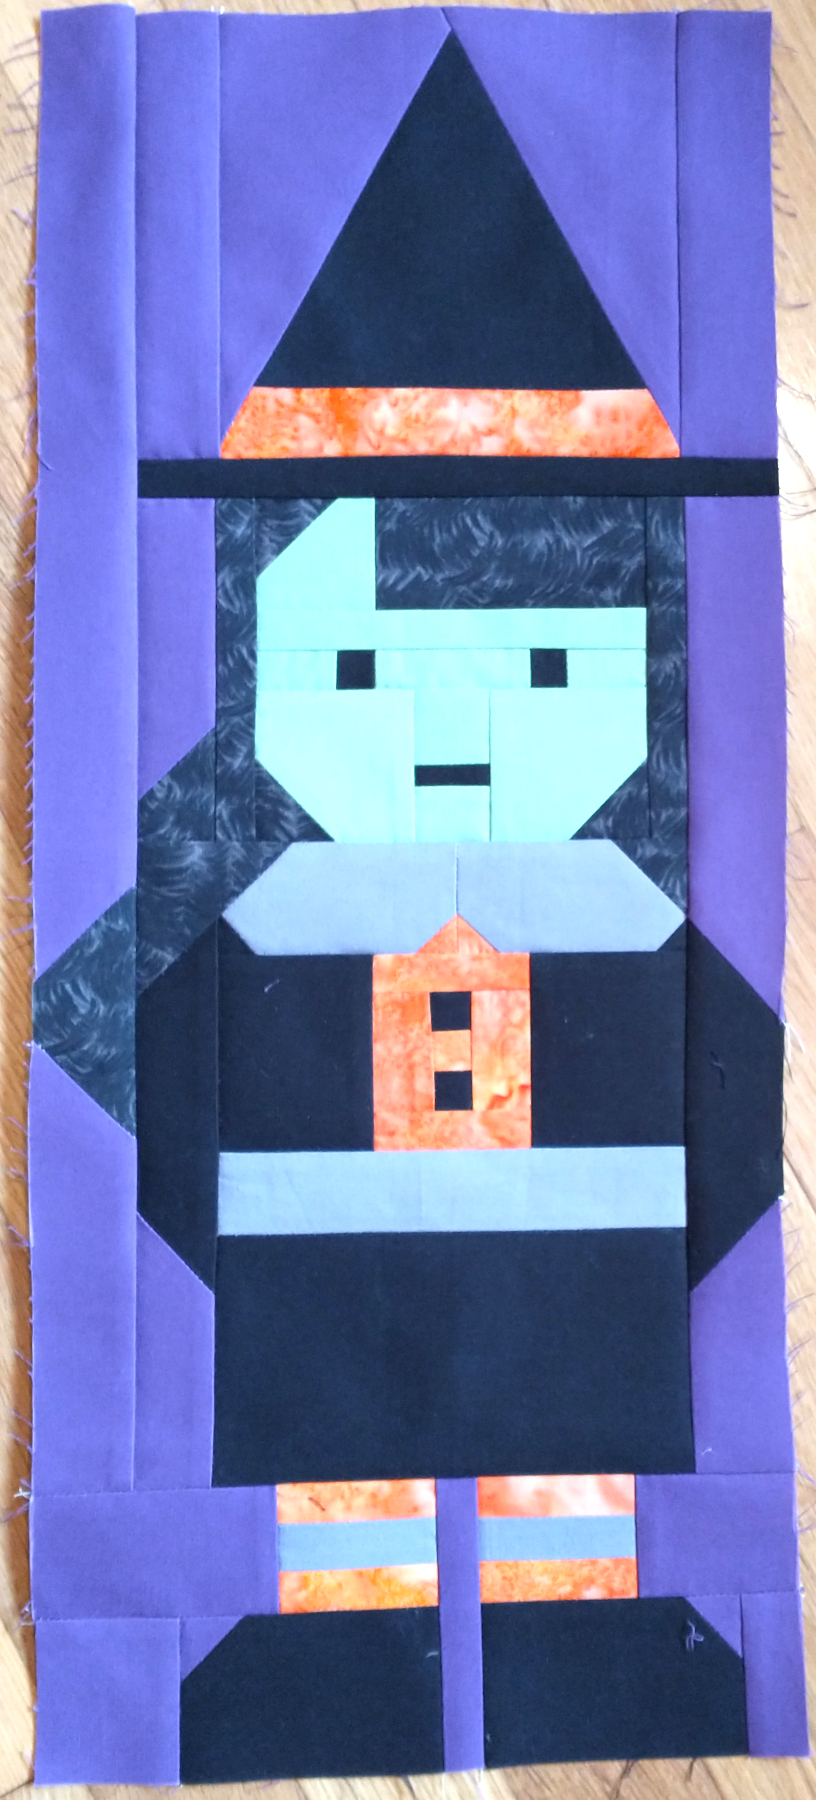
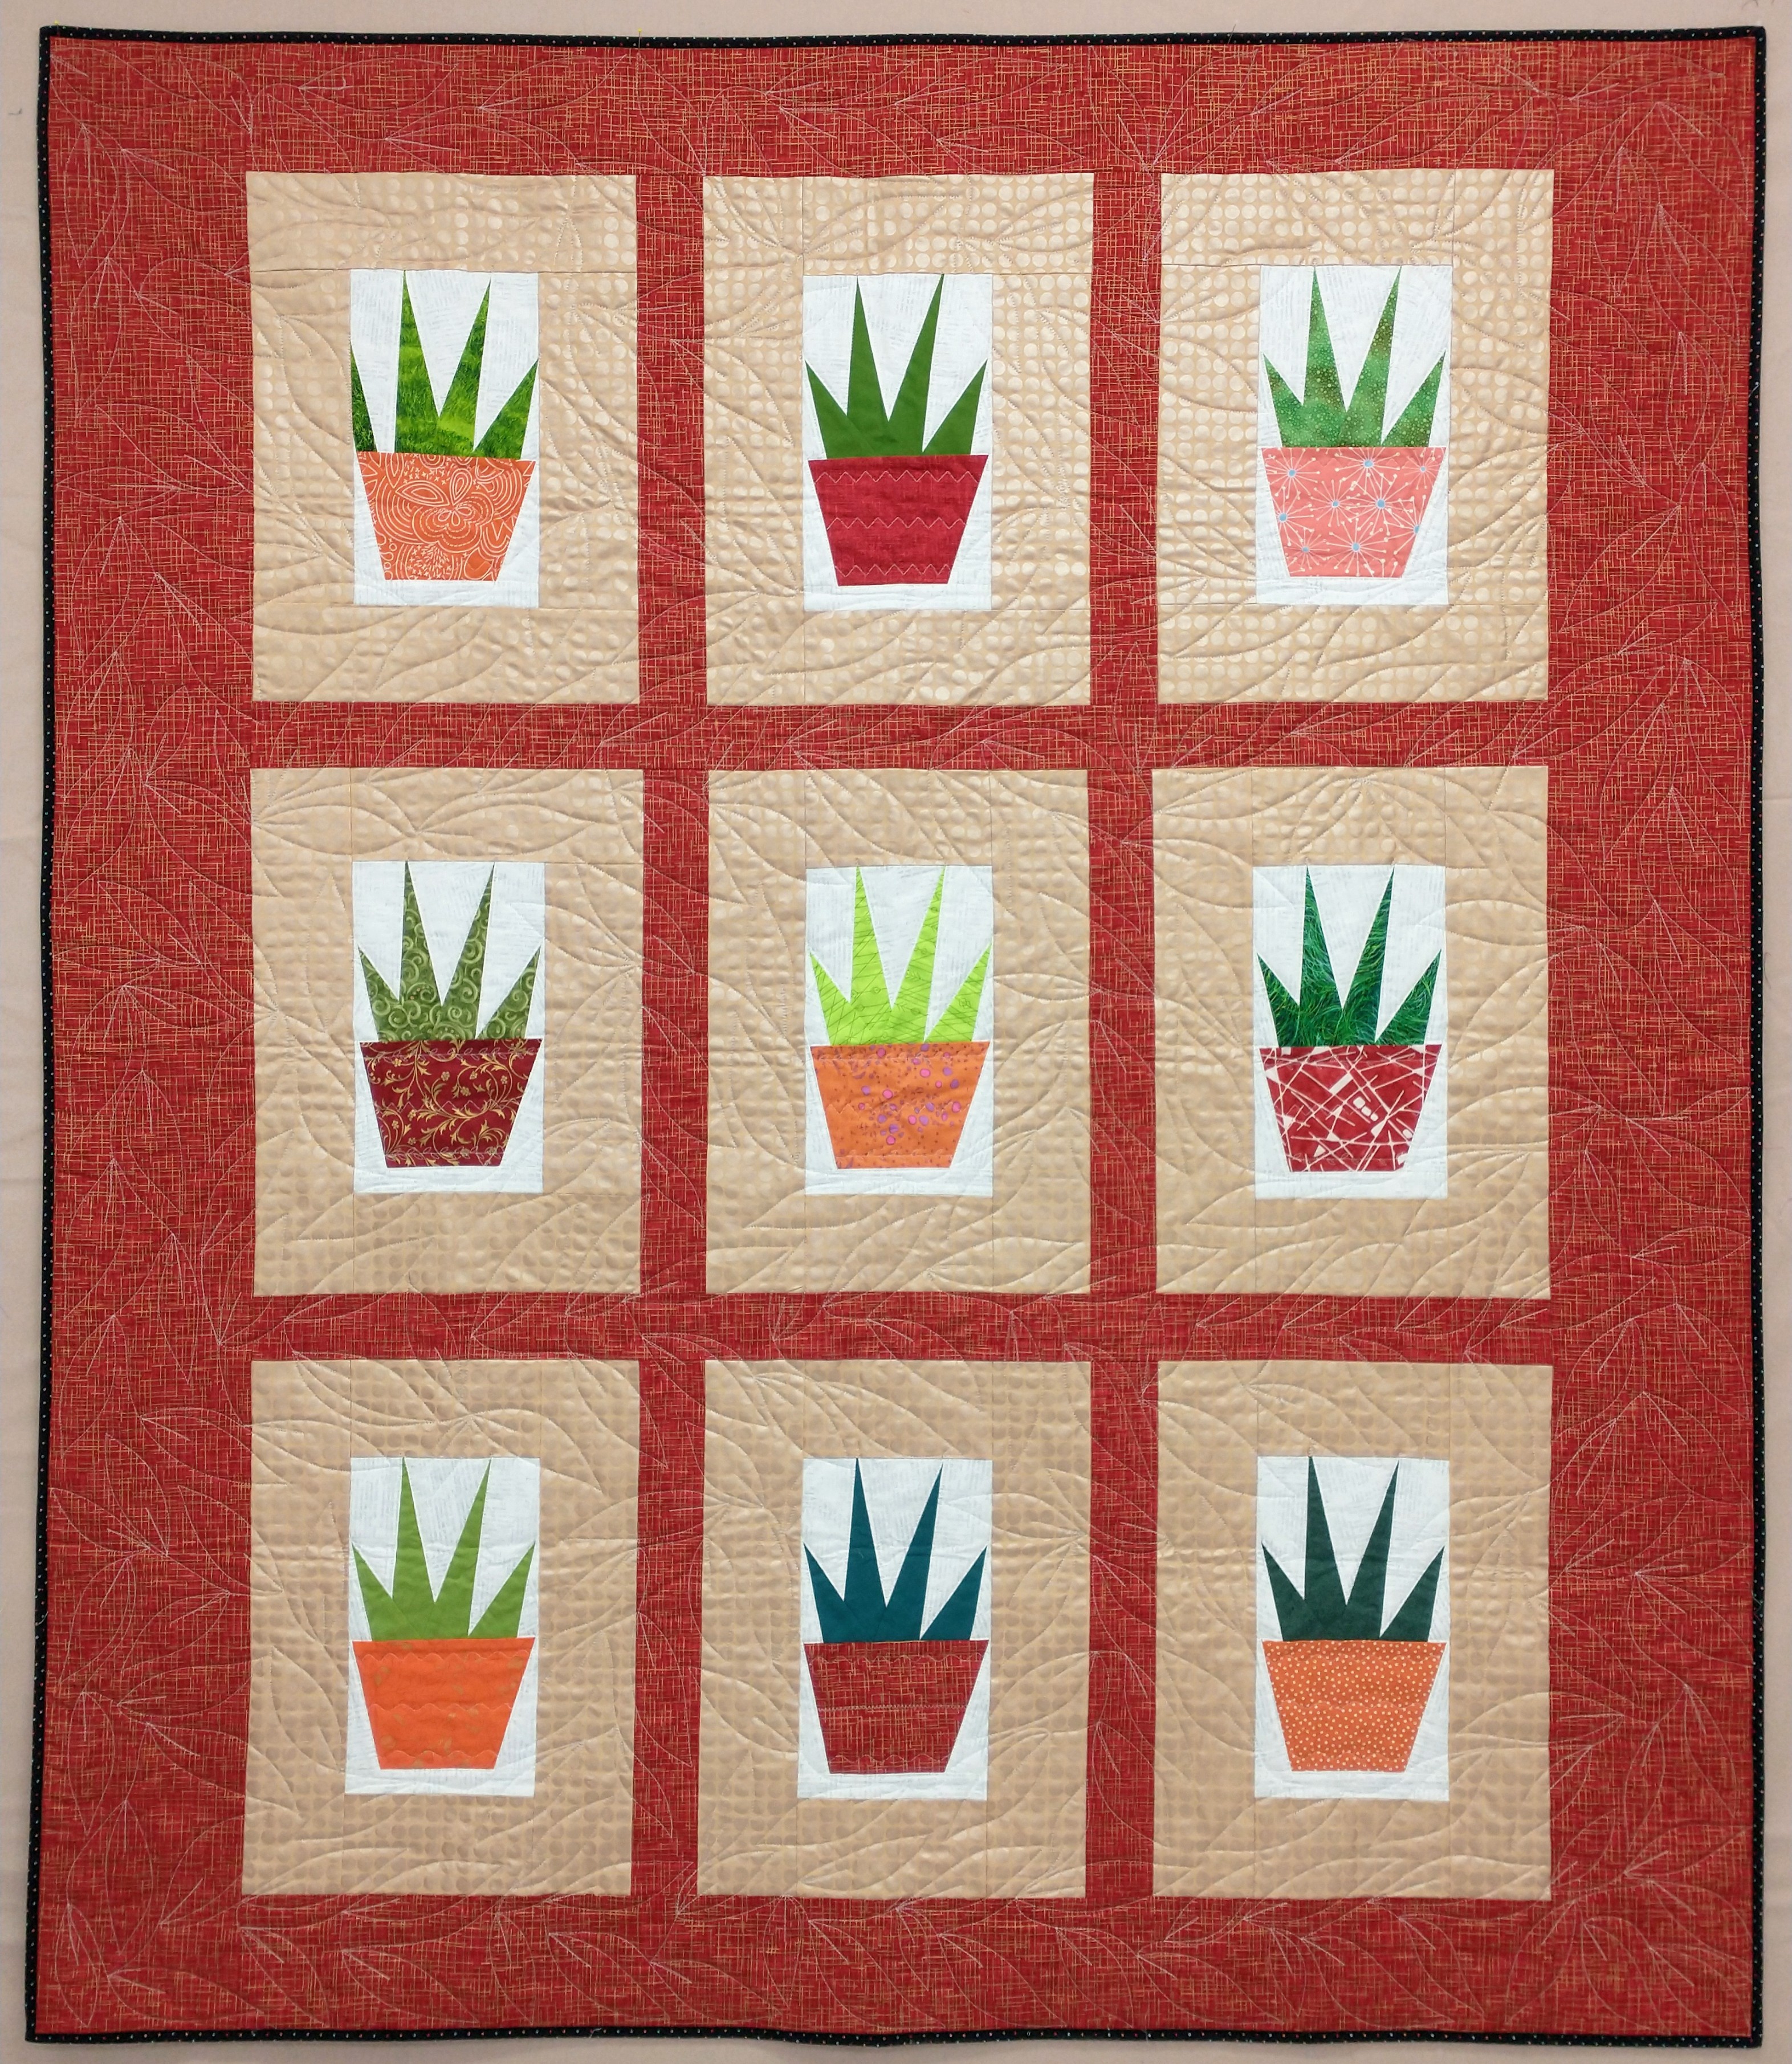
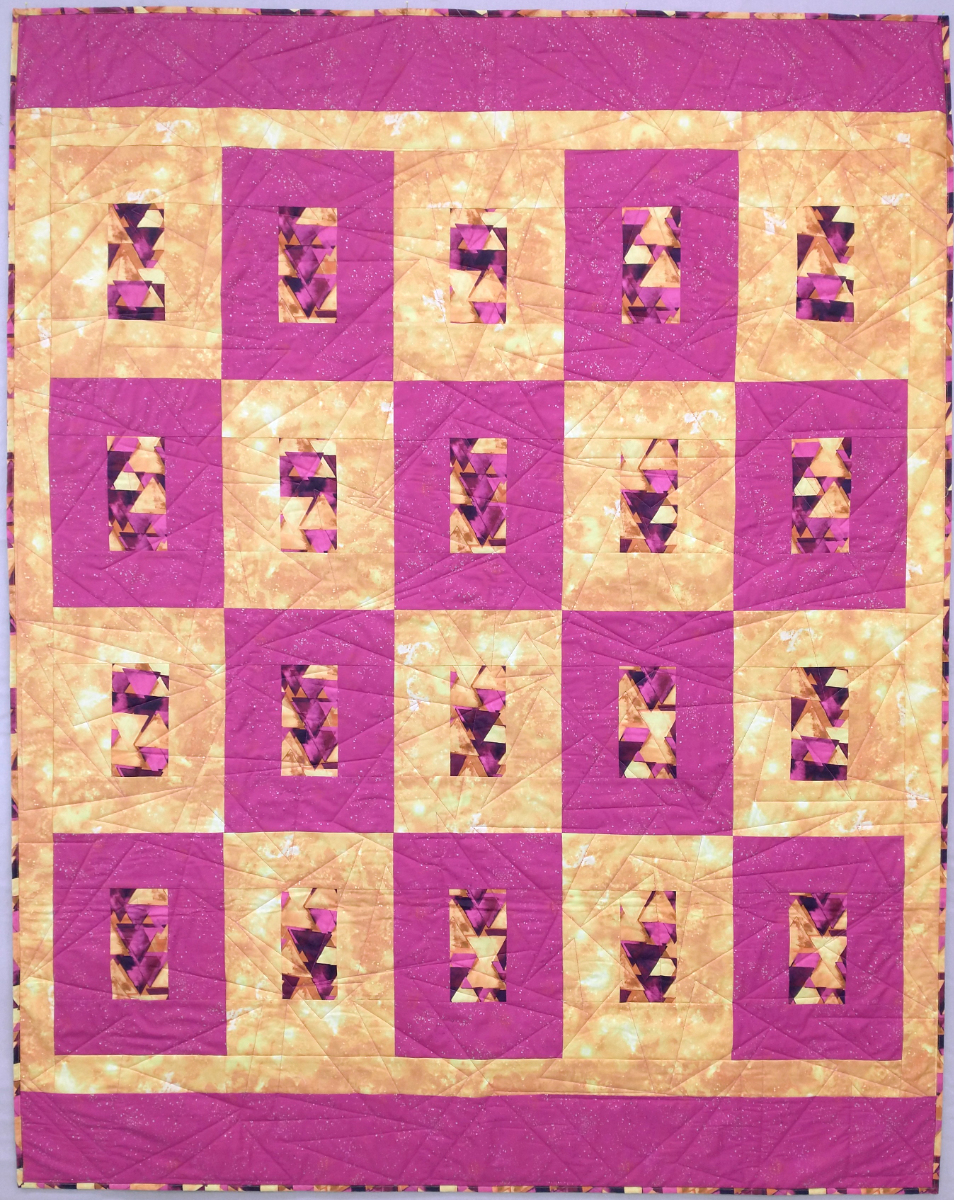
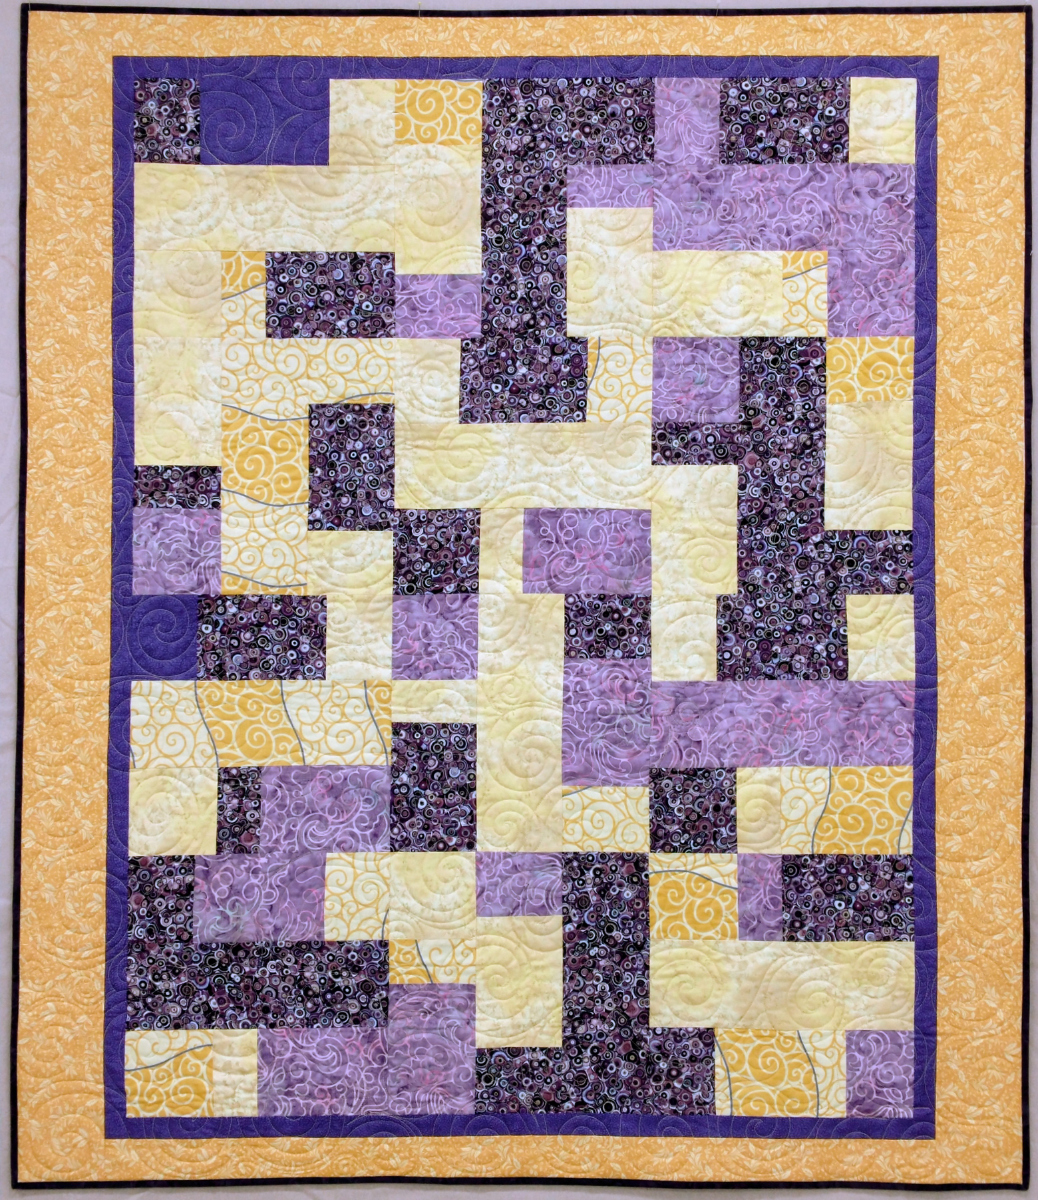
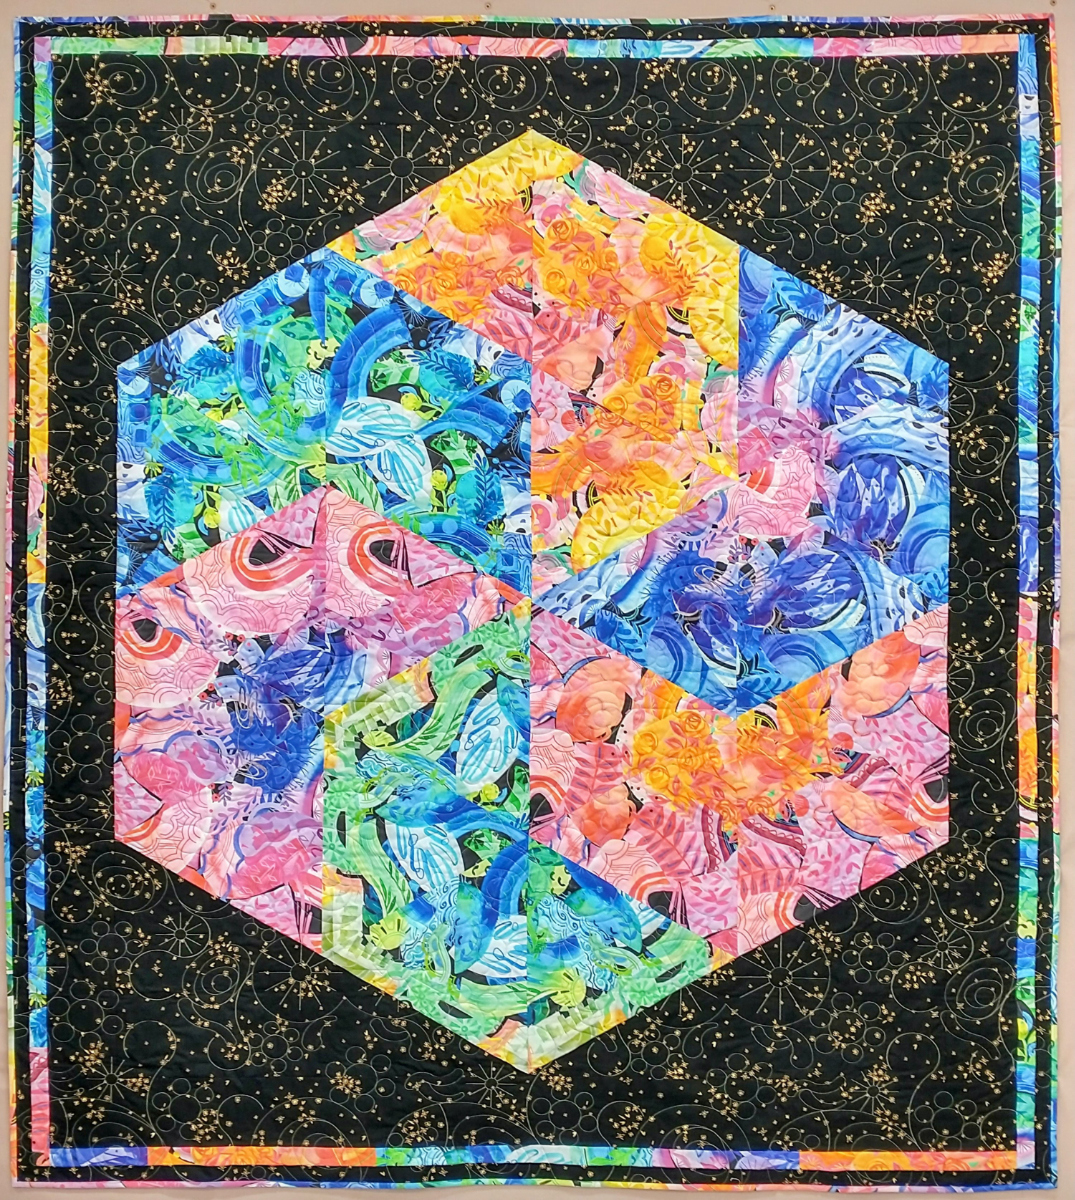
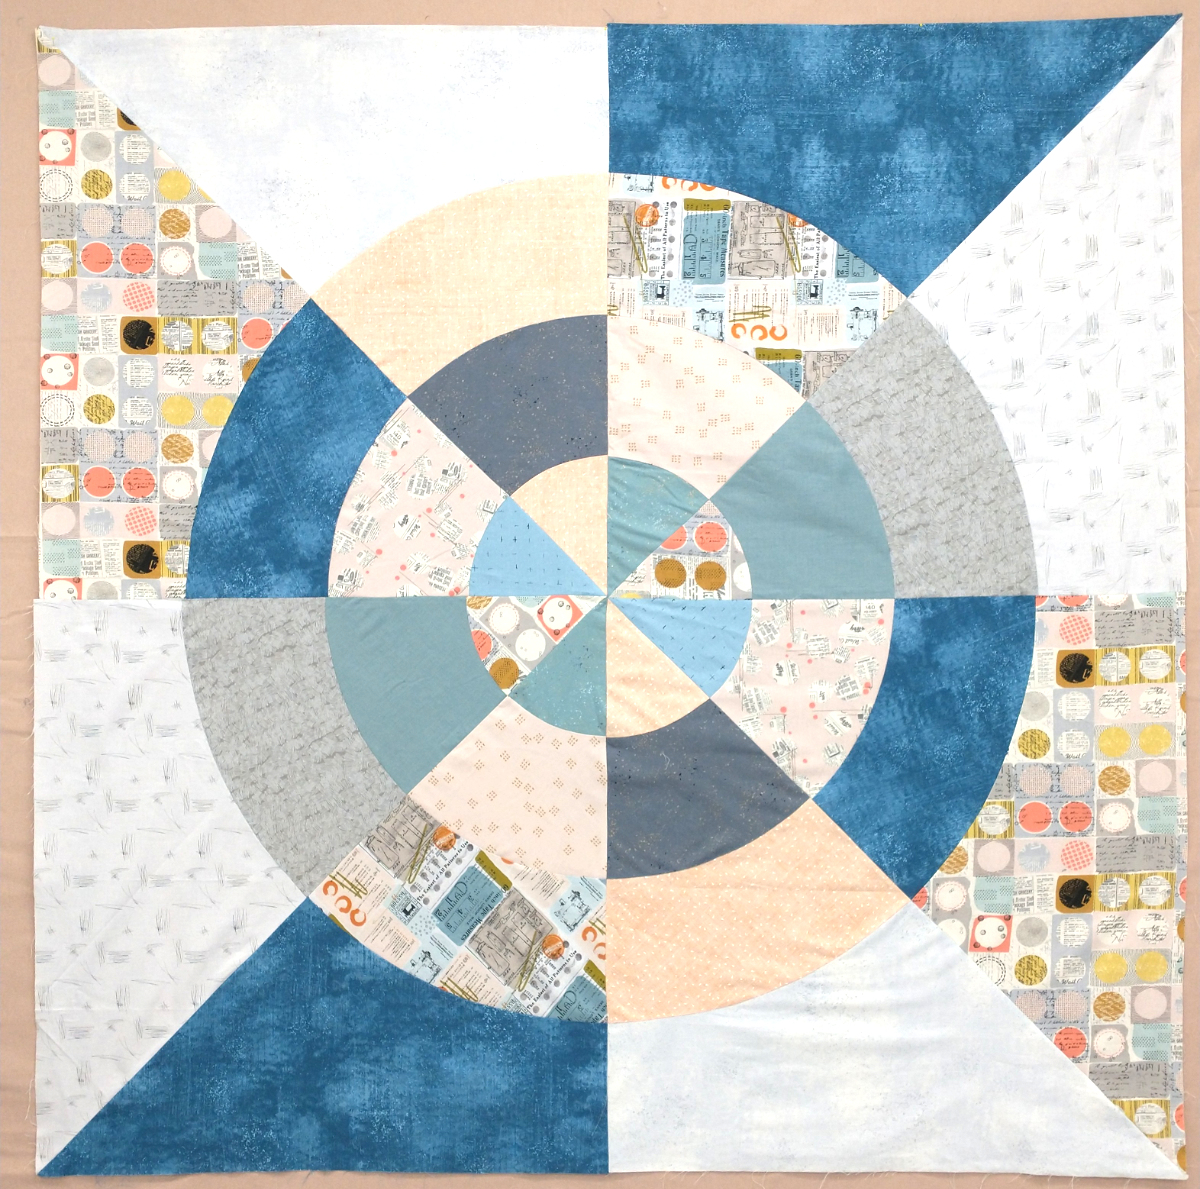
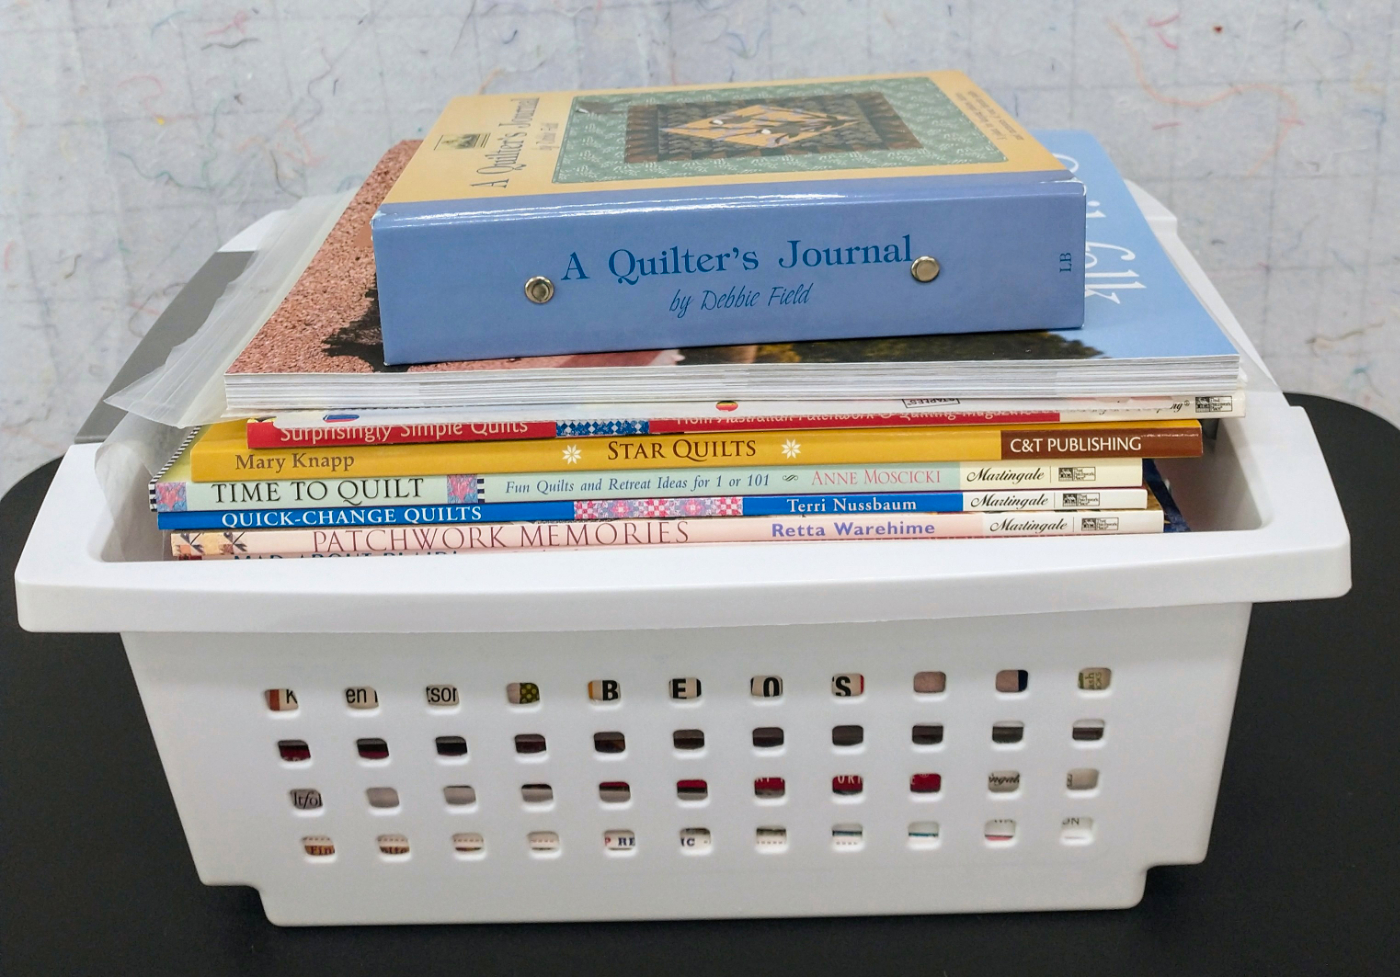
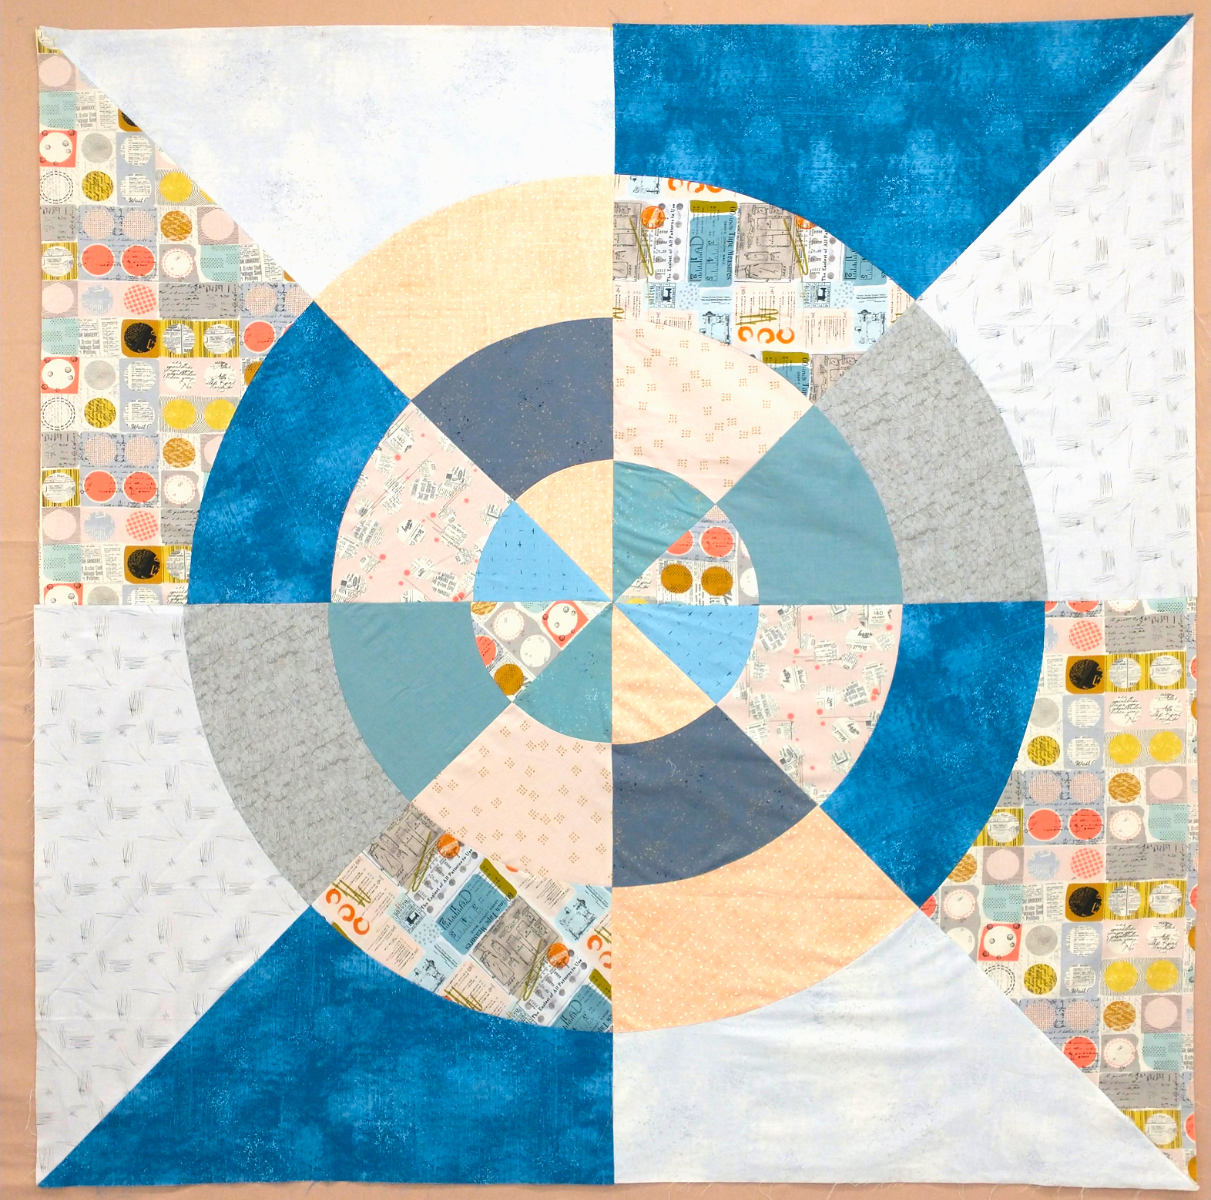
And finally, my friend Kathleen made this version of Tim Holtz’s Curious By Nature pattern.
Seen any fun quilts lately?