At least, the best I’ve been to.
First, the big national ones are worth at least an occasional visit, for inspiration if not for imitation of the quilts.
The American Quilter’s Society, AQS, has various large shows around the country. If you’re a dedicated quilter it’s worth going to The Big One in Paducah, KY, at least once. The other AQS shows are equally good (though smaller) and are moved to various cities, making them more accessible.
Most of the quilts at AQS shows are traditional, and many have such heavy quilting that they probably would stand by themselves if they weren’t hung, but of course I took pictures of the more modern ones that appeal to me.
Quilt by Gina Abayan, part of a display of beautiful quilts from the Philippines at AQS a number of years ago
AQS shows have very high quality quilts from all over the world, though you don’t have to be an expert to be juried in. They took one of my quilts many years ago and it was obvious when I saw it hanging that it wasn’t up to the standard of most of the others!

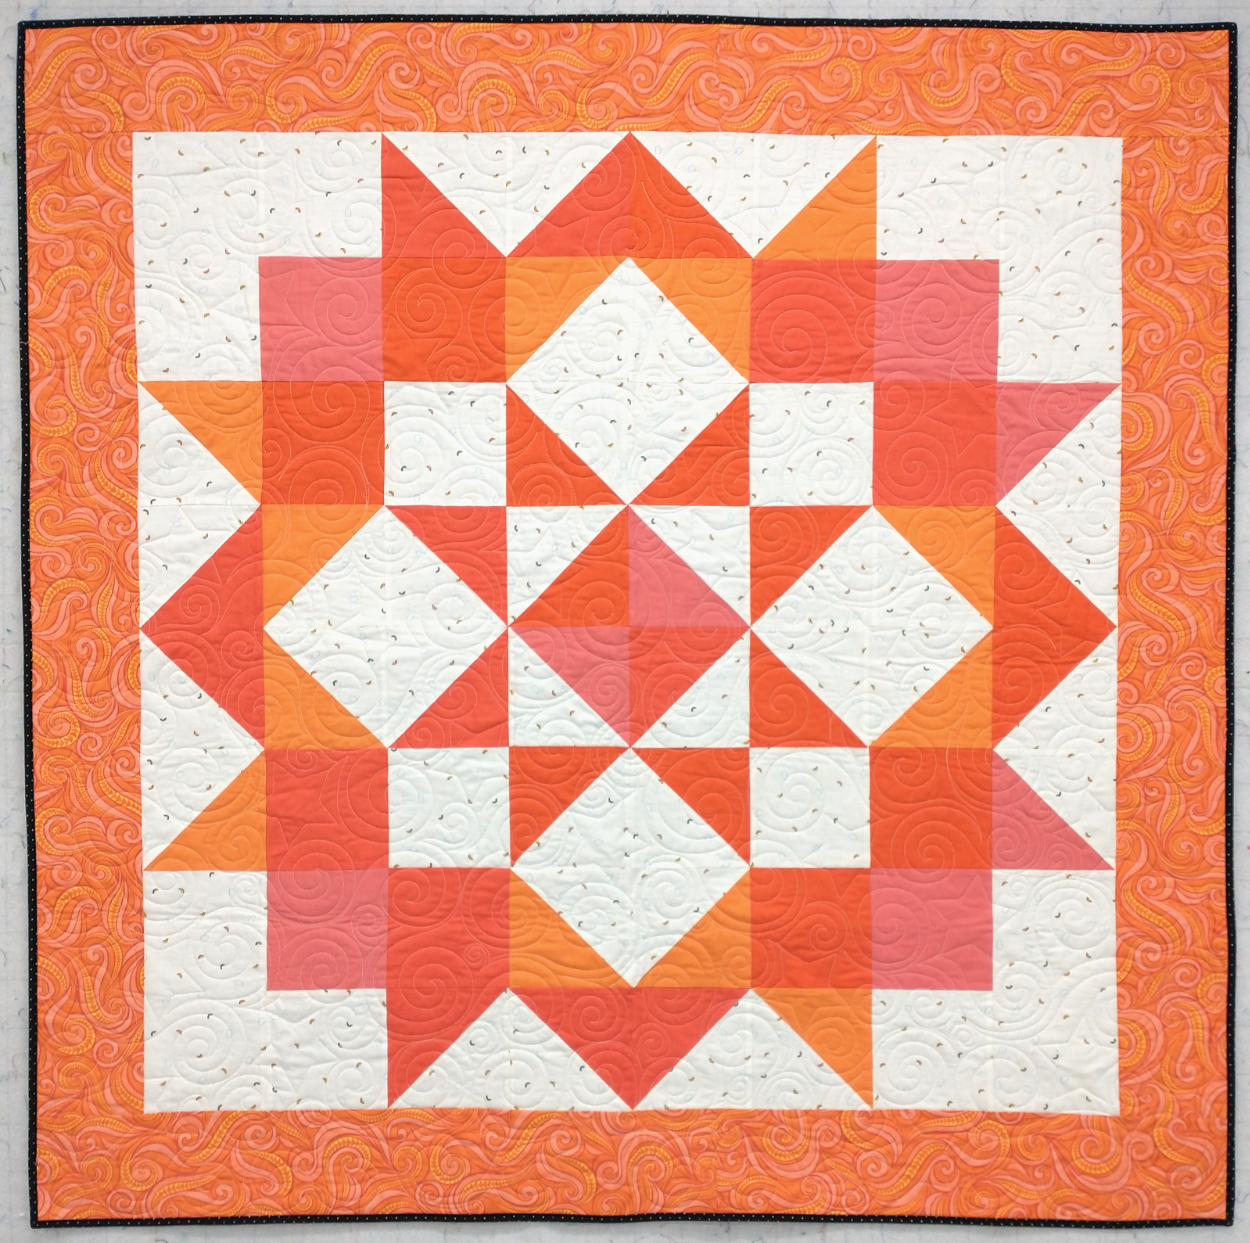
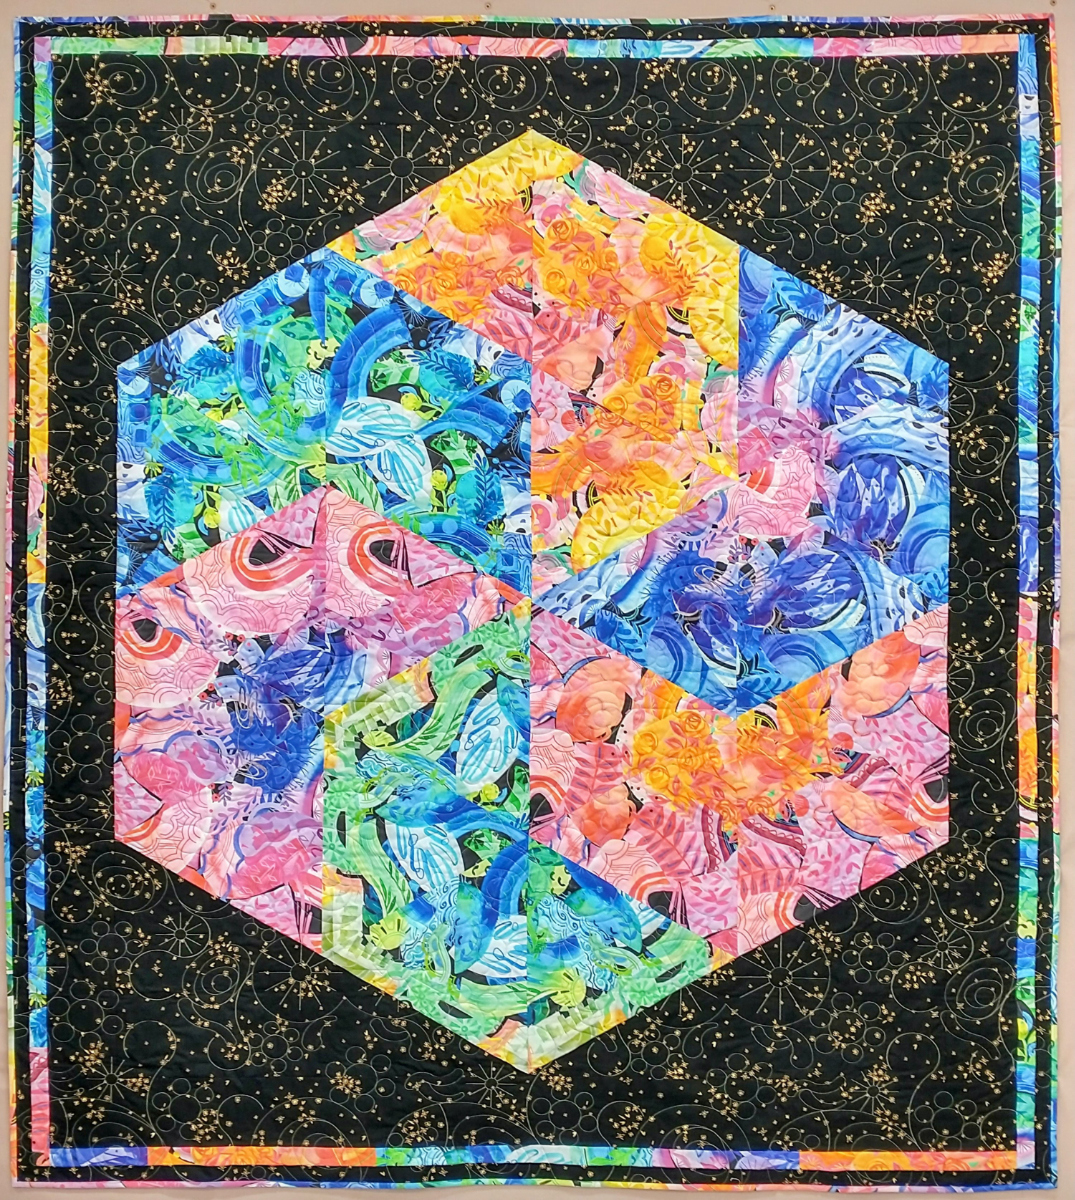
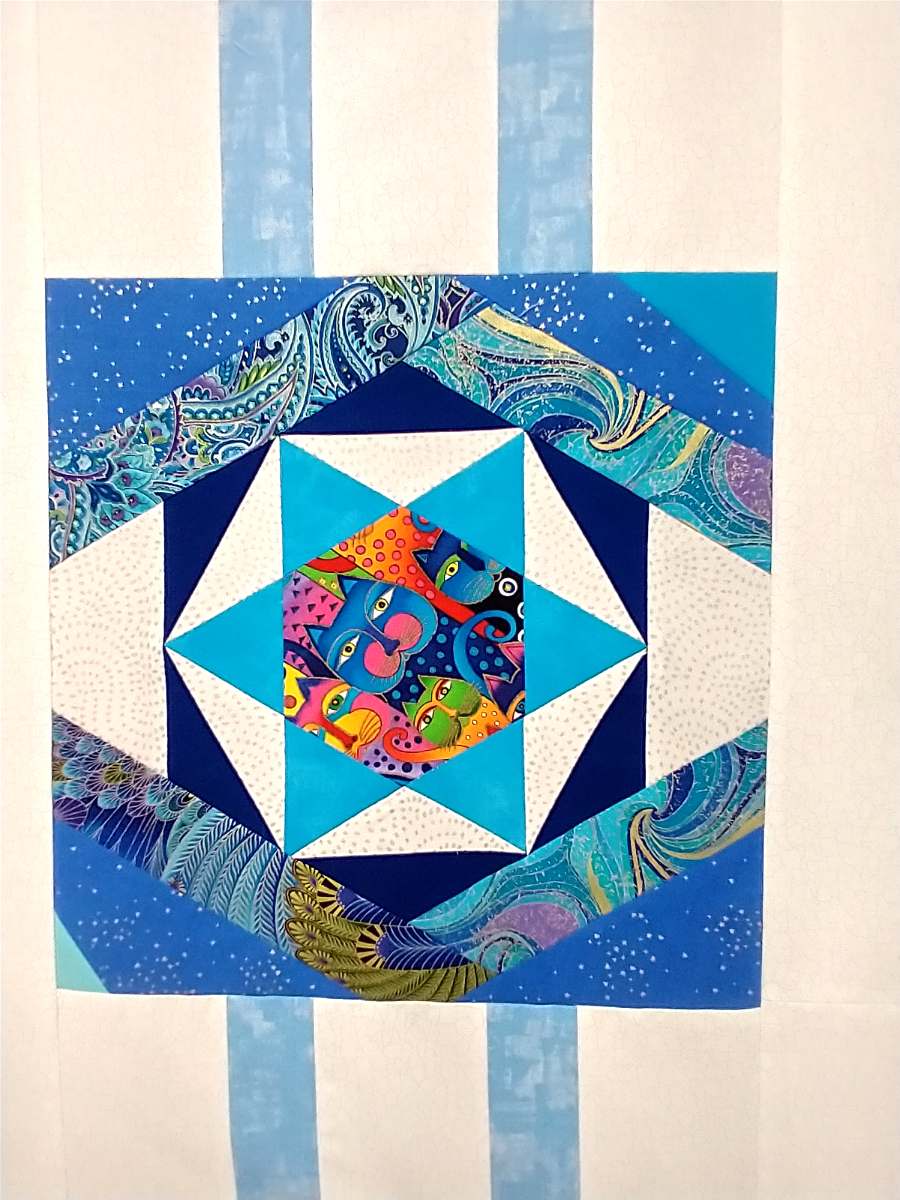
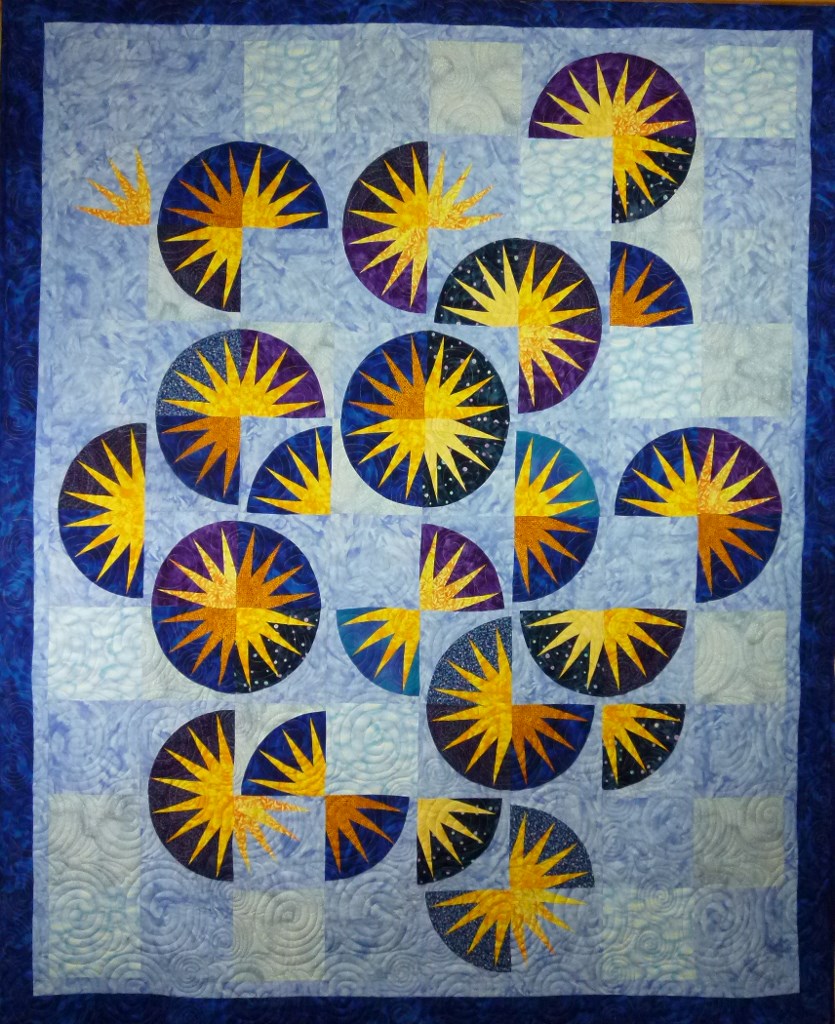
I designed “Spring Sun” using piecing papers from a Judy Niemeyer pattern. It didn’t hang straight, but was accepted at an AQS show anyway.
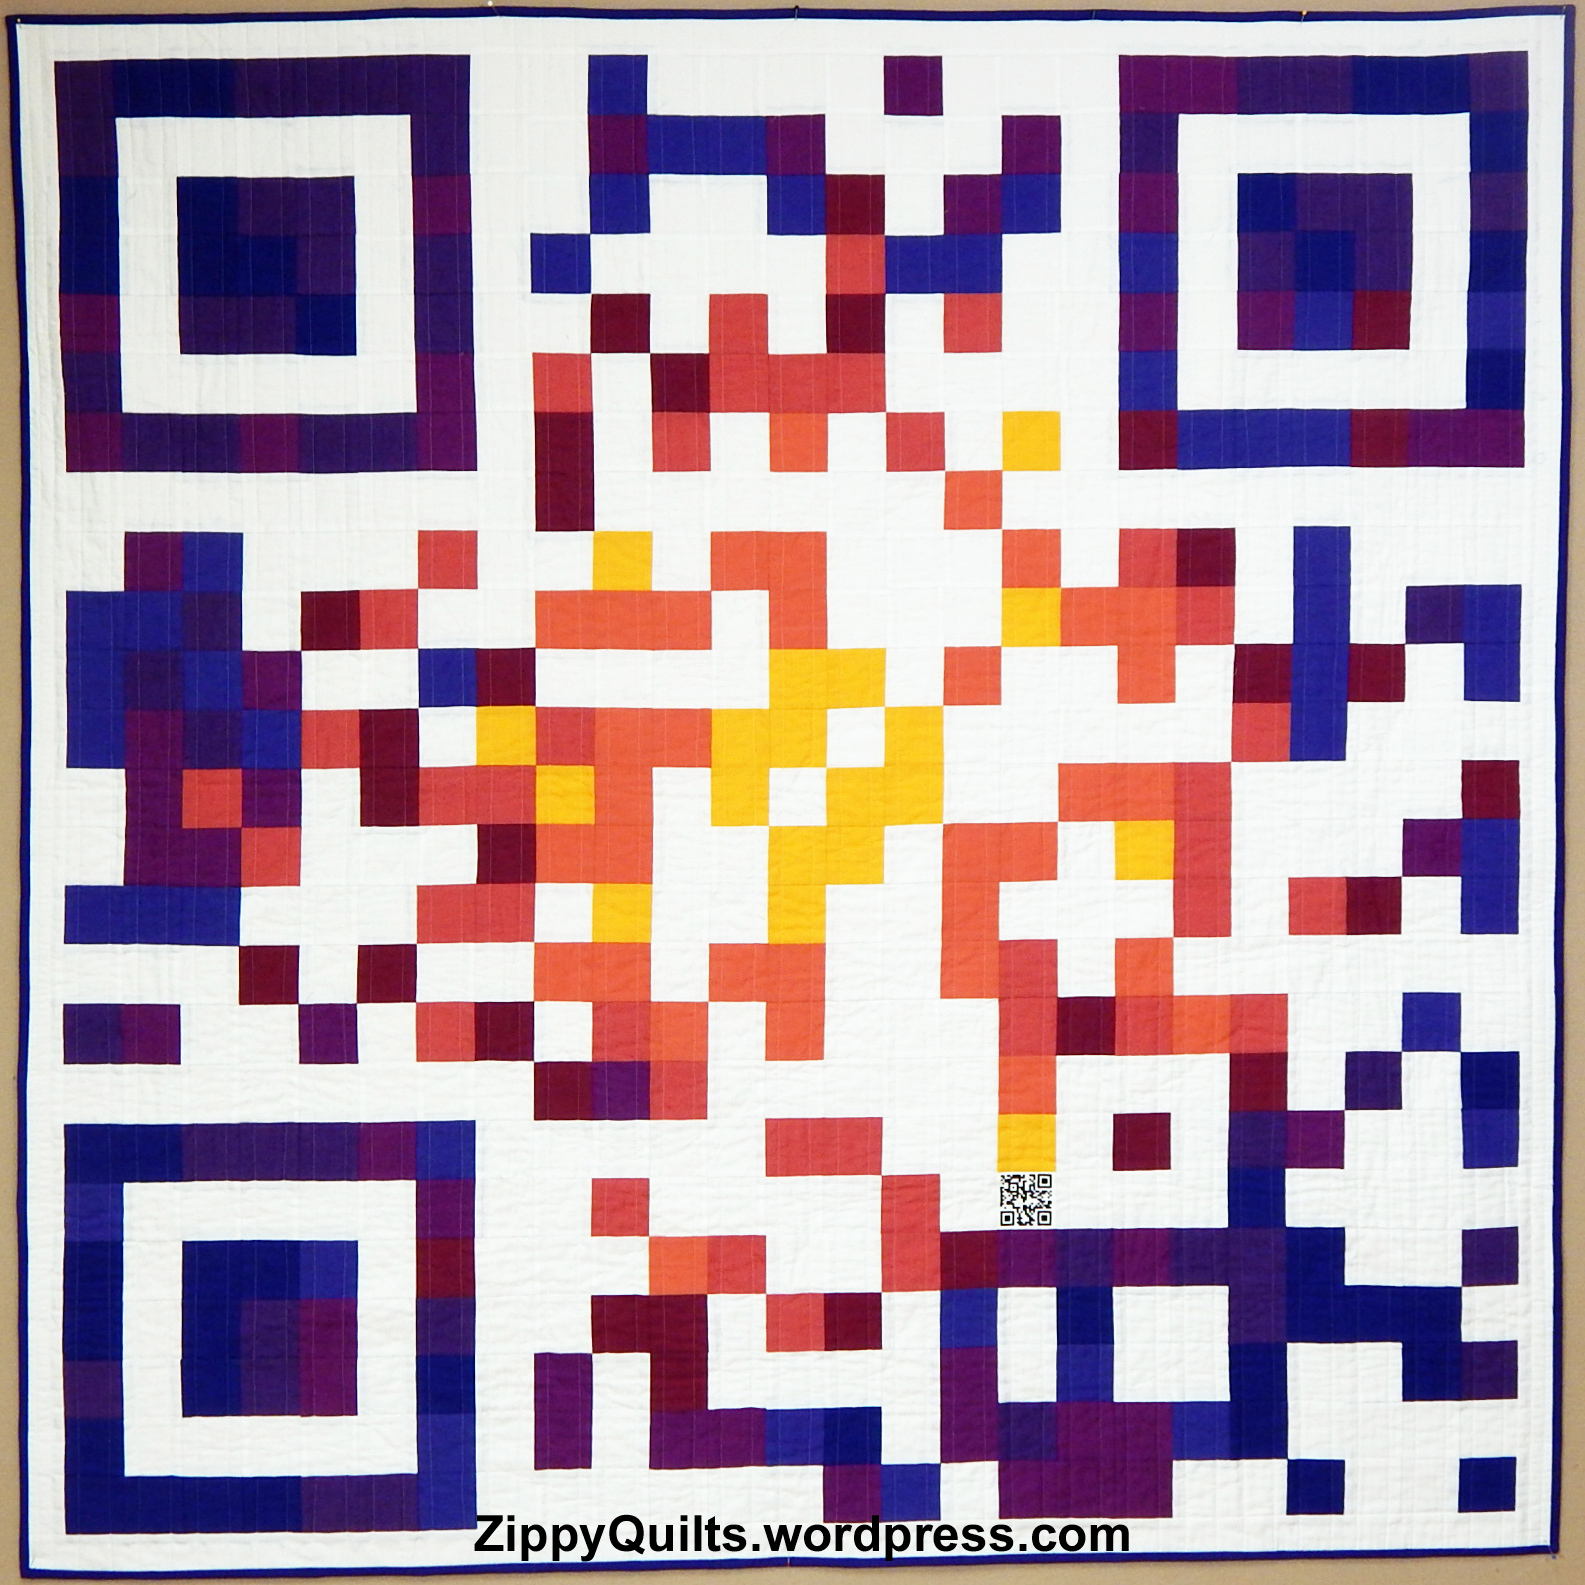
Of note, AQS also rejected one of my more recent quilts, probably because the subject was birth control! AQS has an unfortunate history of censorship of any quilt that even remotely references reproductive functions, but I’m not going to review that here. It’s worth going to see the quilts. You can find their shows on the AQS website.
This quilt was rejected by AQS, likely because it encourages condom use.
A for-profit company, Mancuso Show Management, also sponsors several large national shows, which they call Quiltfest. There’s one near Philadelphia that I attended every year when we lived in that area, and there are others around the country. Quiltfest shows have various types of quilts and, like AQS, have classes with national instructors as part of the show. There are many inspiring quilts, including some that are more approachable than most I’ve seen at AQS shows. I enjoy their shows and will go again.

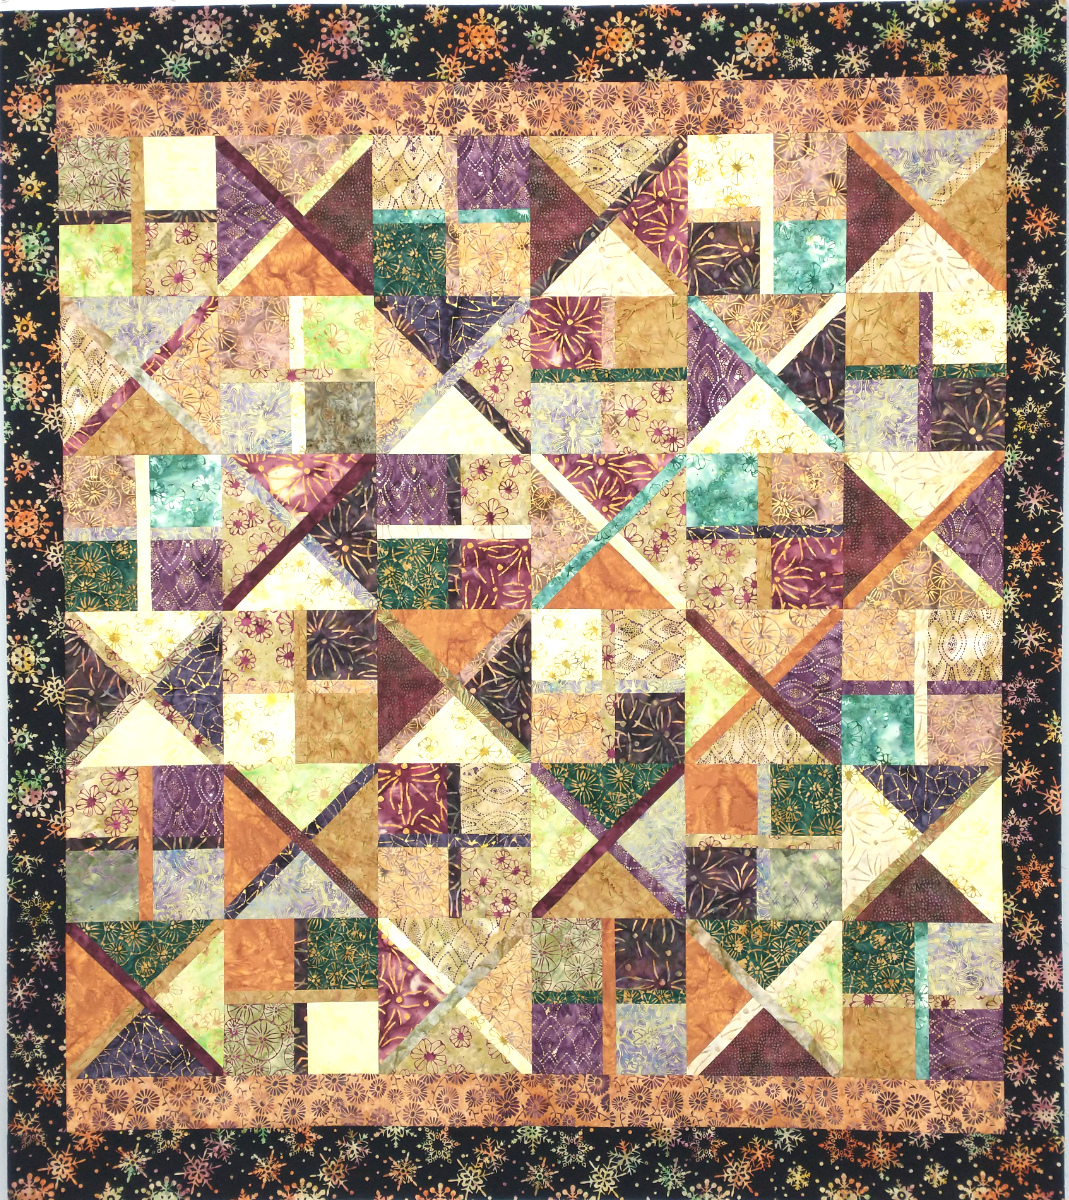
Sliced by Amy Kerkemeyer was displayed at the Mancuso Quiltfest in Hampton, VA, in 2024
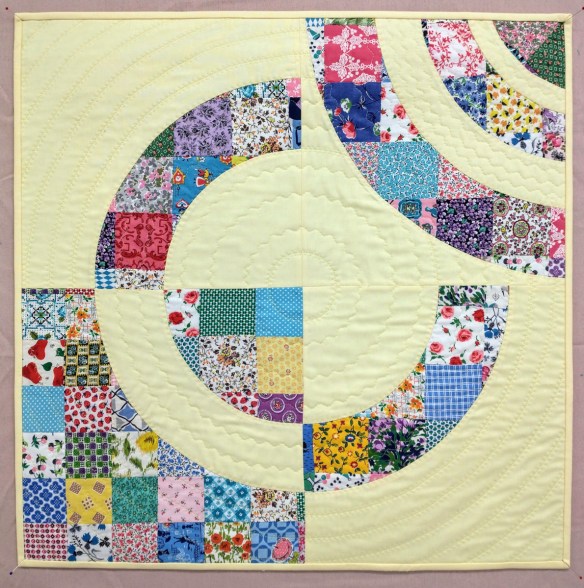
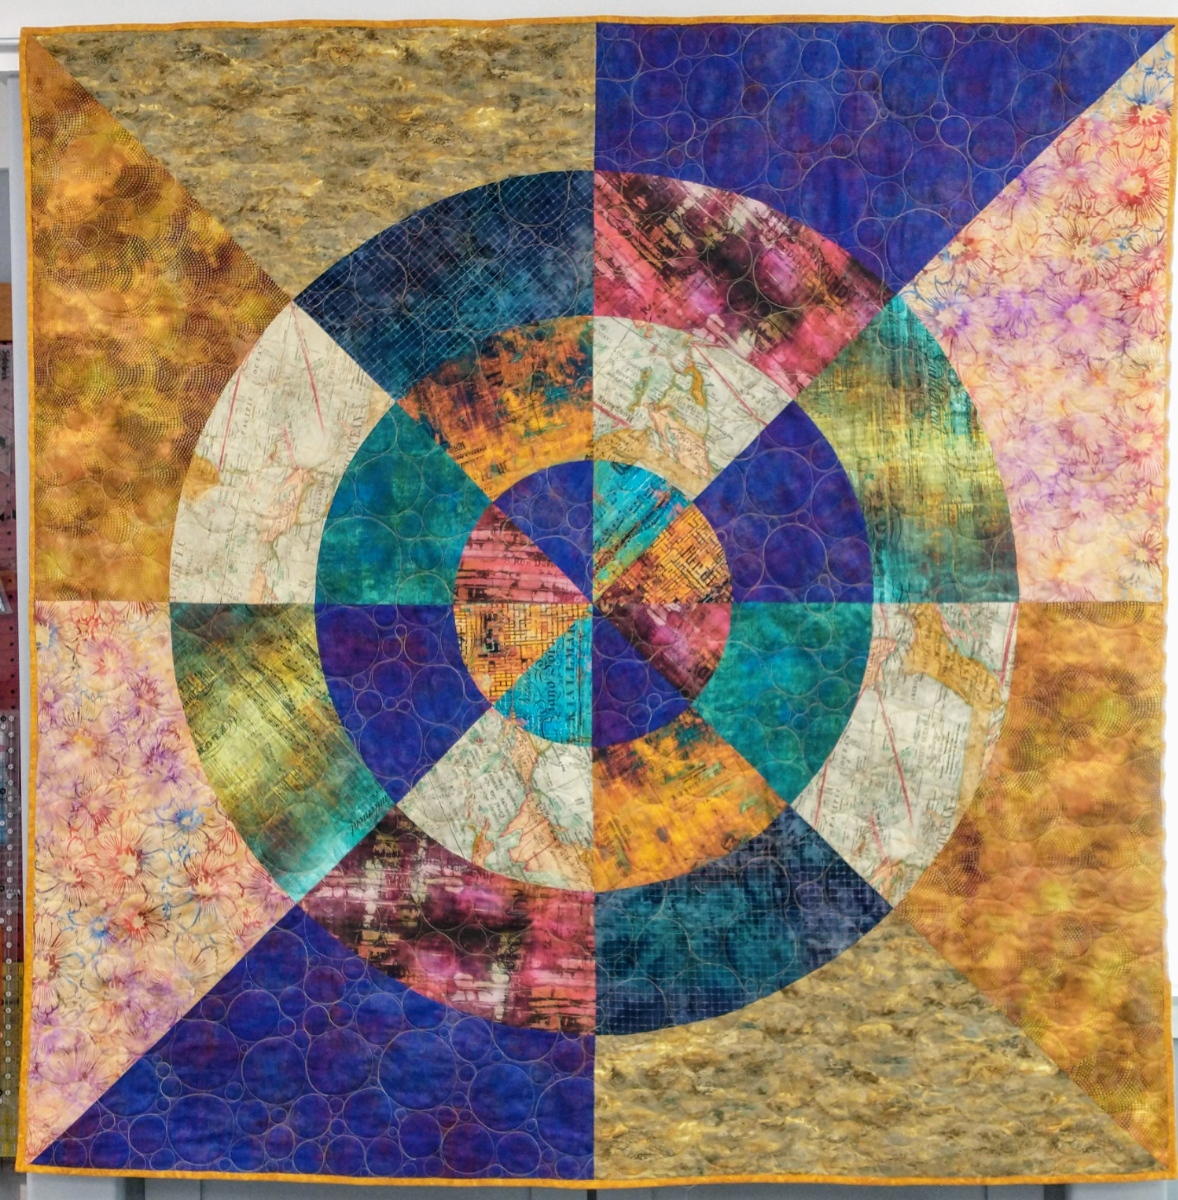
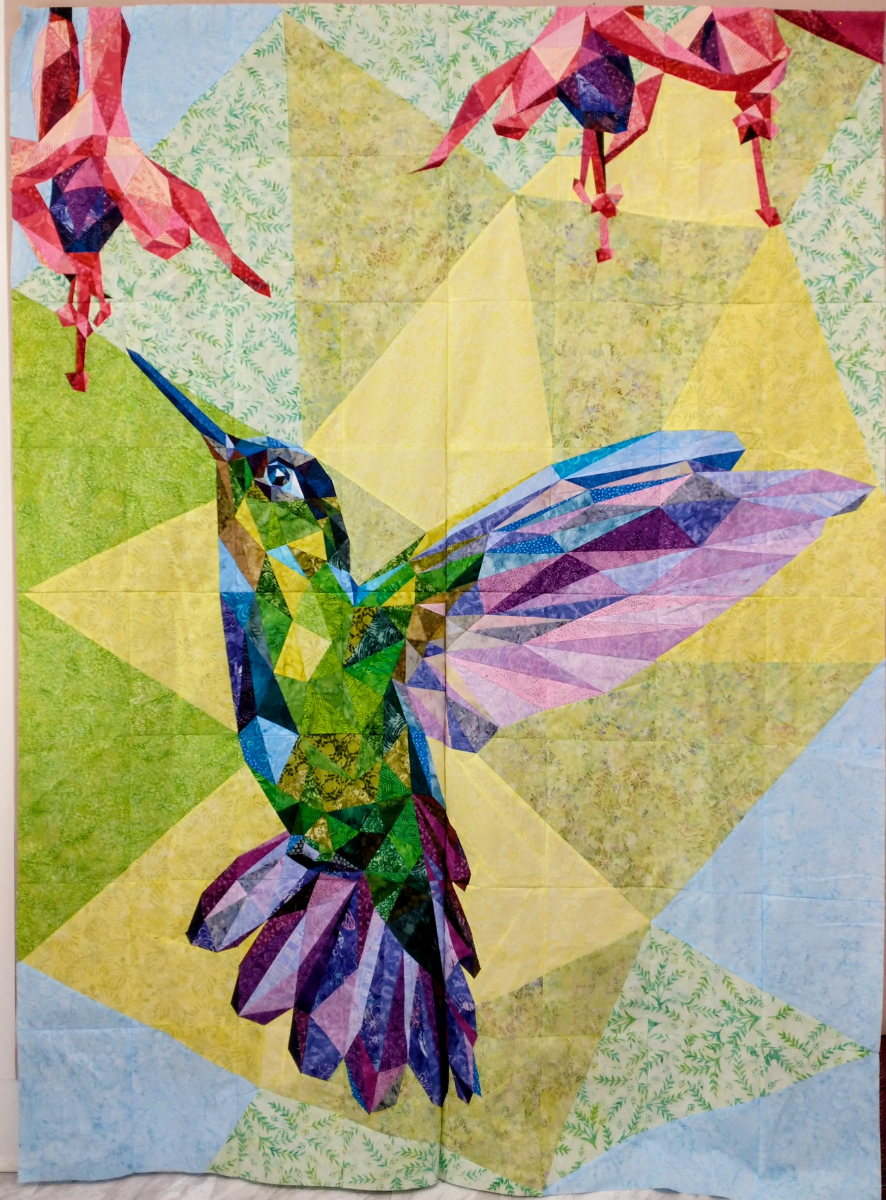
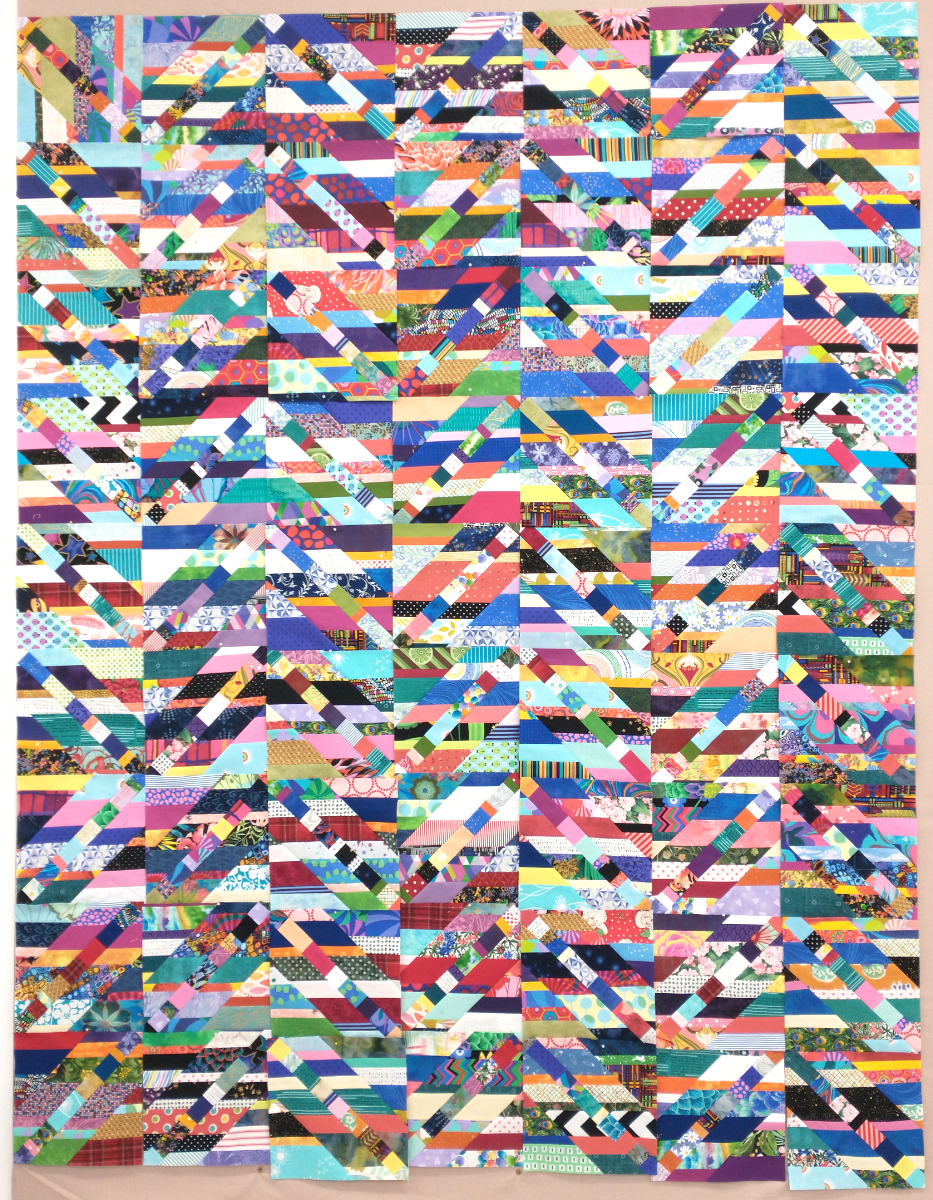
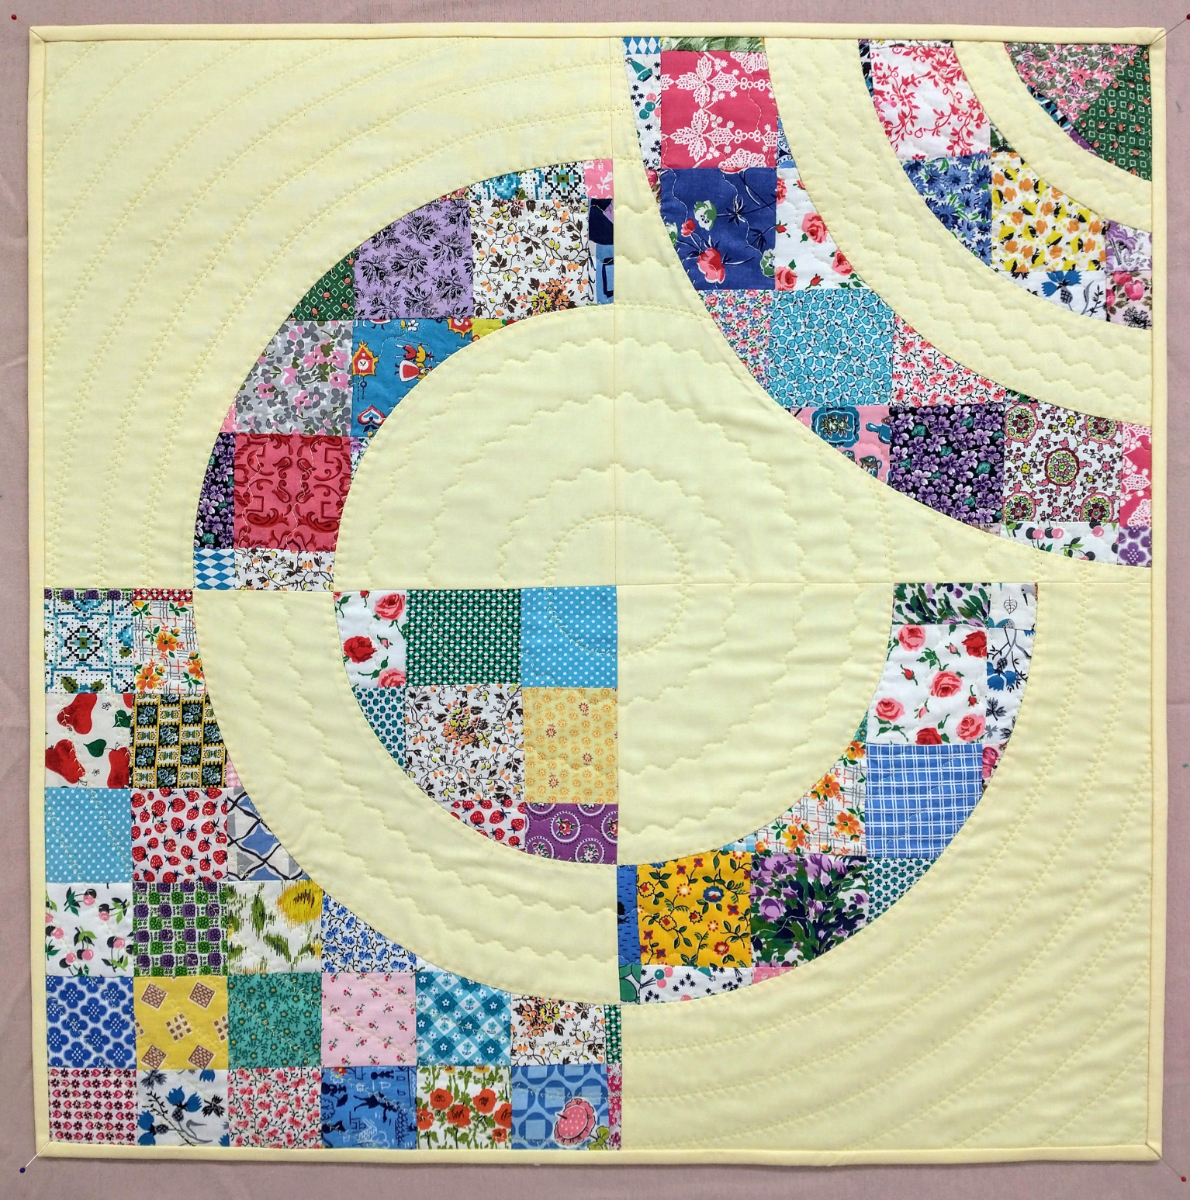
My quilt, Full Circle, was accepted for the Mancuso shows in Philadelphia (PA) and Hampton, VA this year
In recent years the Modern Quilt Guild has sponsored QuiltCon, a huge national show that now occurs annually. The judges are somewhat predictable in what will be accepted and what will win prizes, but their choices are very different from the other national shows, making QuiltCon worth a visit. The members and contestants at QuiltCon are younger, on the whole, than those involved with AQS, and the atmosphere of the shows is much different. And unlike AQS, the MQG doesn’t avoid controversy!

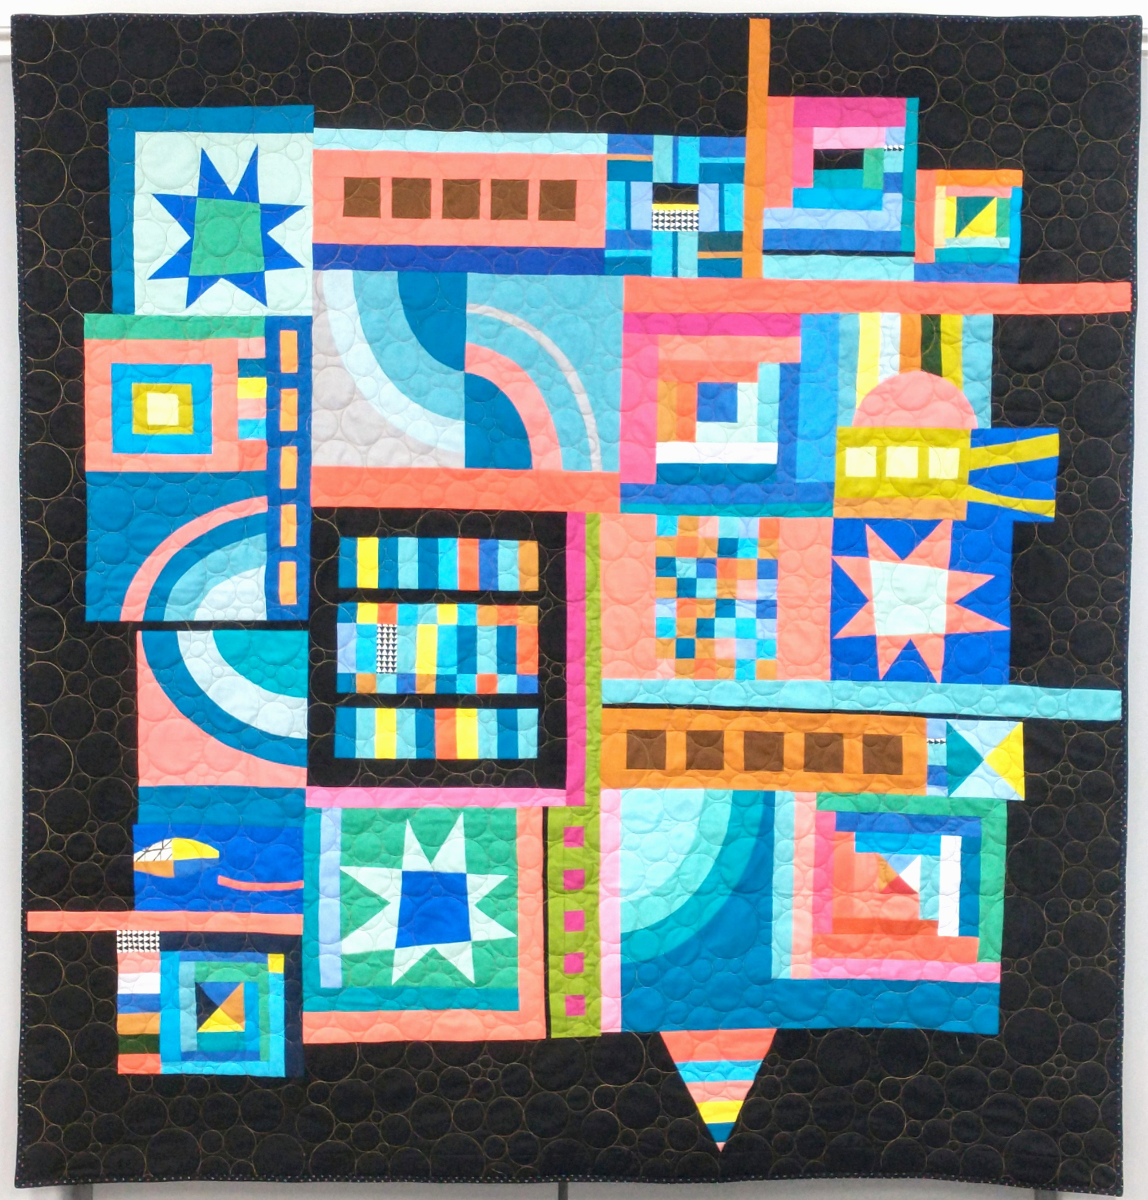
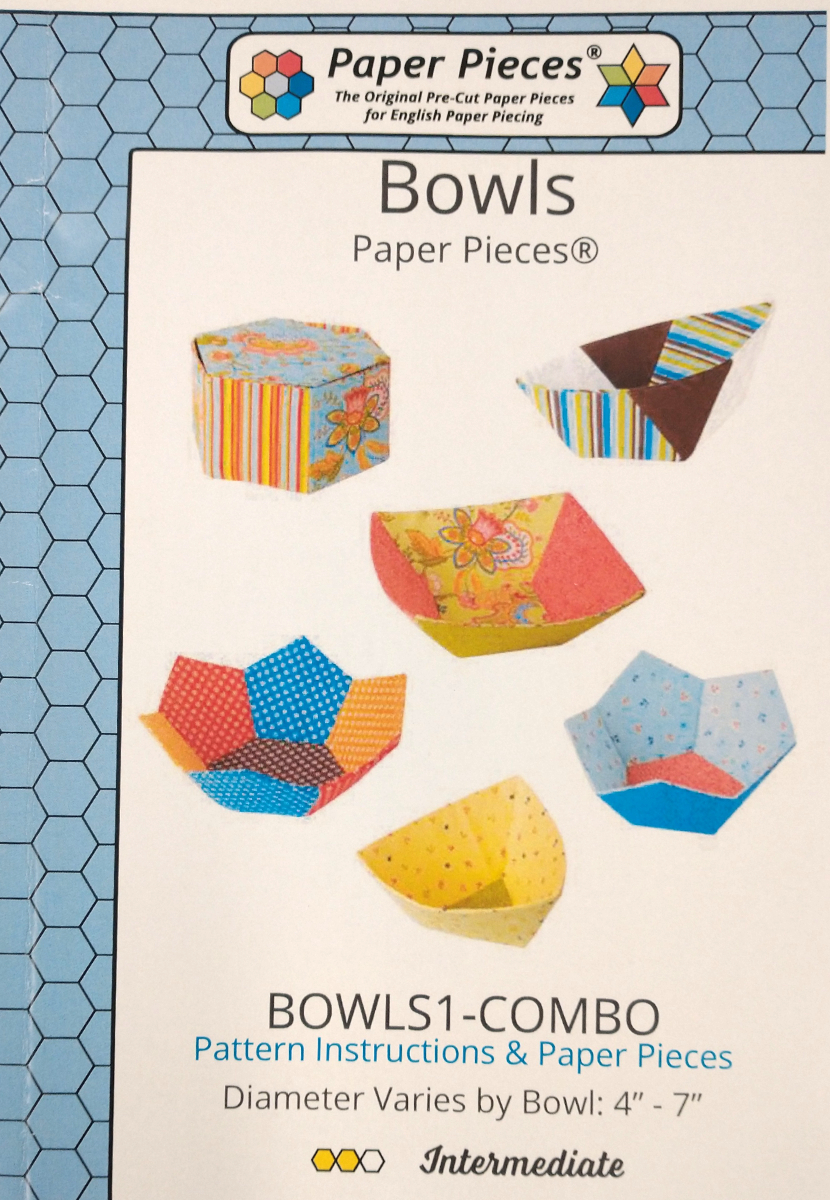
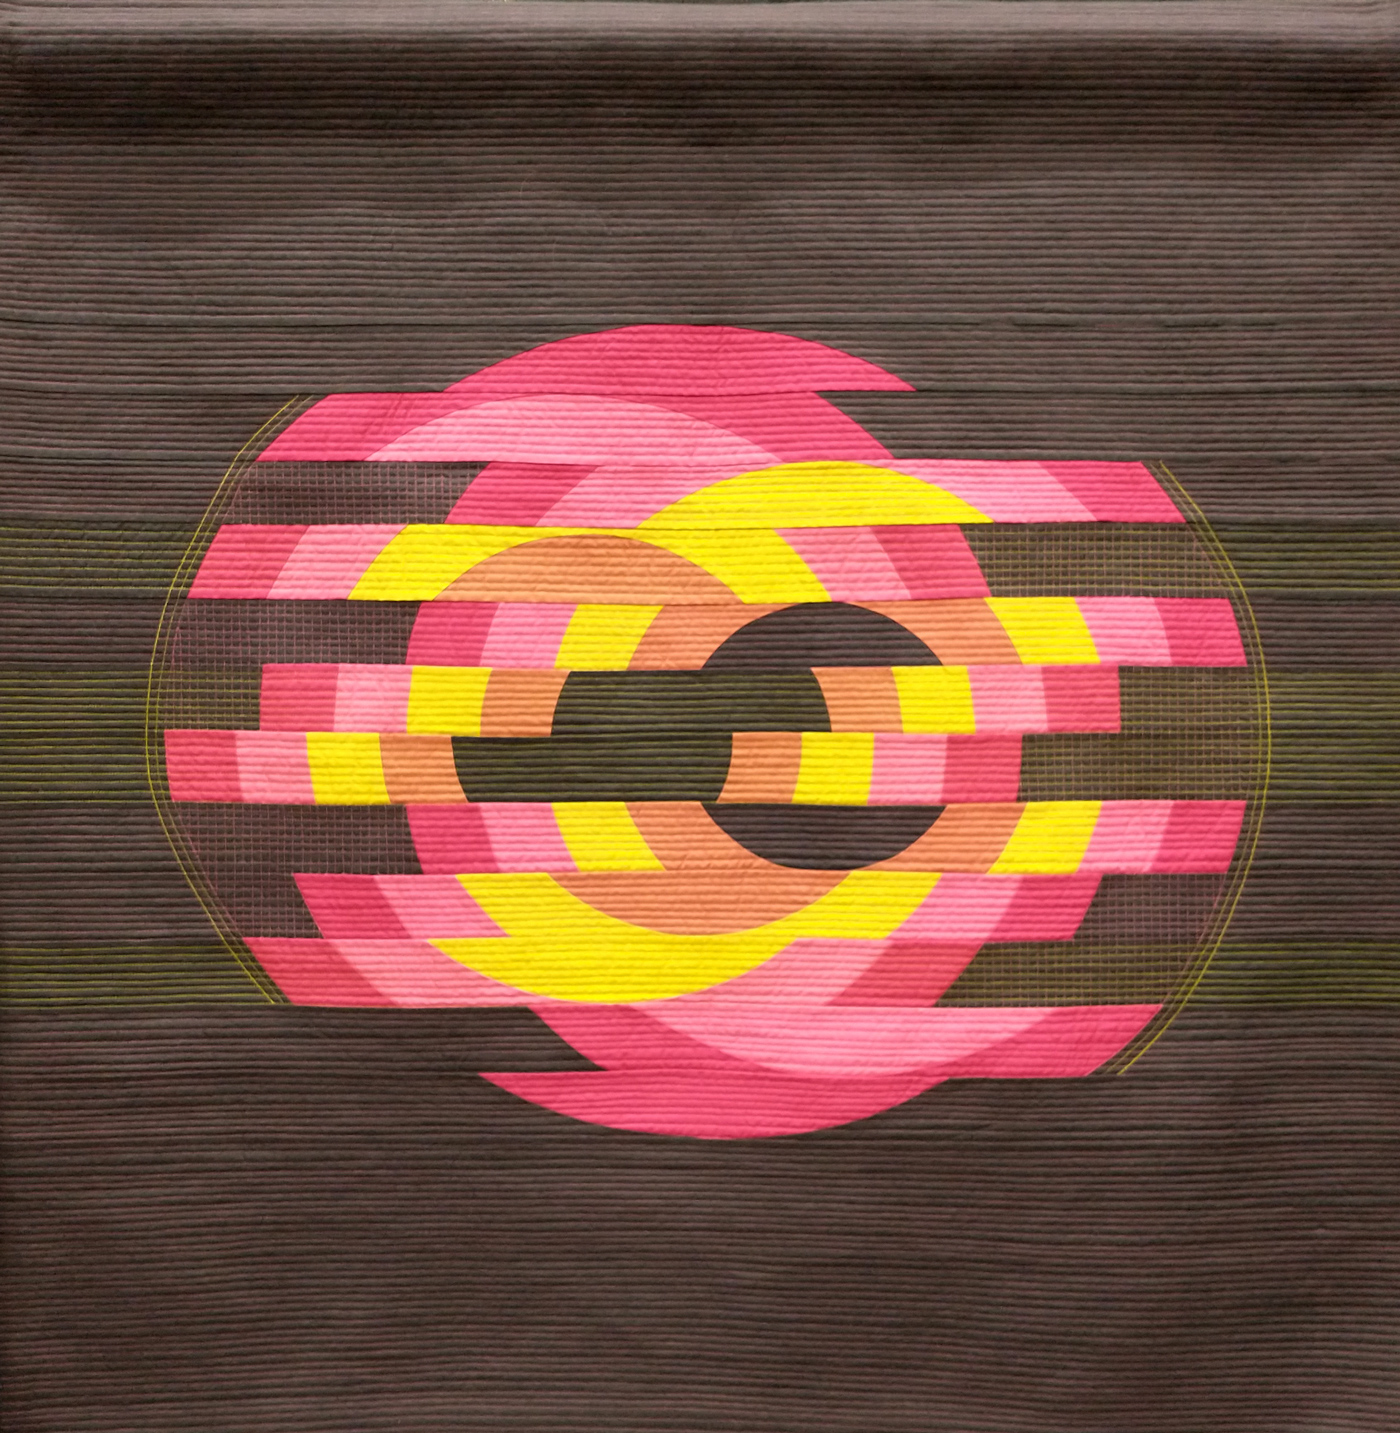
Bowls and Balls #2, by Rachel Kerley, exhibited at one of the early QuiltCon shows
There were many dynamic and interesting quilts at the Quiltcon shows I’ve attended. The only criticism I’ve heard is that the judges emphasize what they consider socially relevant quilts rather than the quality of design and execution of the quilts. It’s probably good that the QuiltCon judges have different standards than AQS judges, and the QuiltCon shows are well worth seeing whether or not you agree with the judges’ choices.
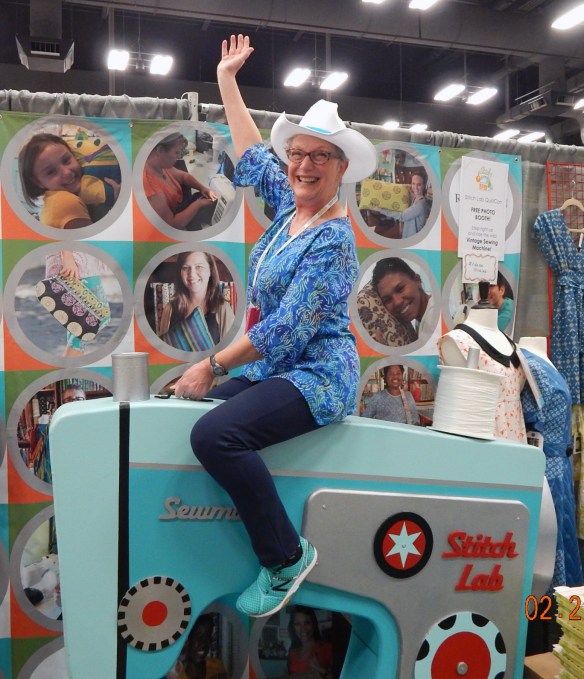
Eeek! Here I am riding a sewing machine at QuiltCon in Austin, 2015.
There are other big (even huge) shows around the country, but so far I’ve been unable to attend the International Quilt Festival in Houston, Road to California, or the outdoor quilt show in Sisters, Oregon. And I certainly haven’t been to the big shows in Europe, as some of my friends have.
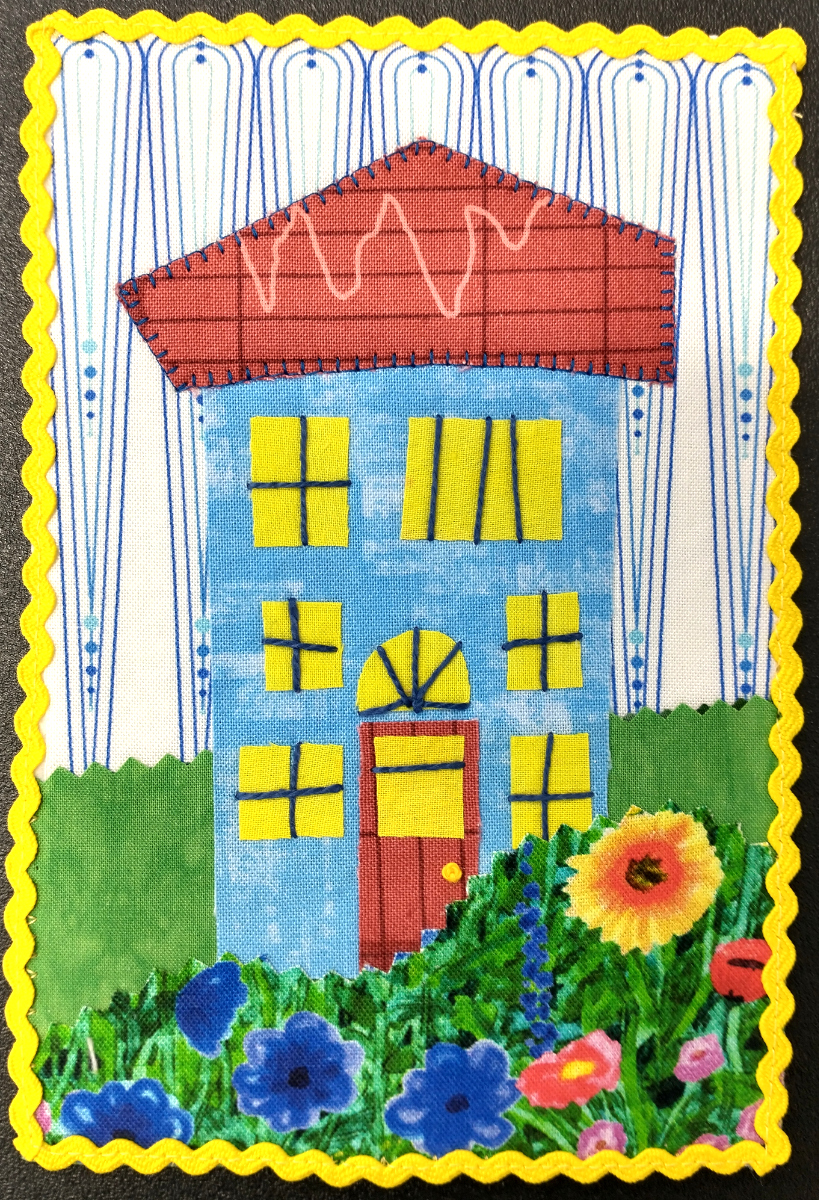
However, in accordance with my plan to submit more quilts this year I did submit one to IQF in Houston, where it wasn’t accepted. And I contributed a quilted postcard for sale to support the Sisters, Oregon show. I just haven’t gotten to either of them in person yet. Bucket list items, maybe?
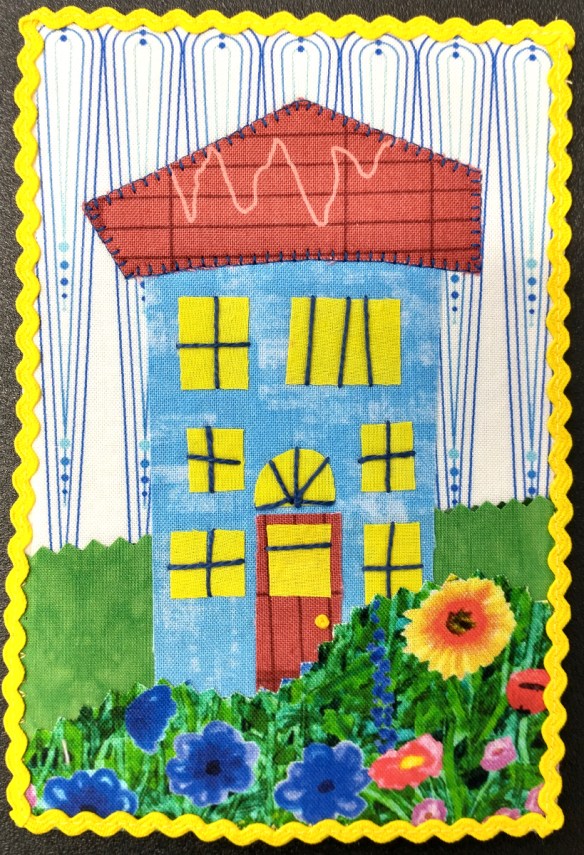
House Card, 4″ x 6″, donated to support the annual outdoor quilt show in Sisters, Oregon.
Despite all these big, prestigious shows, local shows often are the most inspiring because the quilts are closer to what most of us will actually make. There’s usually good variety and often excellent quality. Besides, we get to see our friends and their quilts at these shows. Here are a few quilts from local shows sponsored by some of the guilds I belong to.

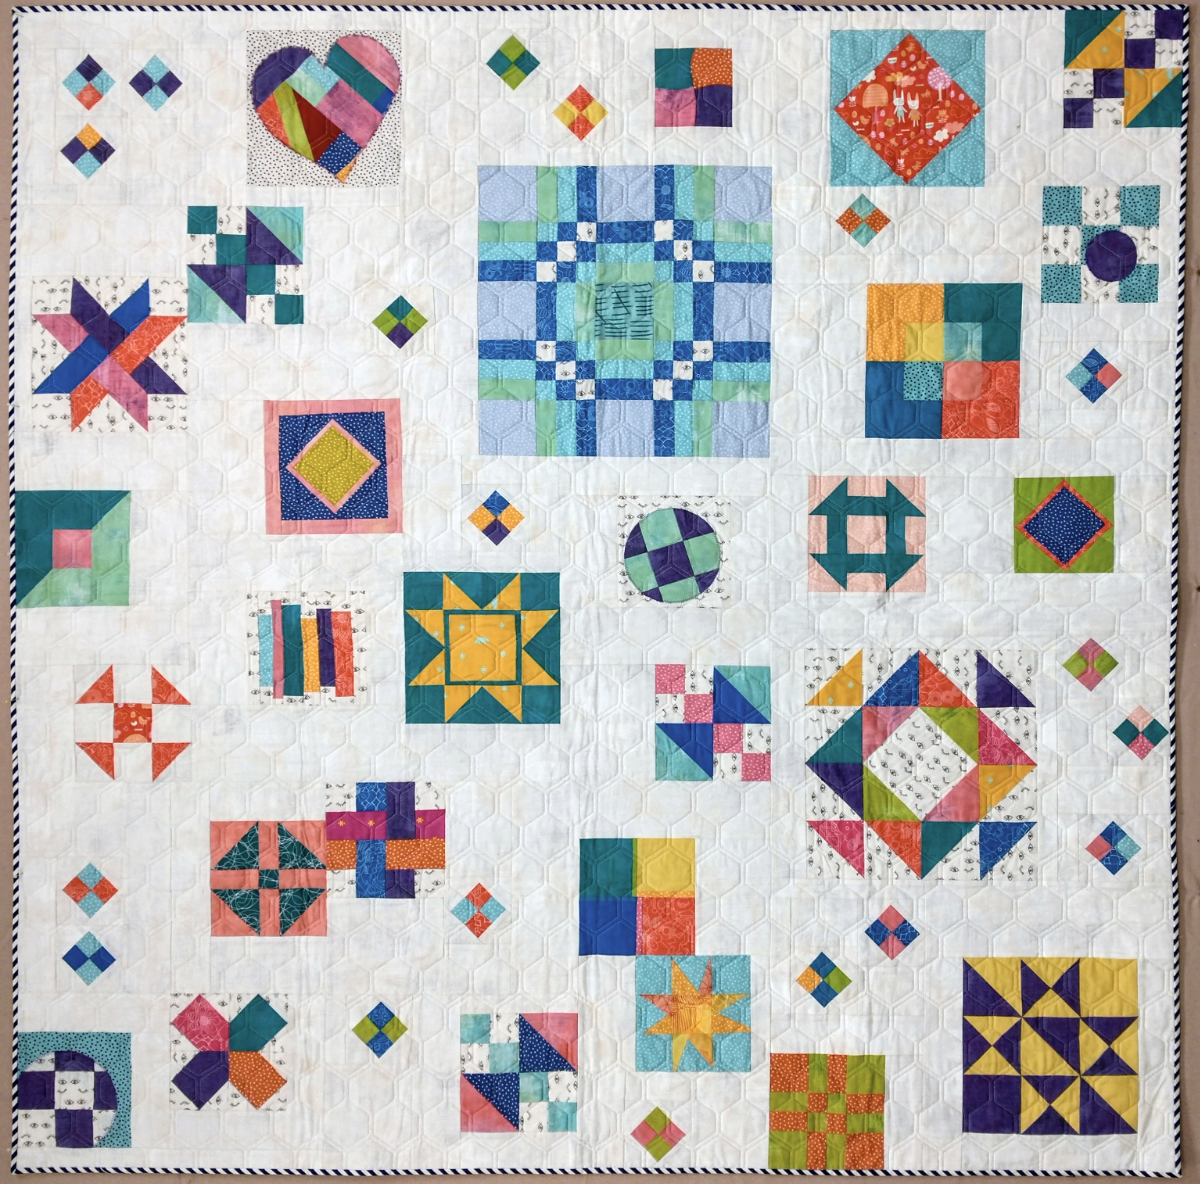
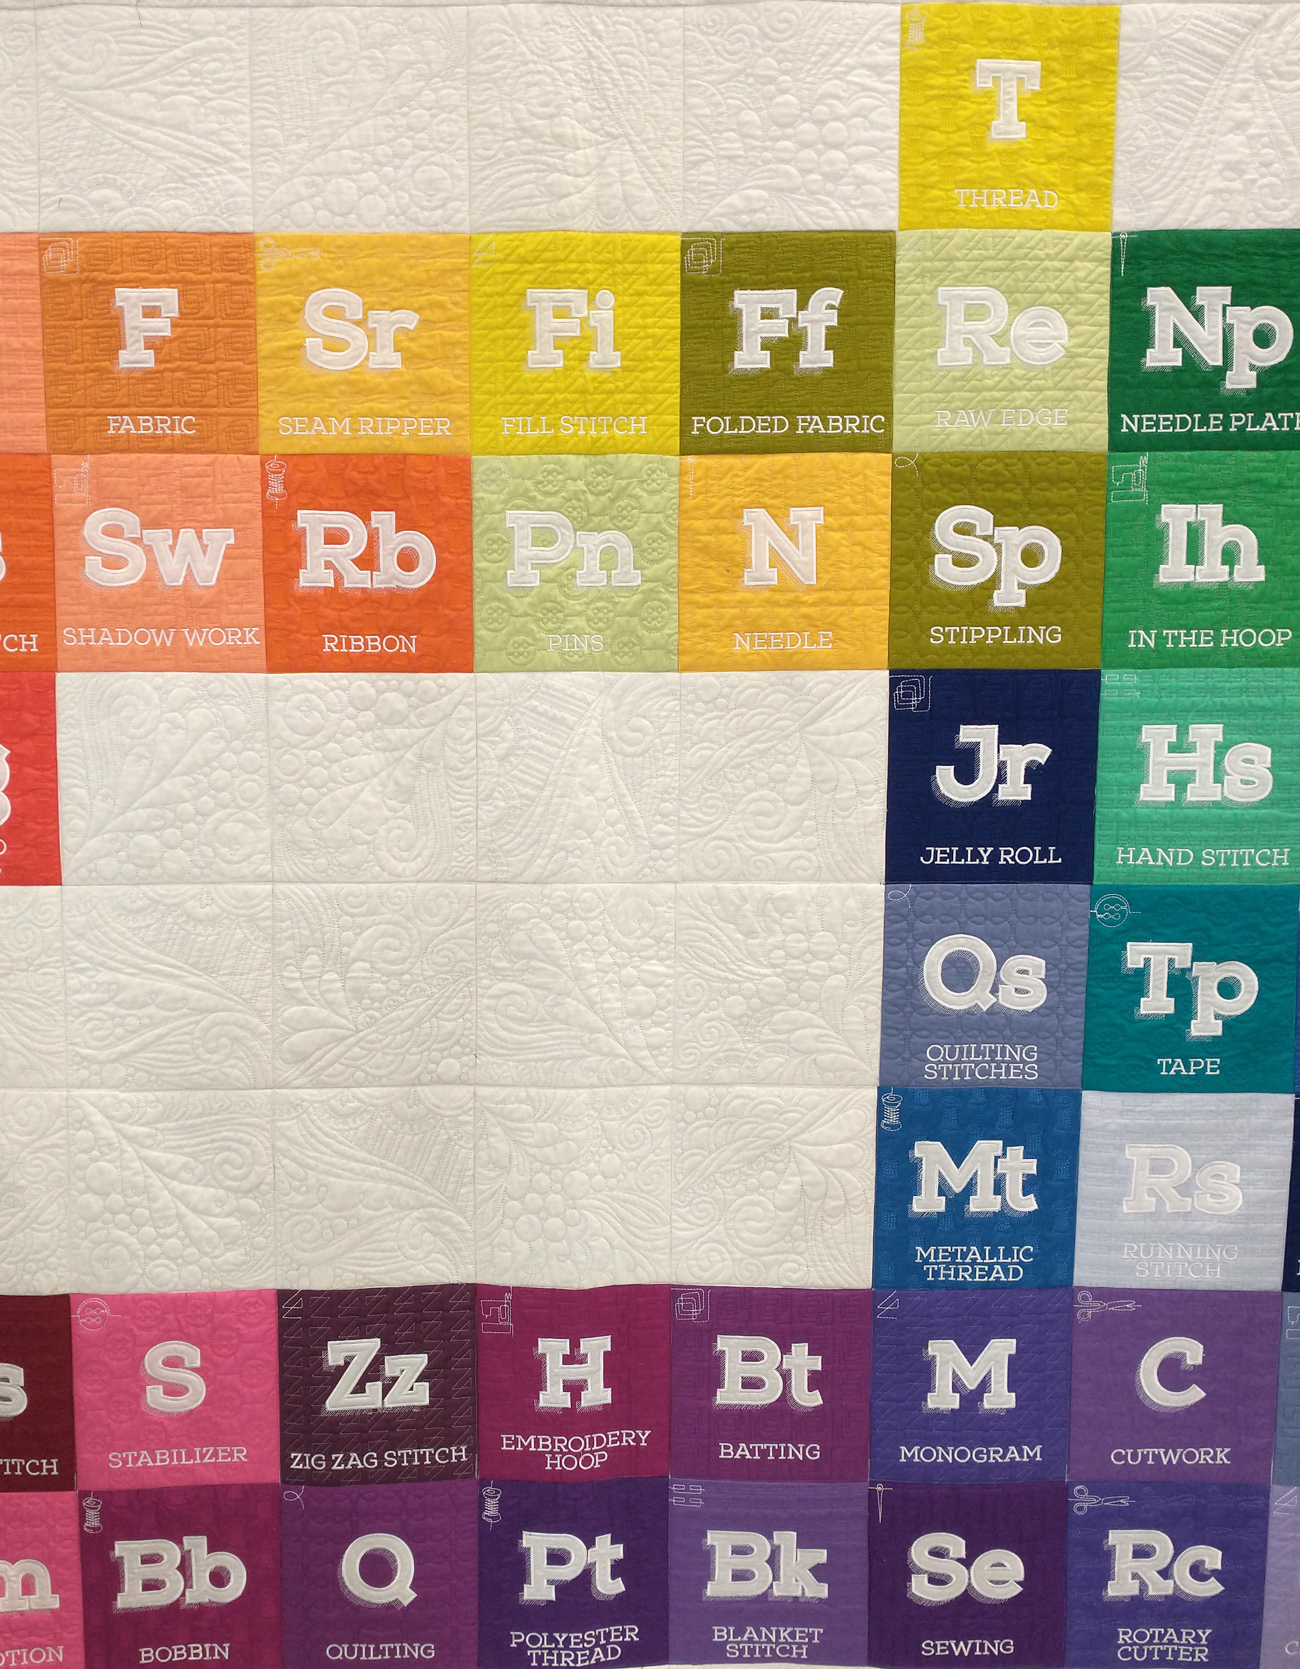
Periodic Table of Quilting & Embroidery by Lori Peterson included applique, piecing, and machine embroidery. This picture shows only part of it so you can see some detail. It was very impressive.

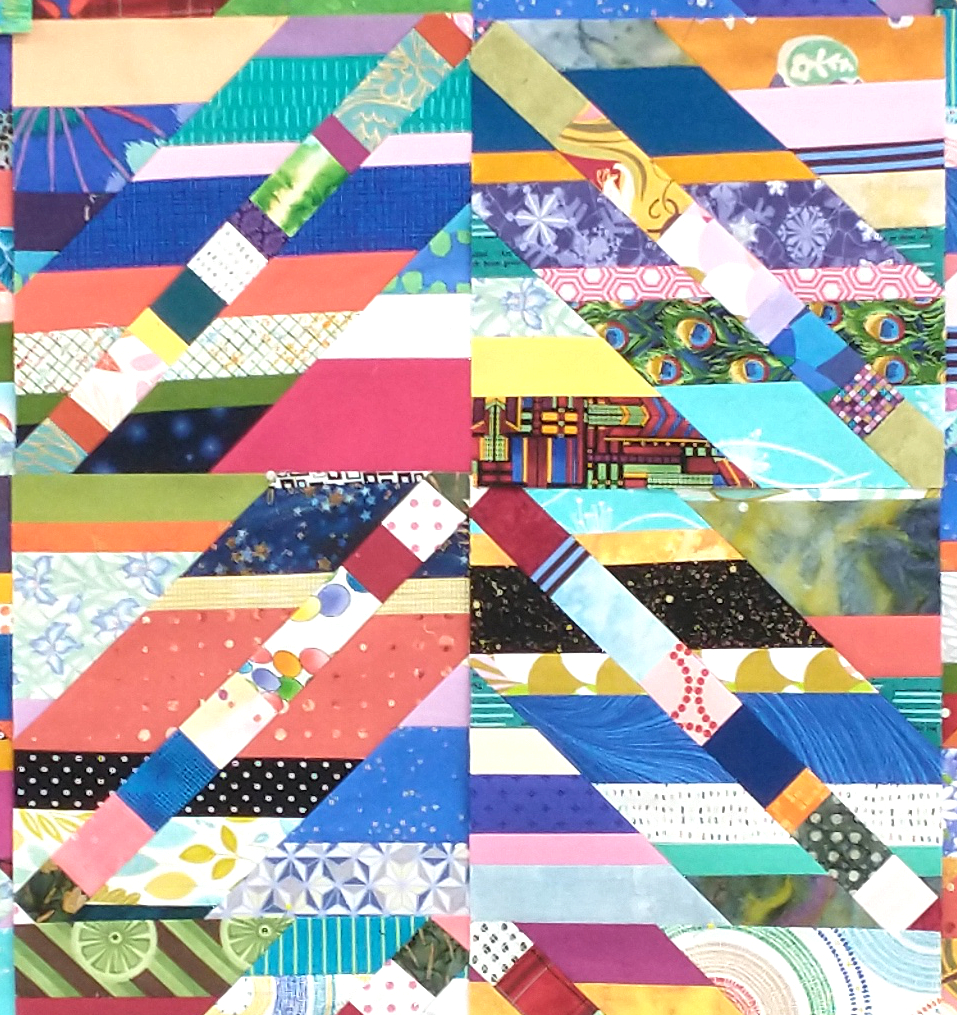
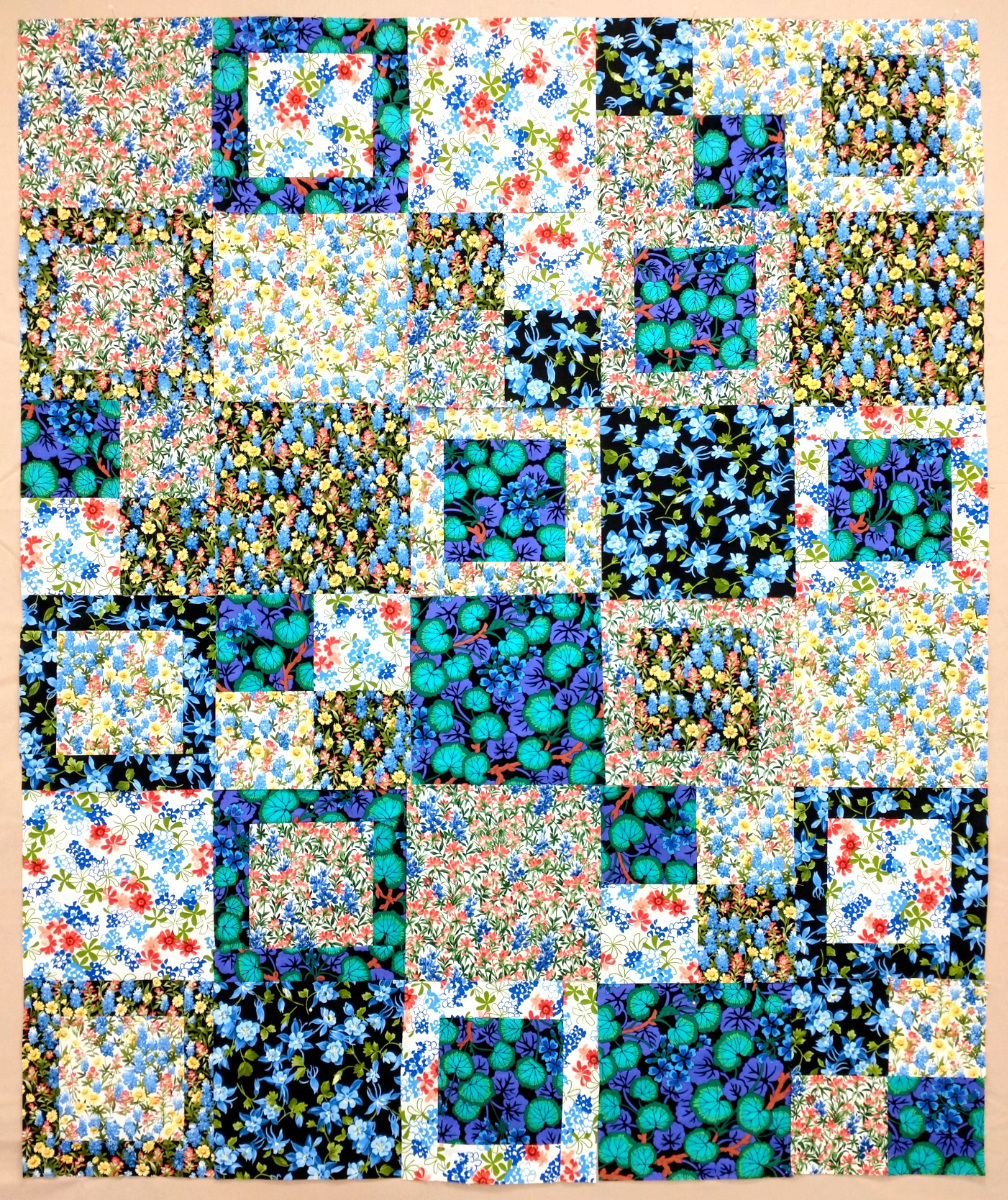
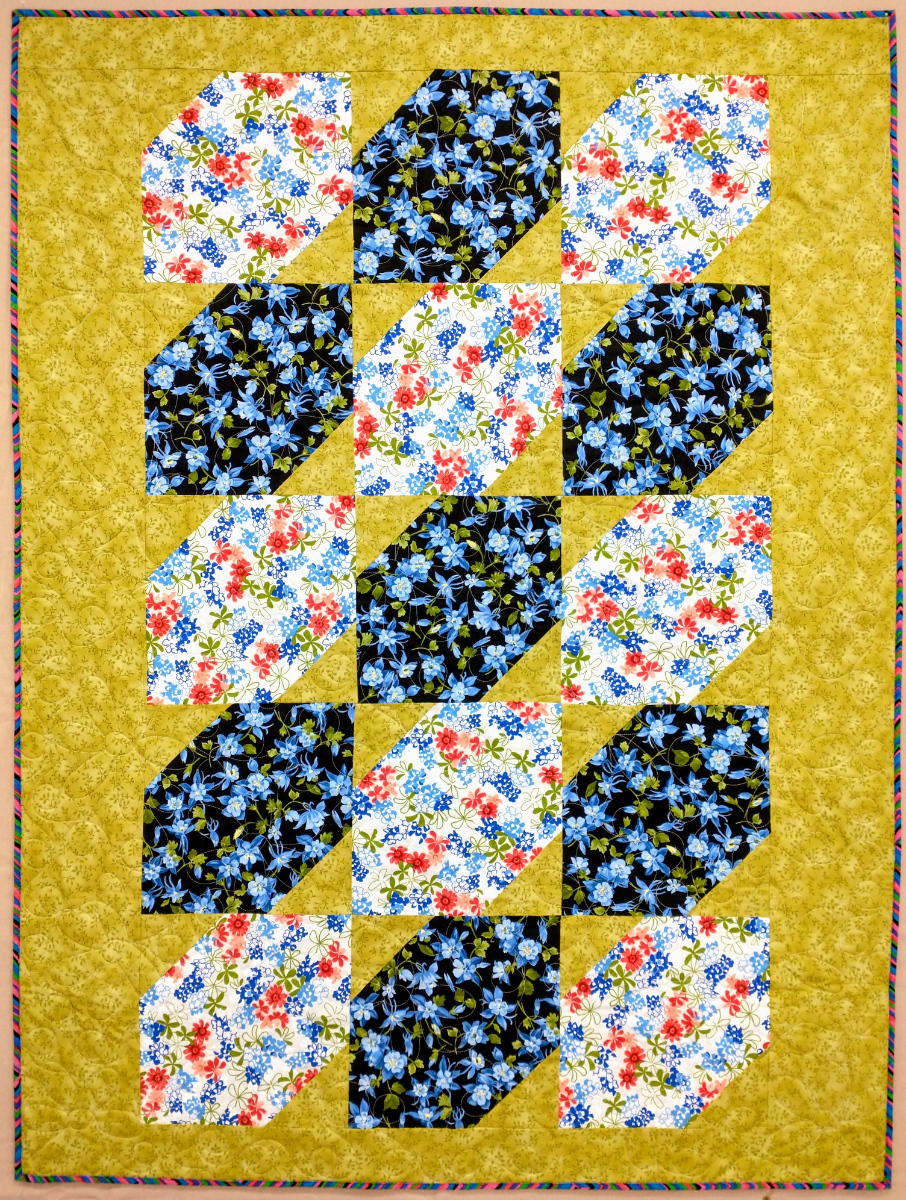
“Curved Plaids” by Heidi Haynes
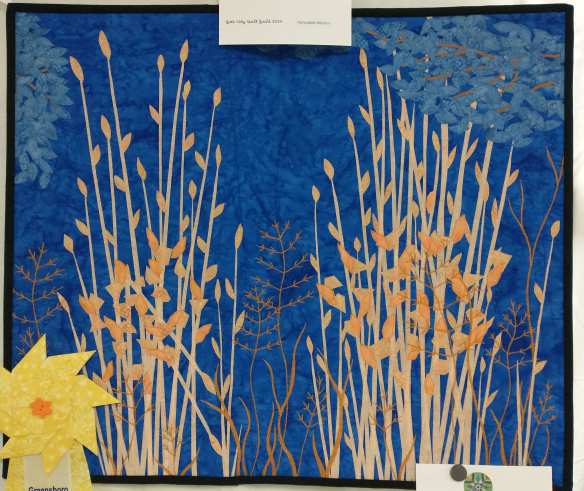
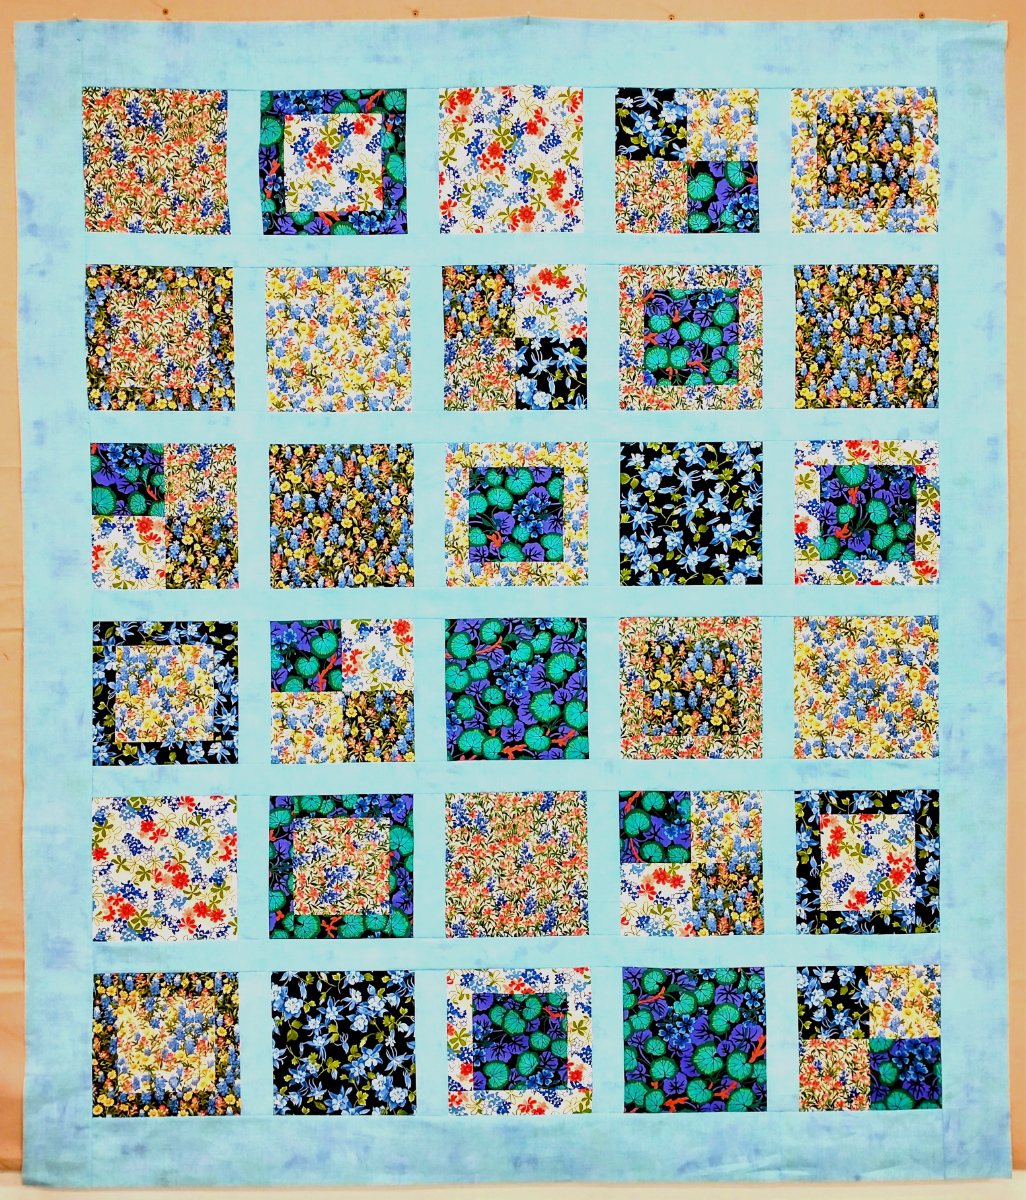
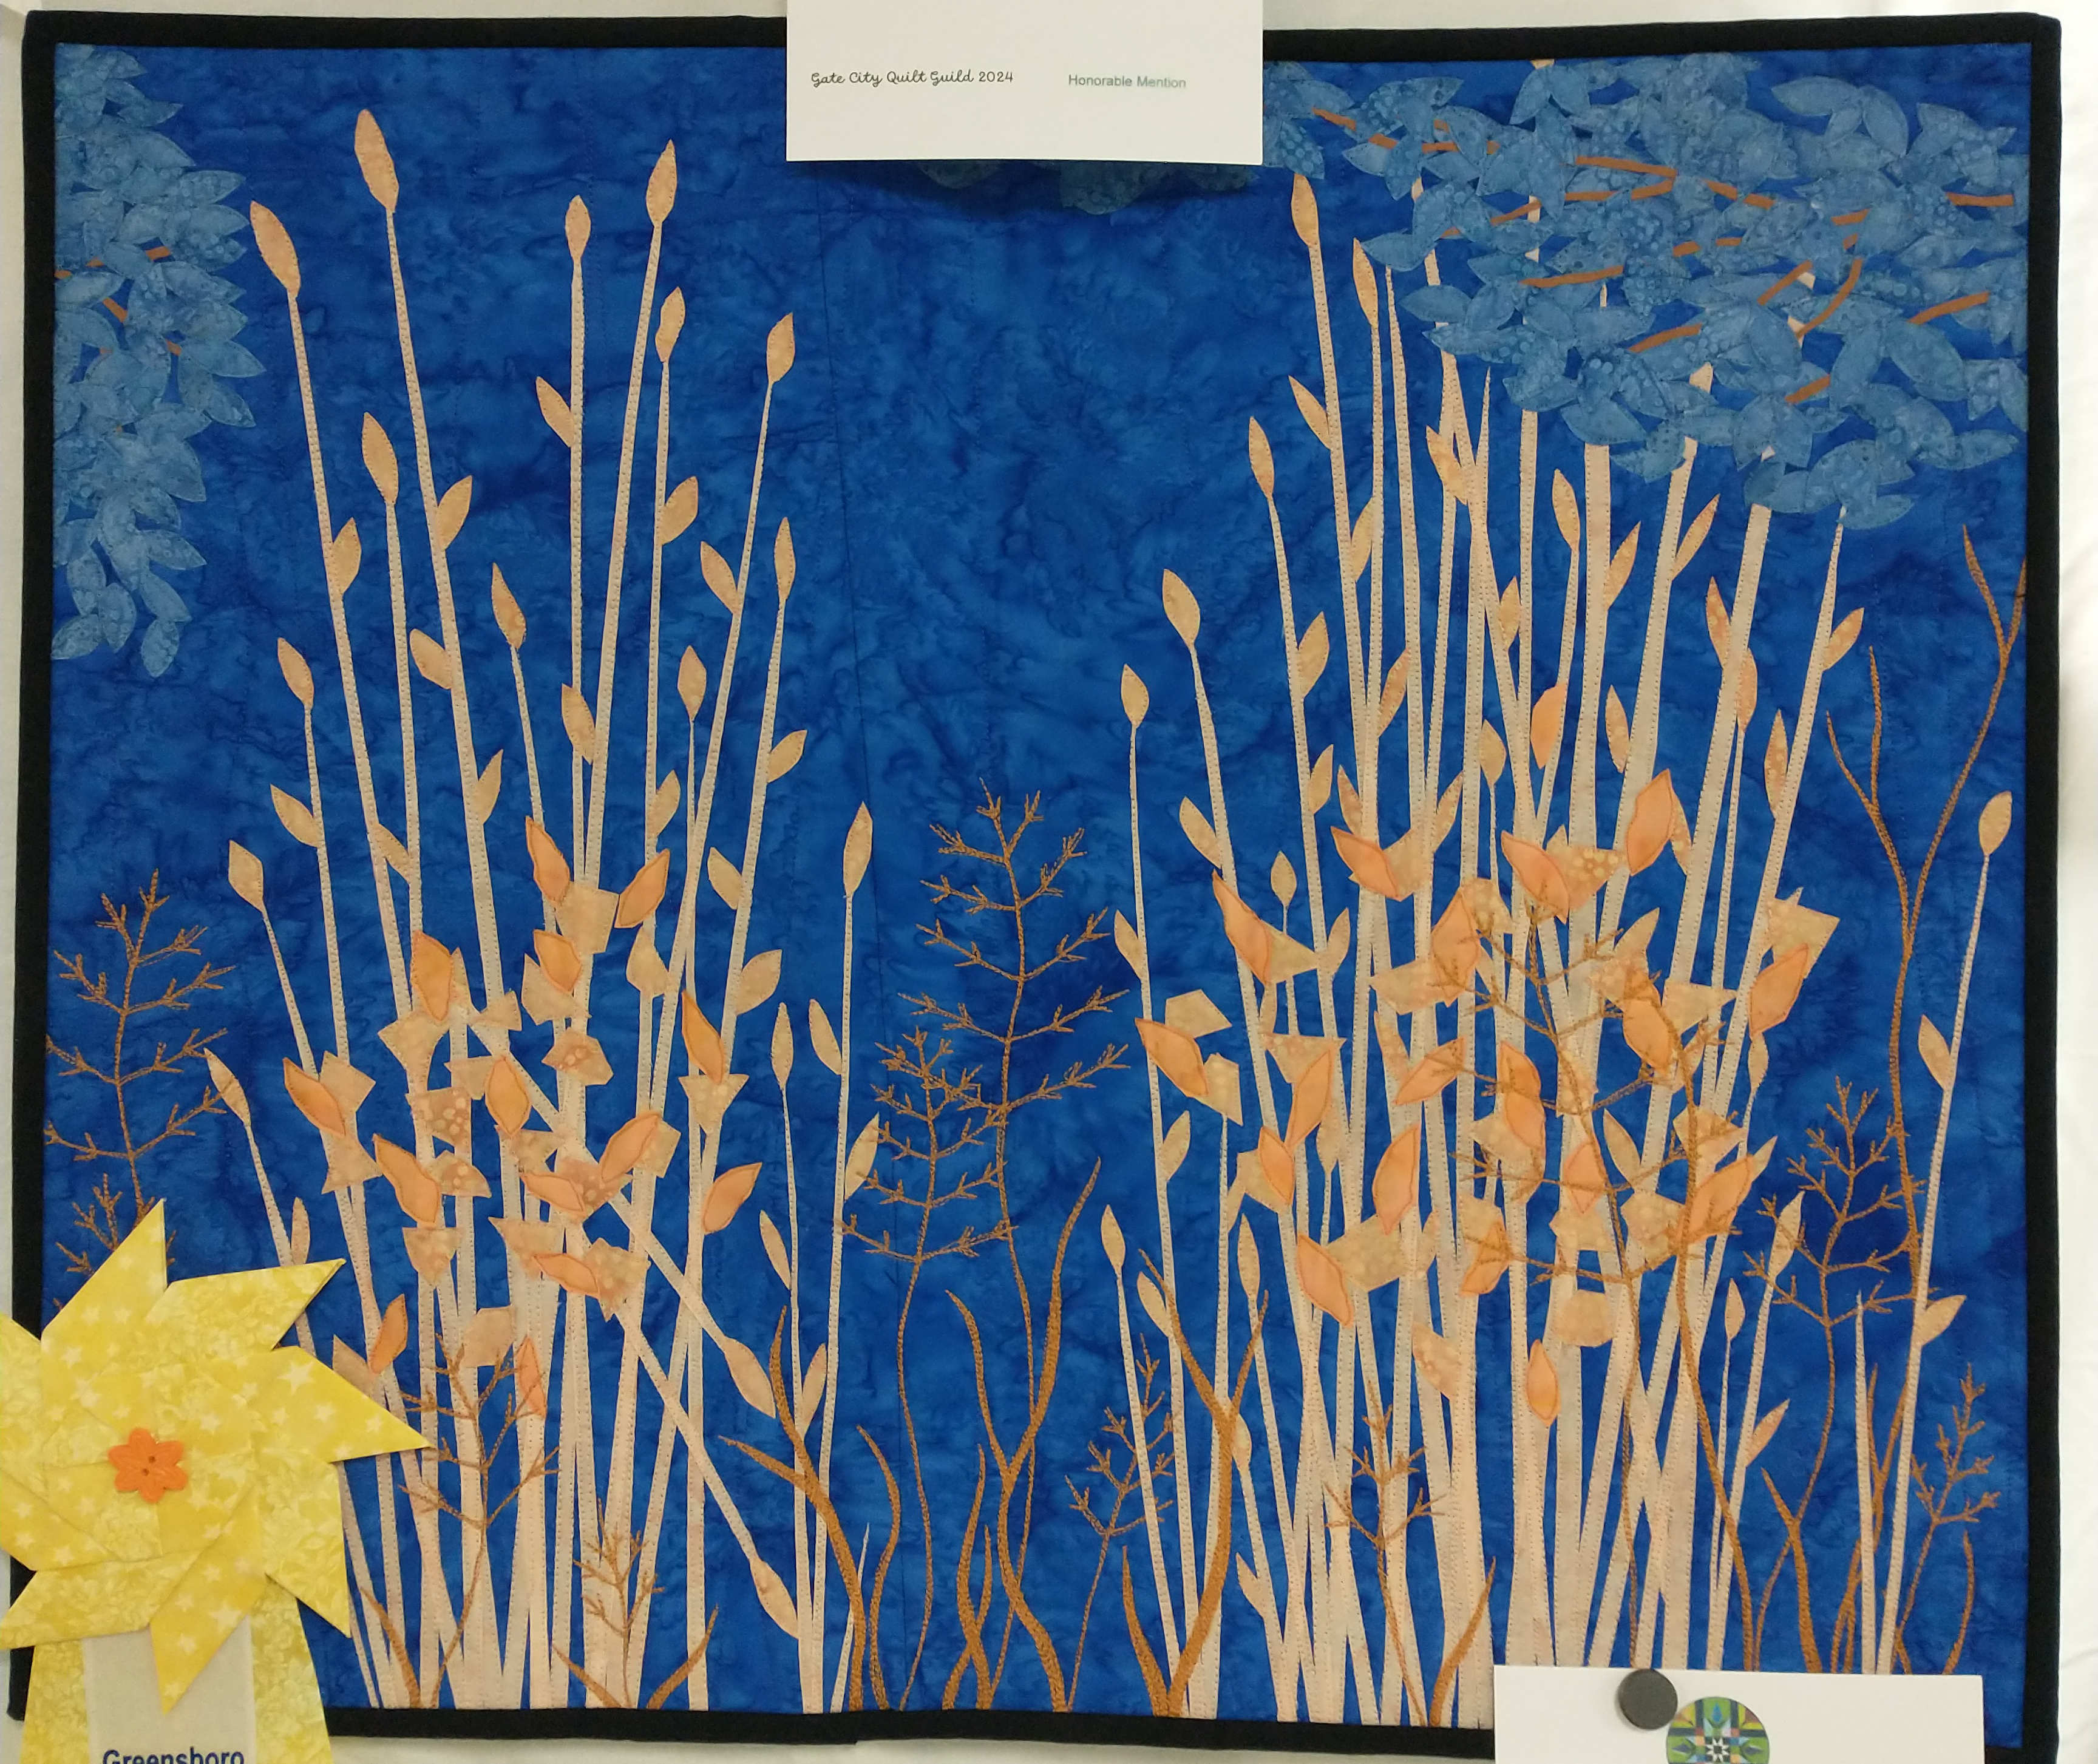
Grassy Delight by Betsy Bopp
What quilt shows do you enjoy attending? Which ones should I add to my bucket list?