When we visited the Auburn Cord Duesenberg Automobile Museum in June I took some pictures of cars just for their color schemes, thinking the color combinations would be interesting for quilts.
About 6 weeks later, I decided it was time to try a black and green quilt based on the car on the right. Then I became fascinated with the green vents on the side of the hood and wanted to use those shapes. Here’s how I did it.
I started drawing in Electric Quilt (EQ8, which is quilt design software that I use a lot).
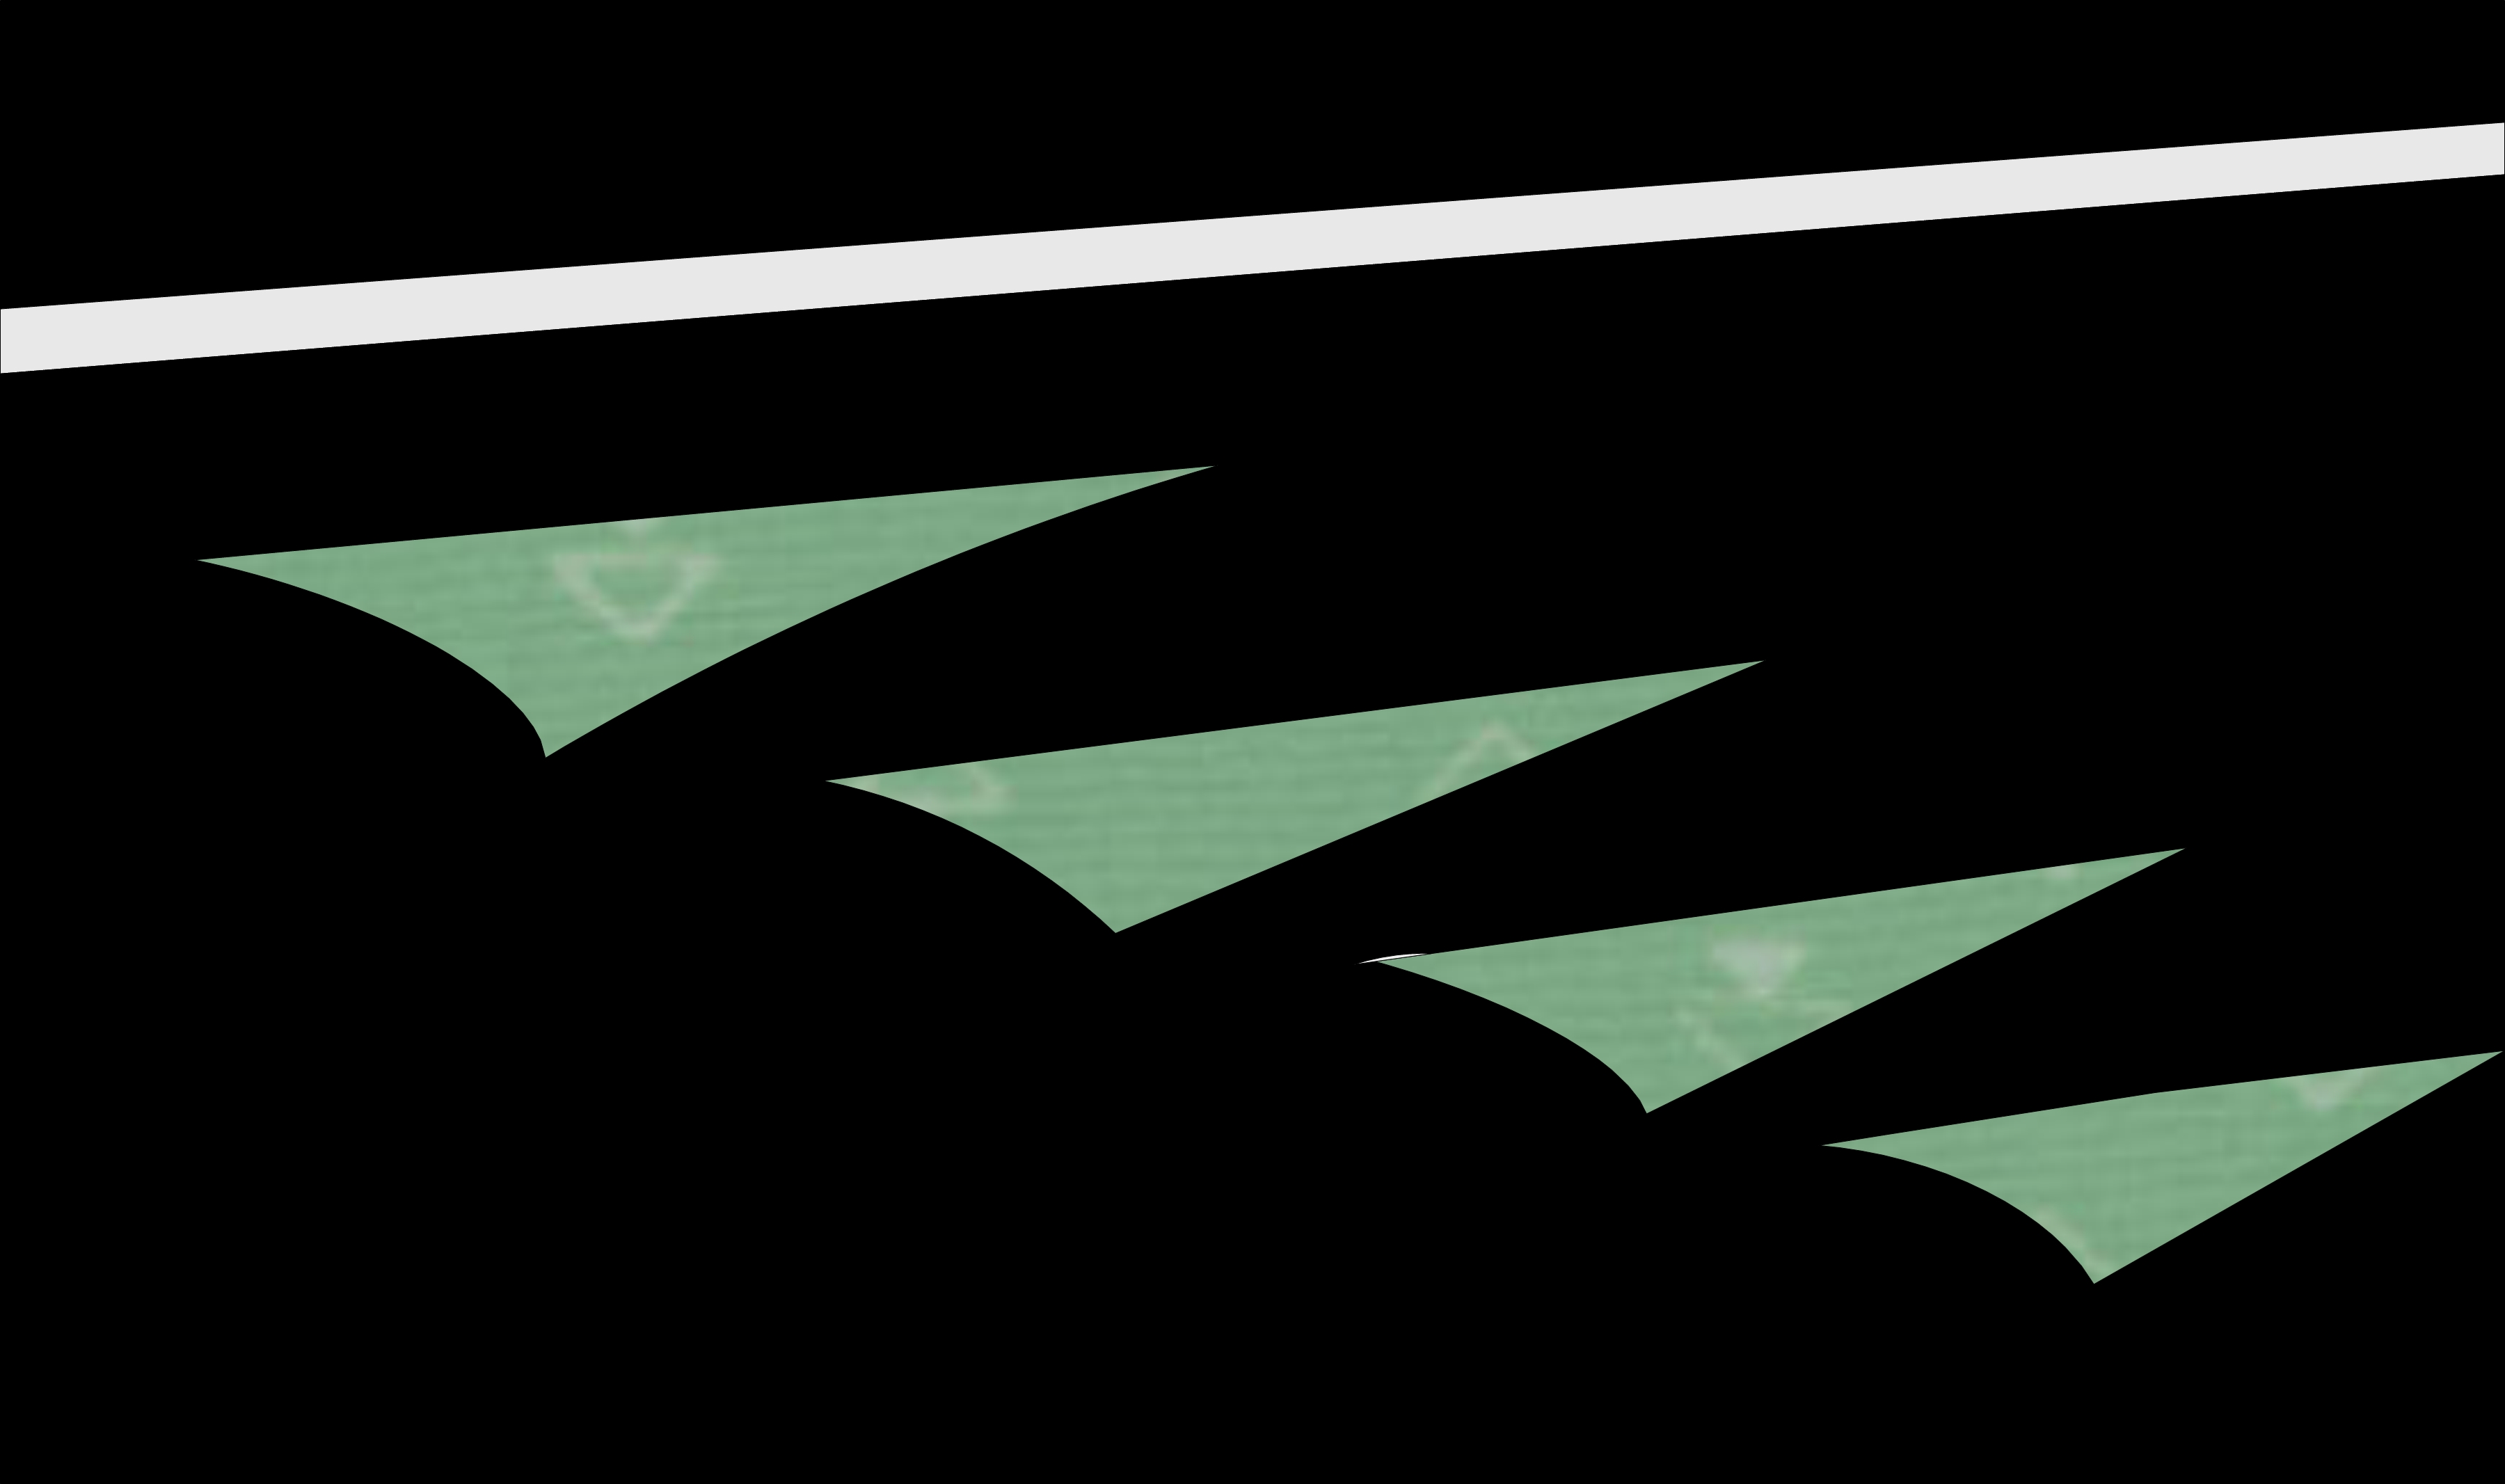
Eventually I decided to trace the photo so I could get the exact shapes. I therefore cropped the photo in Adobe Photoshop… …and imported the cropped photo to EQ for tracing! I can’t get a clear picture of the line drawing, but here’s the colored drawing. You can see I took a couple of “artistic liberties”, but the car is certainly recognizable.

Quilt drawn and colored in EQ8
After tracing the photo, I decided on the size I wanted for the quilt and printed a full-size pattern, again from EQ.
Then there was a pause because I didn’t have a large enough piece of the wool blend felt I use as batting for my art quilts. I first read about it in a book by Sue Bleiweiss and have used it ever since. There’s an explanation of it on Kestrel Michaud’s blog here. (Kestrel’s blog is well worth seeing in any case; her art is amazing!)
And there was a trip to the LQS (local quilt shop) for the exact shade of green, or as close as possible.
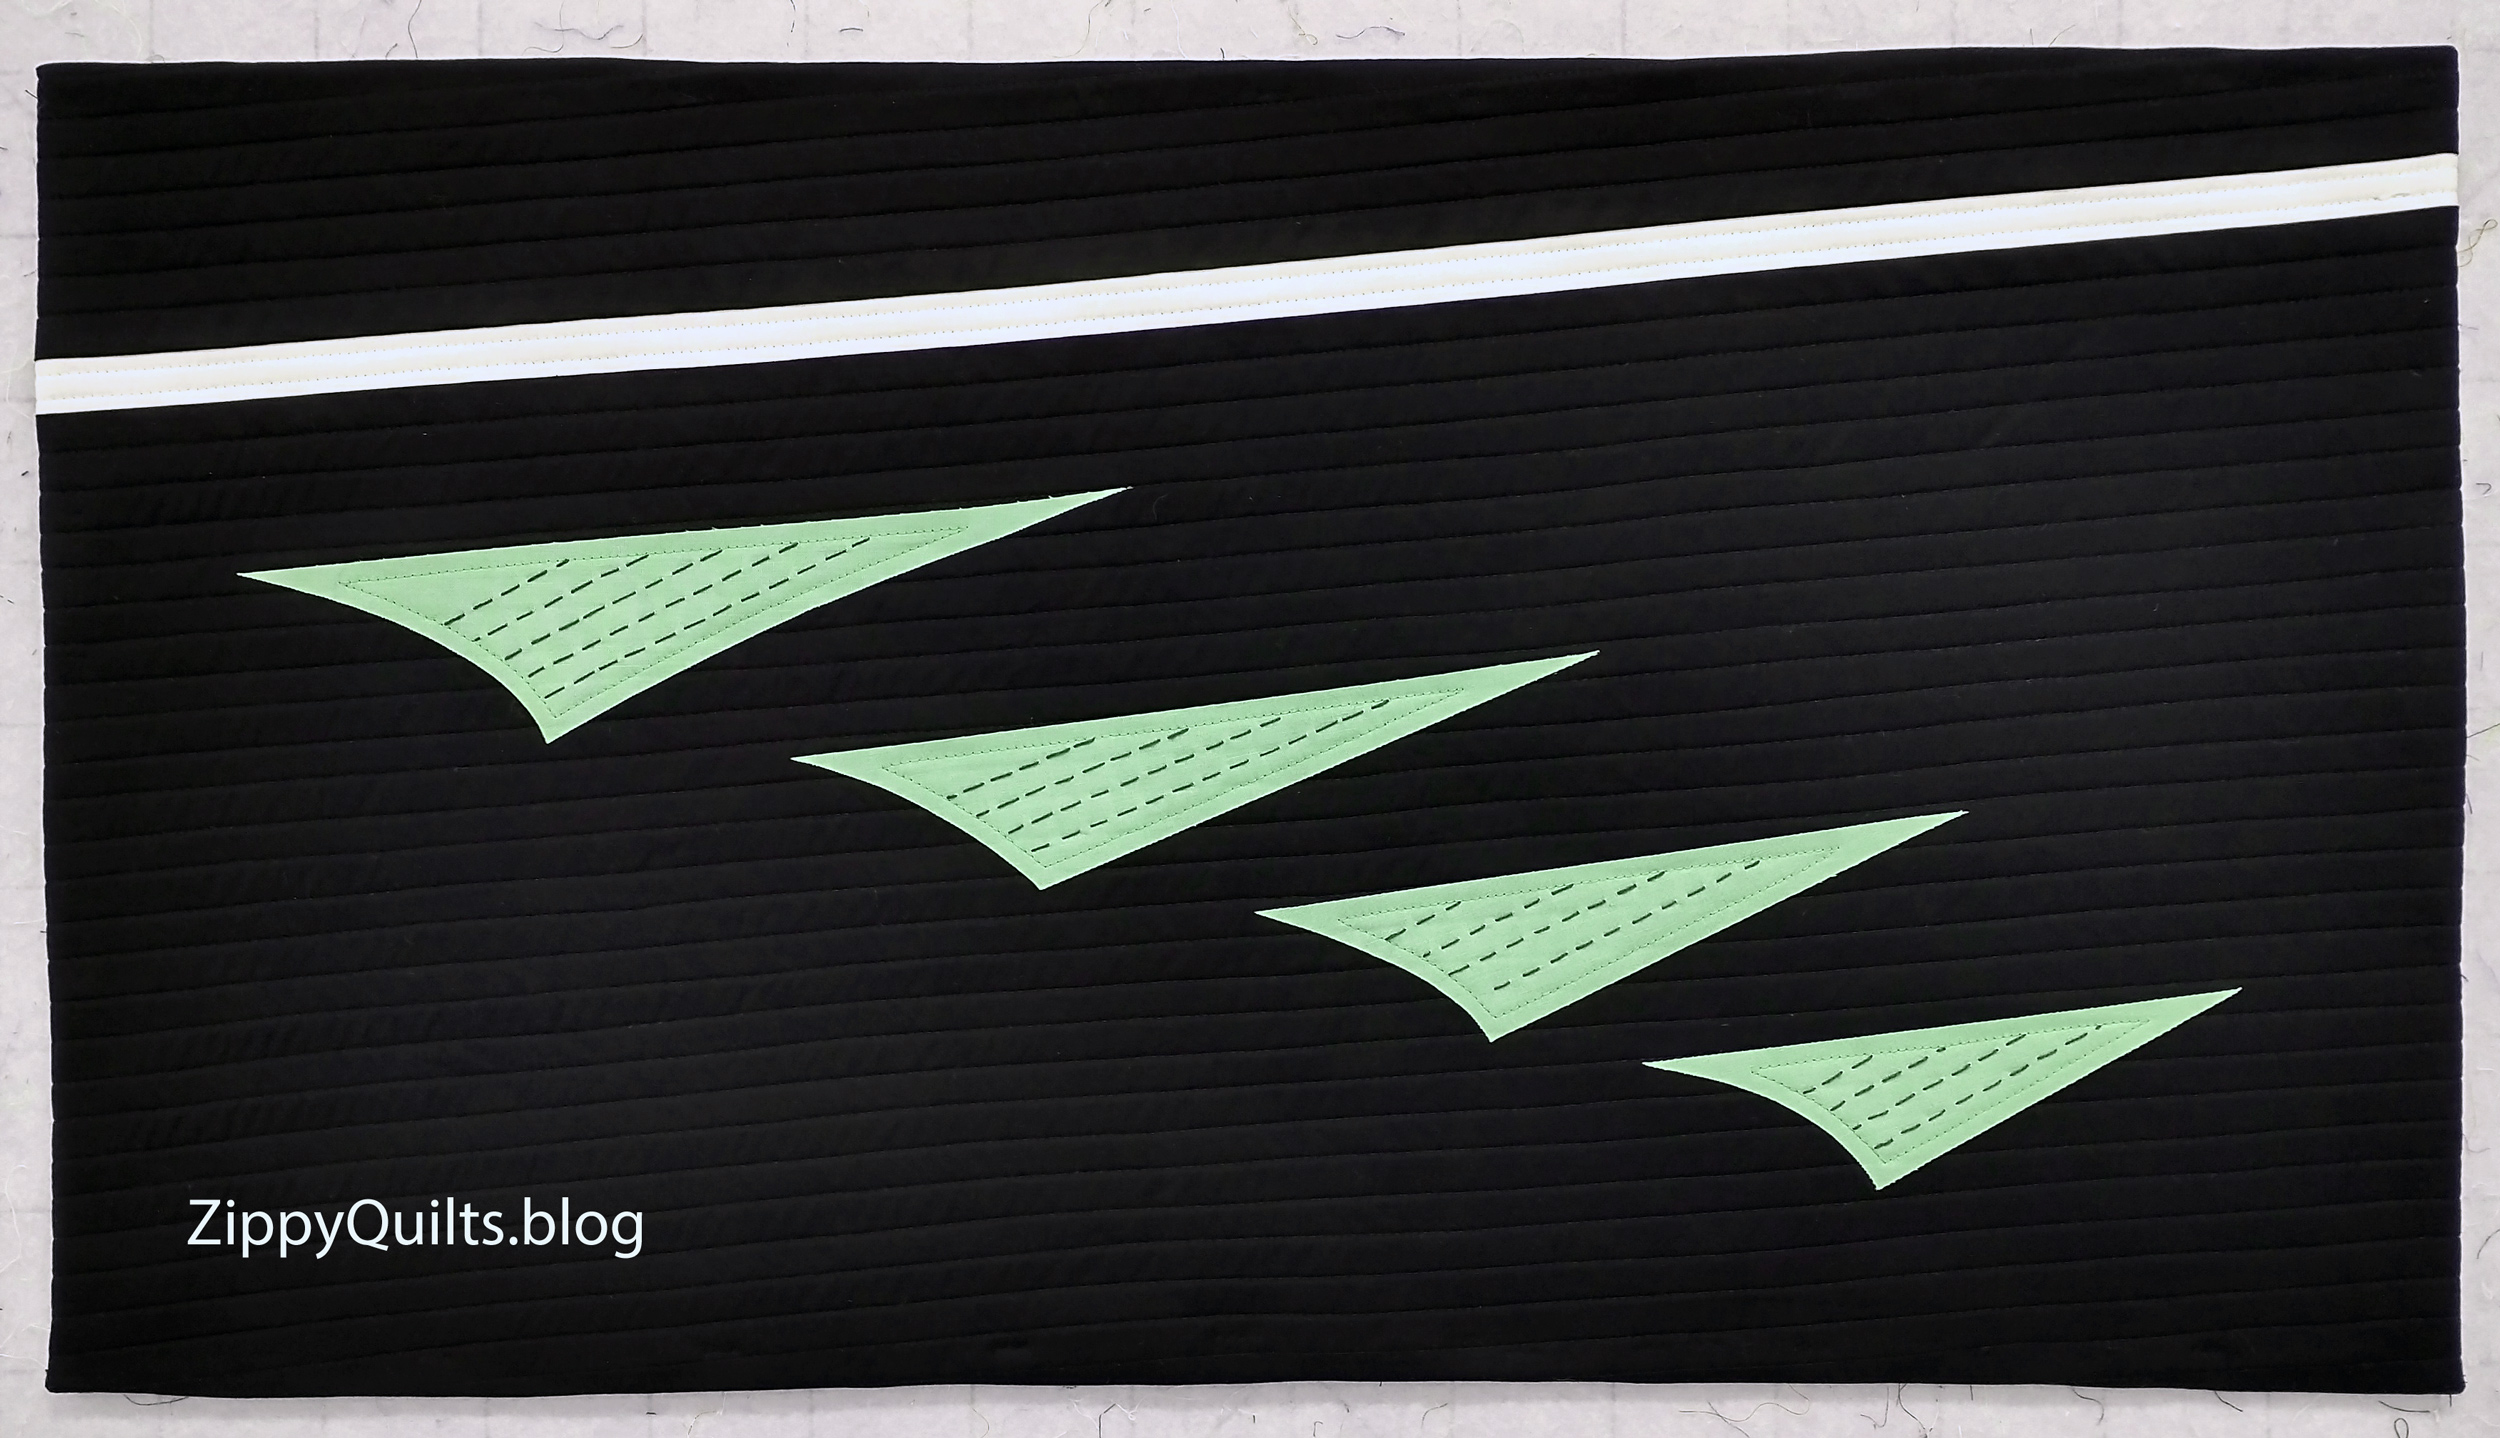
After that pause, I inserted a strip of white fabric in my black background, then quilted the top in lines parallel to the insert. I used some fun backing.
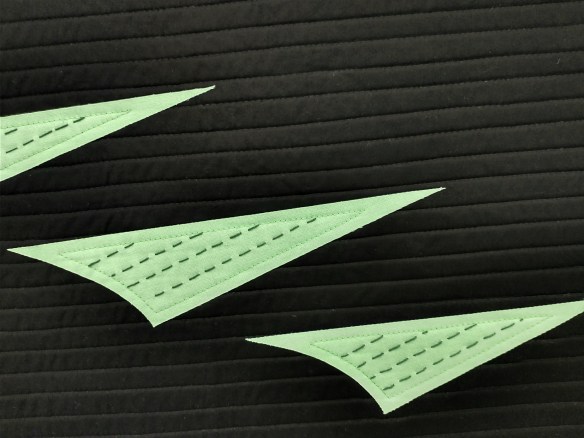
Then I traced, reversed, and fused the green shapes onto the quilted top. Still channeling Sue Bleiweiss, I topstitched these shapes
I tried out a number of different ways to mark the vanes, since they add interest to the original shapes.
I decided on hand stitching with dark green perle cotton.
. I used Terriy Aske’s method for facing the quilt. Tutorial here.
 And it’s complete!
Quilt name: Phaeton
Finished size: 16″ x 29″
Designed and made by me, based on a car (Phaeton is the brand) seen at the Auburn Cord Deusenberg Automobile Museum