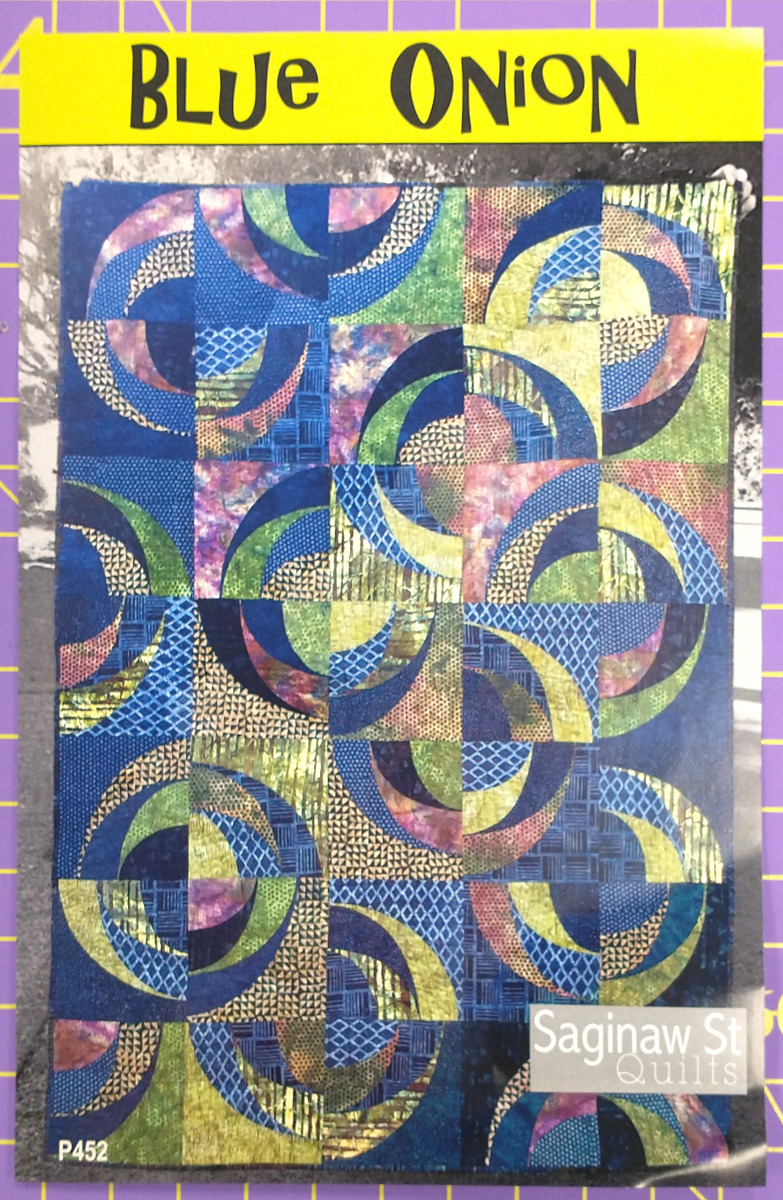
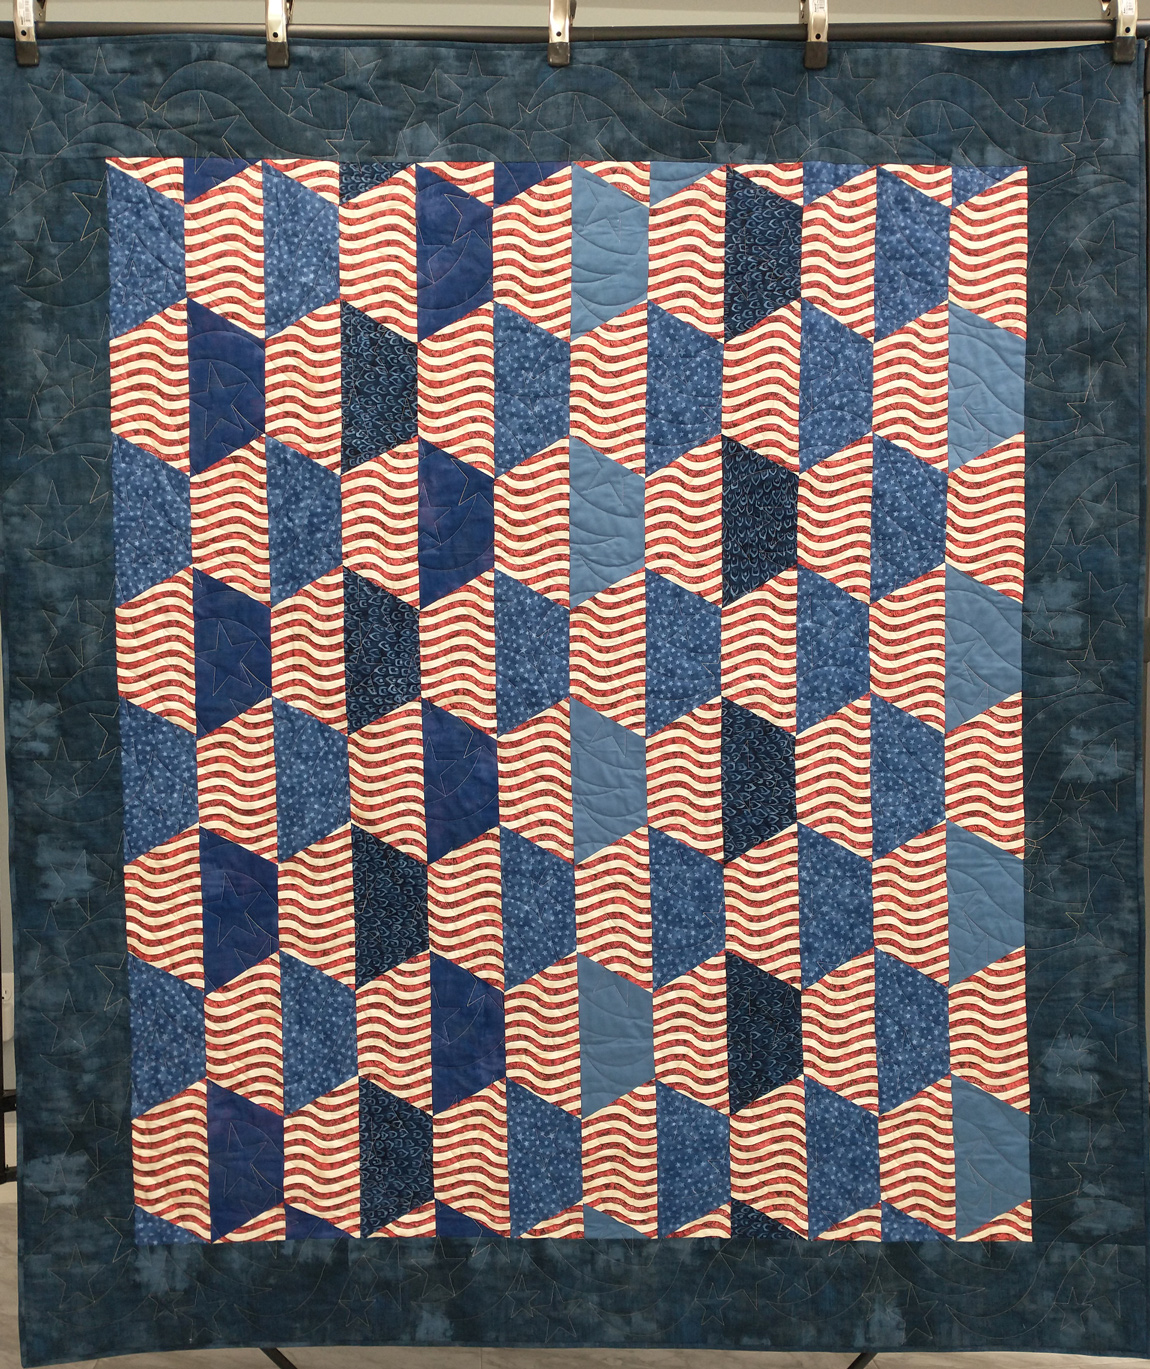
I first saw this quilt hanging in a shop I visited while travelling. It was made in the original dark colors as designed by Tim Holtz, but it was striking. I downloaded the pattern (available free, here) and procrastinated for a few months.
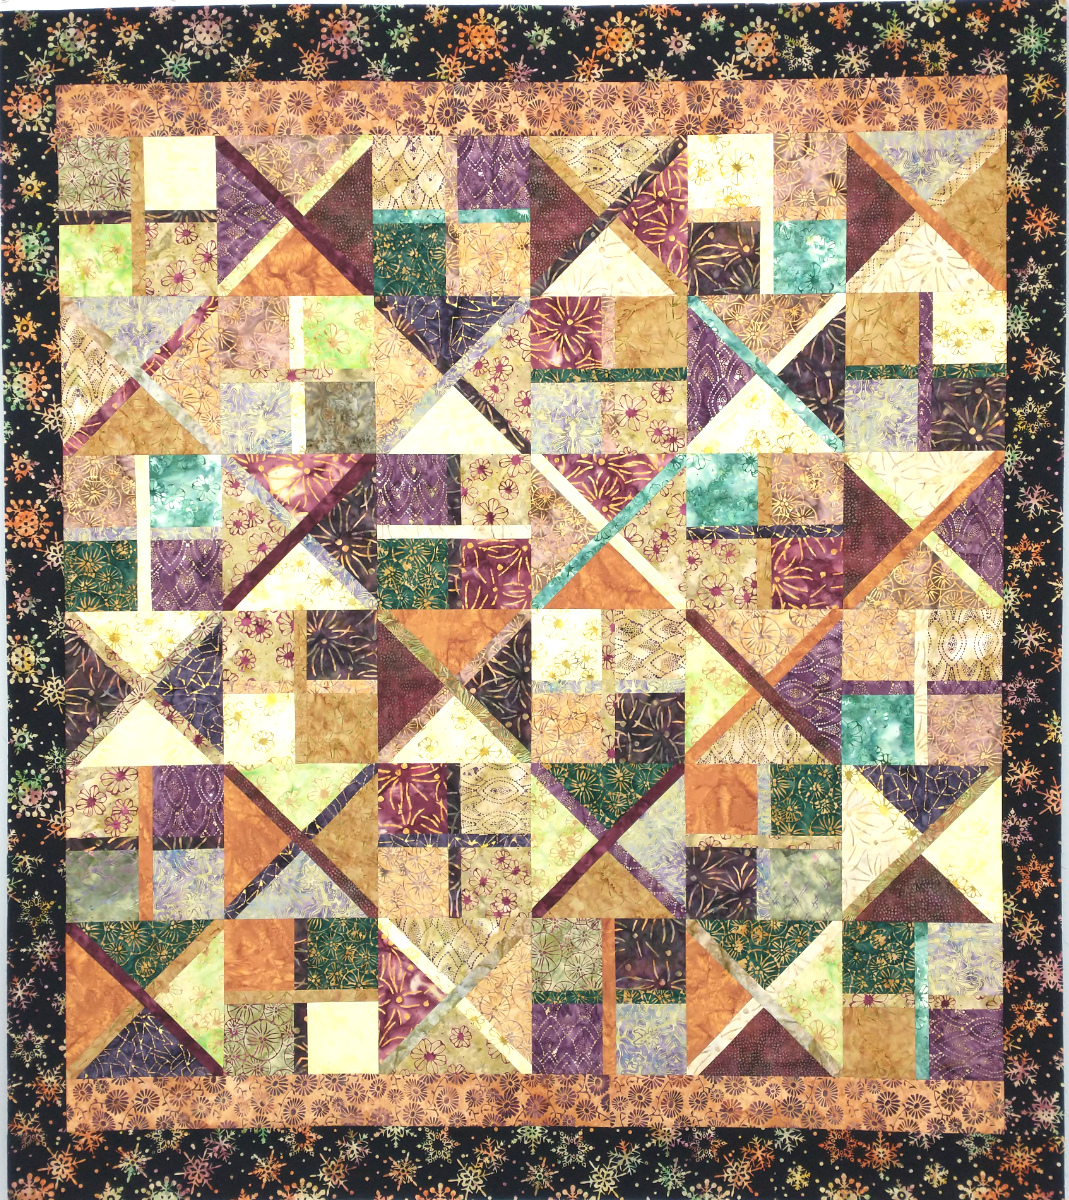
Finally I gathered my Tim Holtz fabrics and made my version in lighter colors.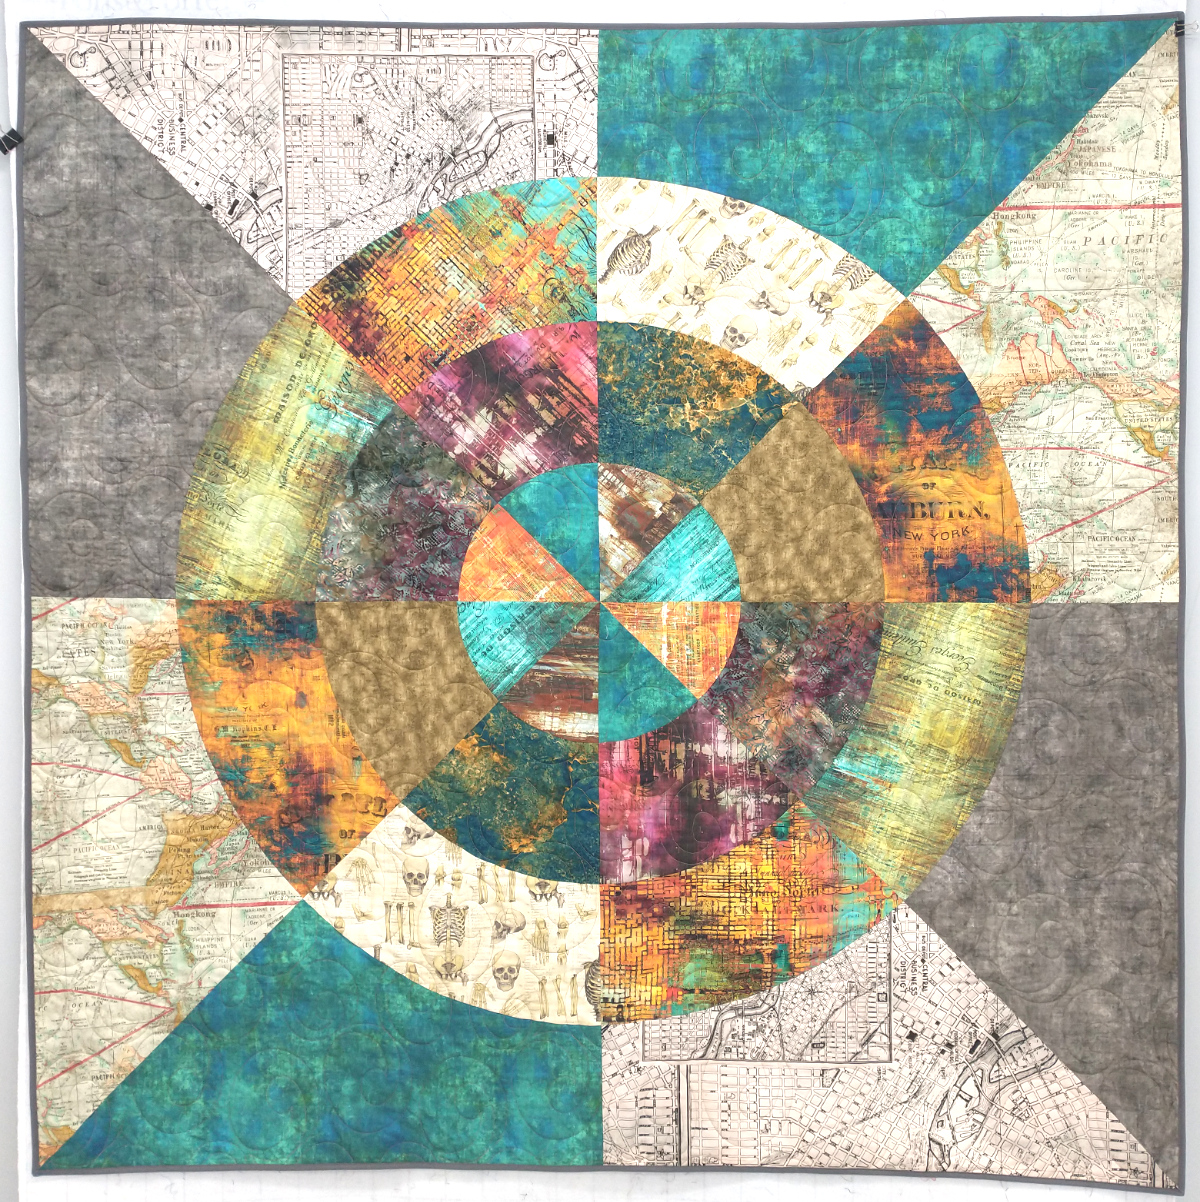
The only difficult part was getting the fabrics cut in the correct orientation. The name of the pattern is “Curious By Nature”. Once I got the pieces cut, it went fast because there are only 32 pieces!. I love the quilt and loved making it. Did I mention I love this quilt?
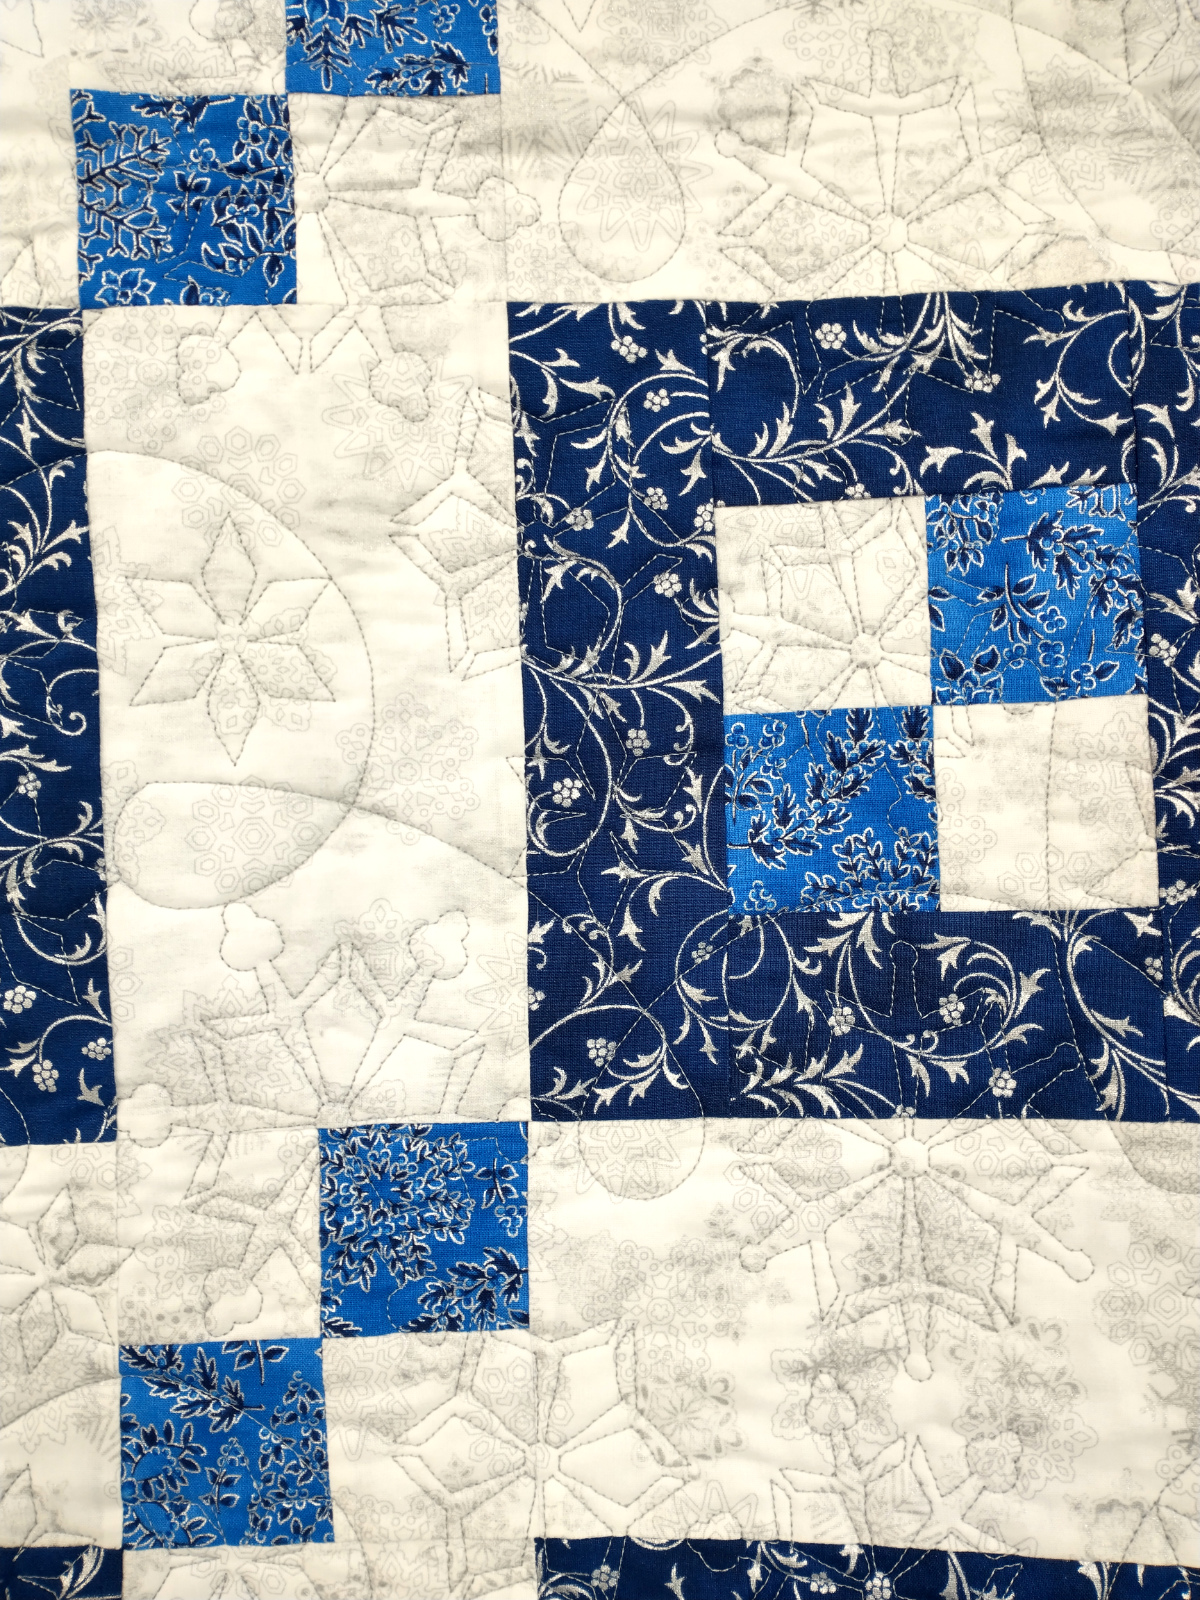
And here’s a picture of where all 8 points come together at the center. I take little credit for this, because the pattern included shaped points that made this possible!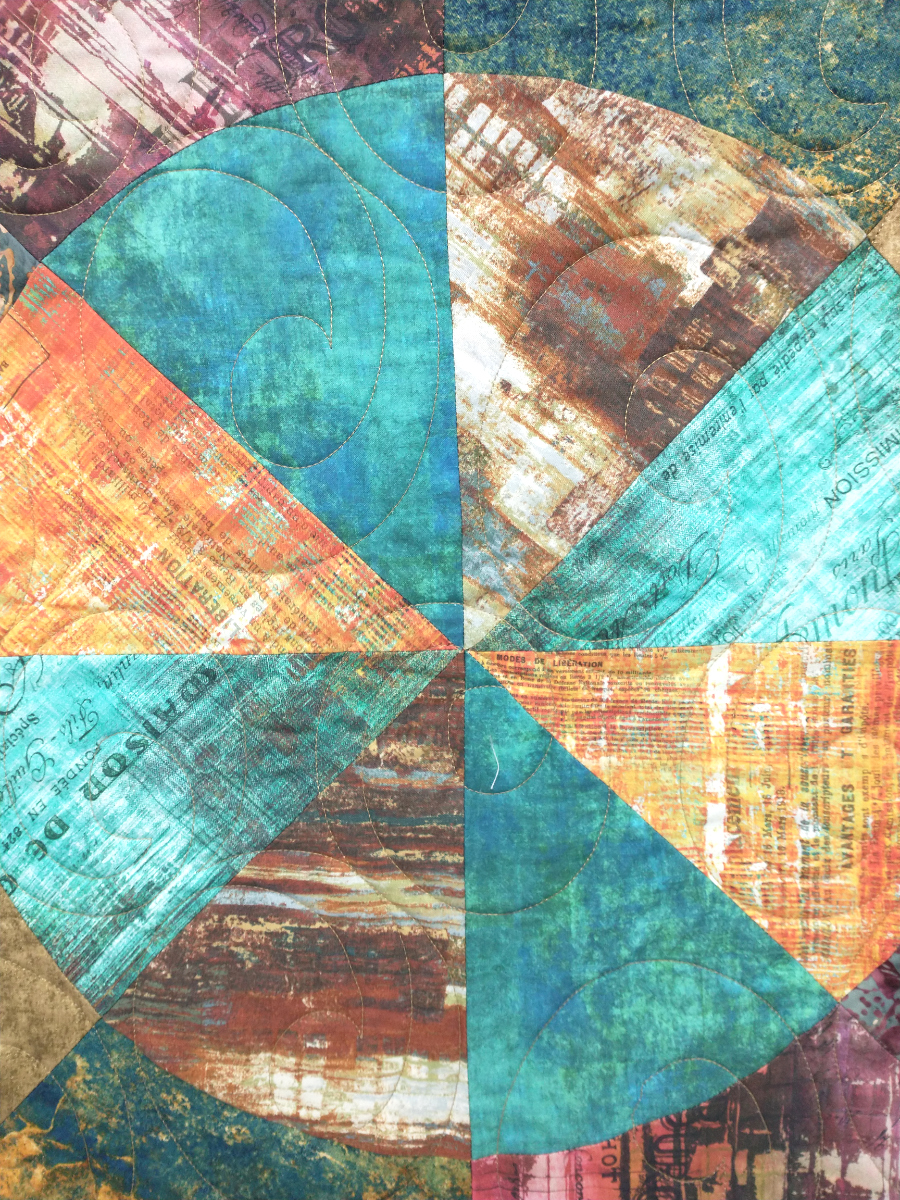
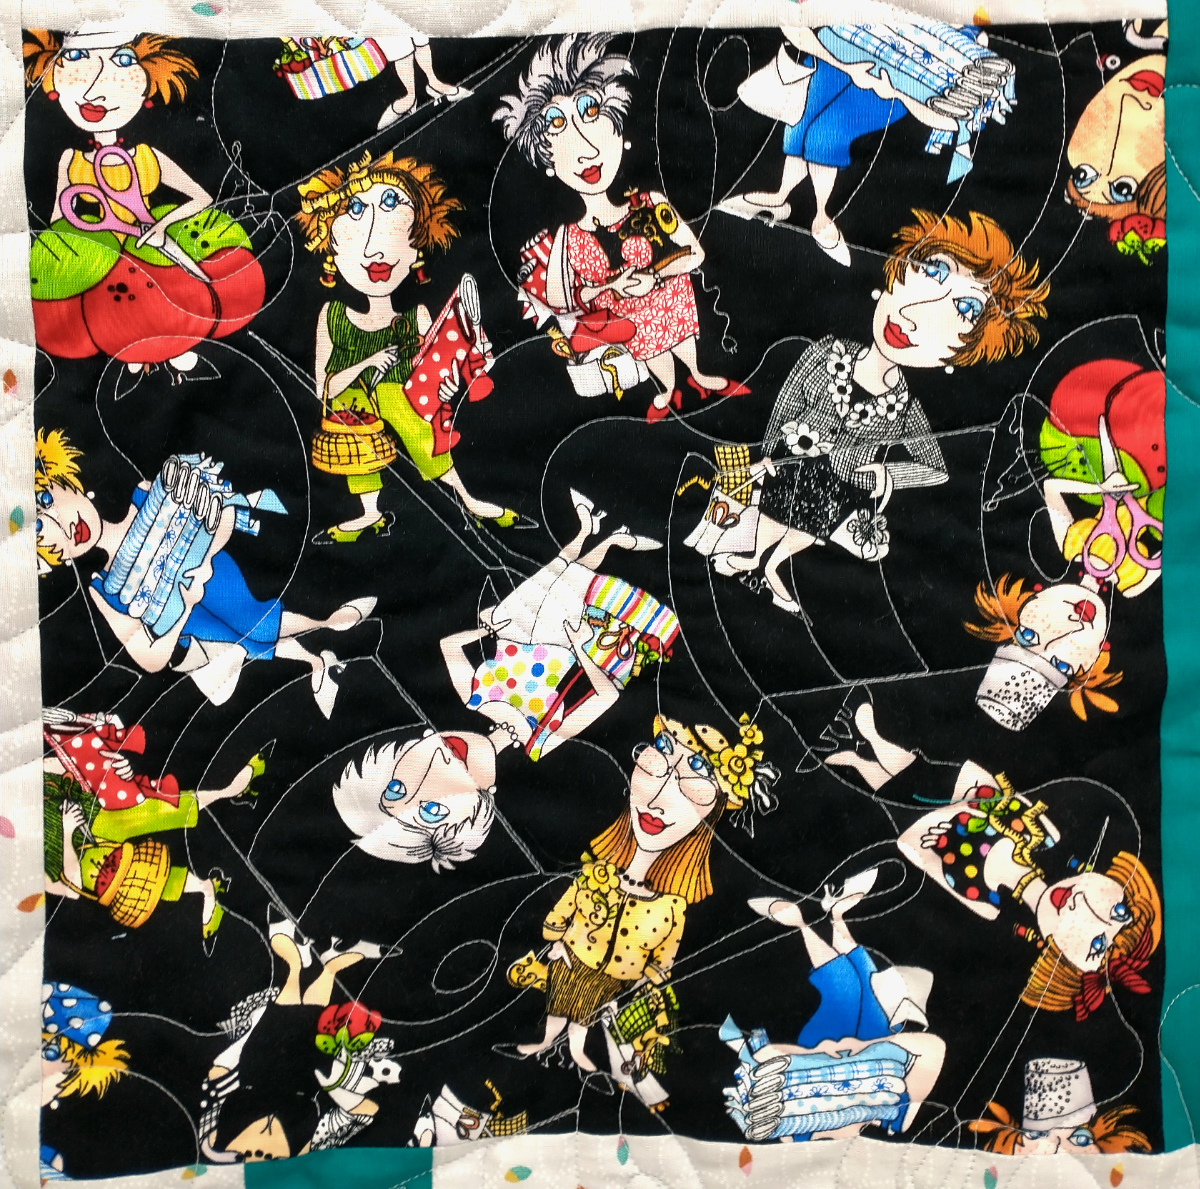
I love those Tim Holtz fabrics–they’re so wierd! And did I mention I love this quilt?
Quilt Stats
Name: Curious By Nature
Designer: Tim Holtz
Finished size: 61″ x 61″
Pieced by: me
Quilted by: Linda Nichols