A friend and I joined a group bus tour from near her home in Ohio over to the AQS quilt show in Lancaster, PA. There were several stops along the way to see the sights in Pennsylvania on the way to the quilt show and back. We particularly enjoyed a tour of Amish country with a knowledgeable guide who was from the area.
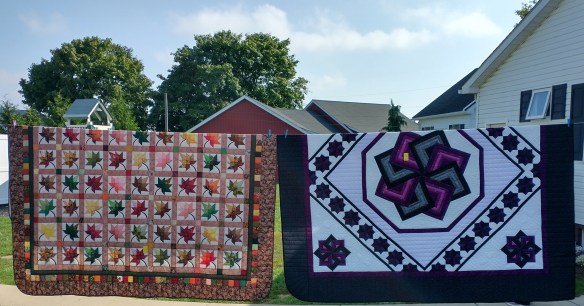
Quilt on display at an Amish shop
We agreed that the best thing about the bus trip was not having to drive ourselves, though that also meant that we weren’t able to set our own itinerary. We both decided we won’t be doing another bus trip. However, it was great to get to spend time together, so we enjoyed the trip overall.
Here are a few favorites from the AQS-Lancaster show, which was wonderful.
This first was my favorite from the SAQA (Studio Art Quilt Associates) exhibit:

Grasshopper Path by Paola Machetta
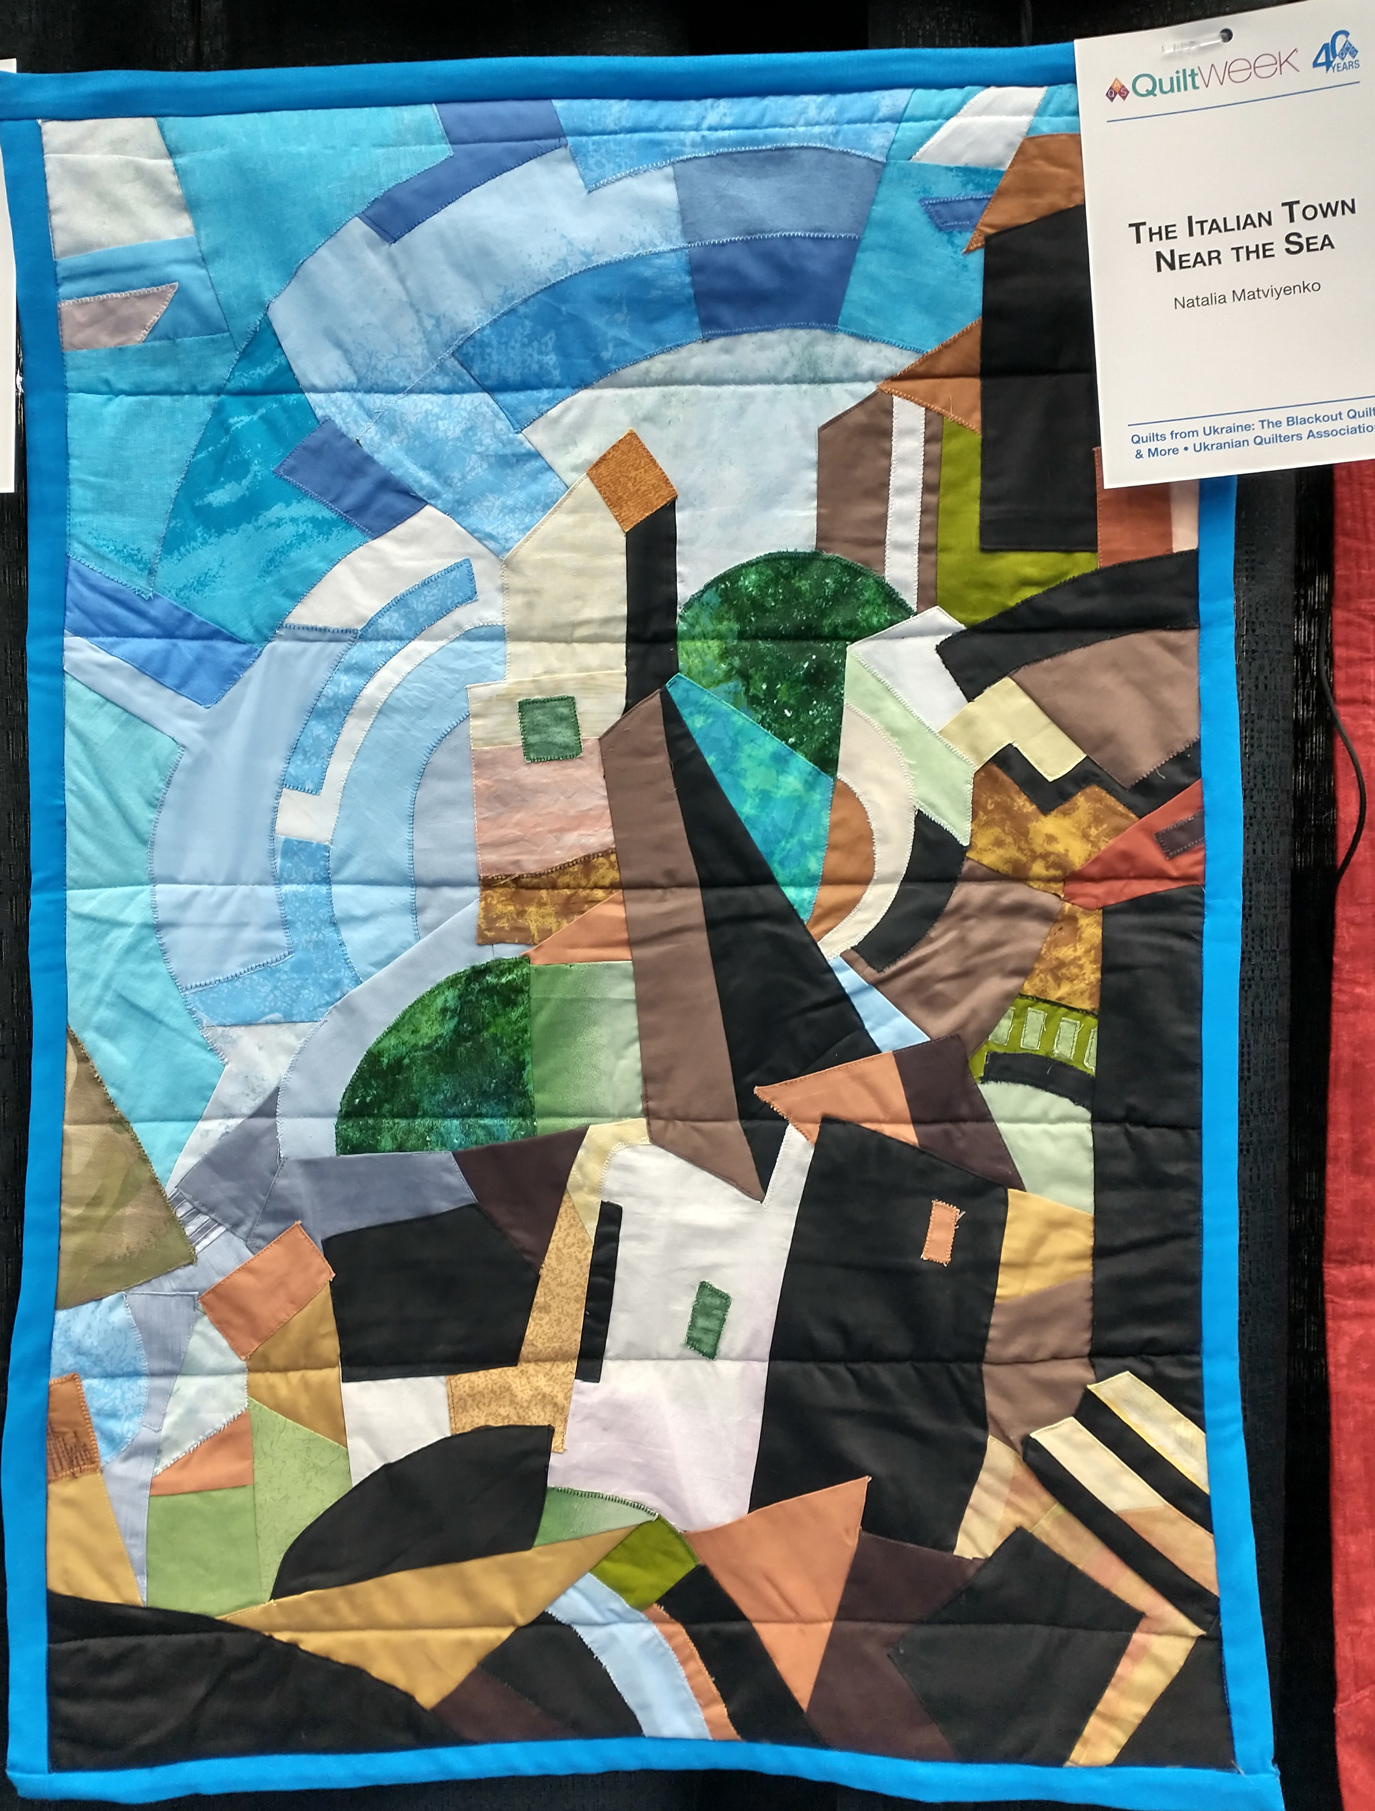
And I especially liked this quilt in the special exhibit of quilts from Ukraine:

The Italian Town Near the Sea by Natalia Matviyenko
There were, as usual, many wonderful quilts in the AQS contest. Here are a few of those I loved.
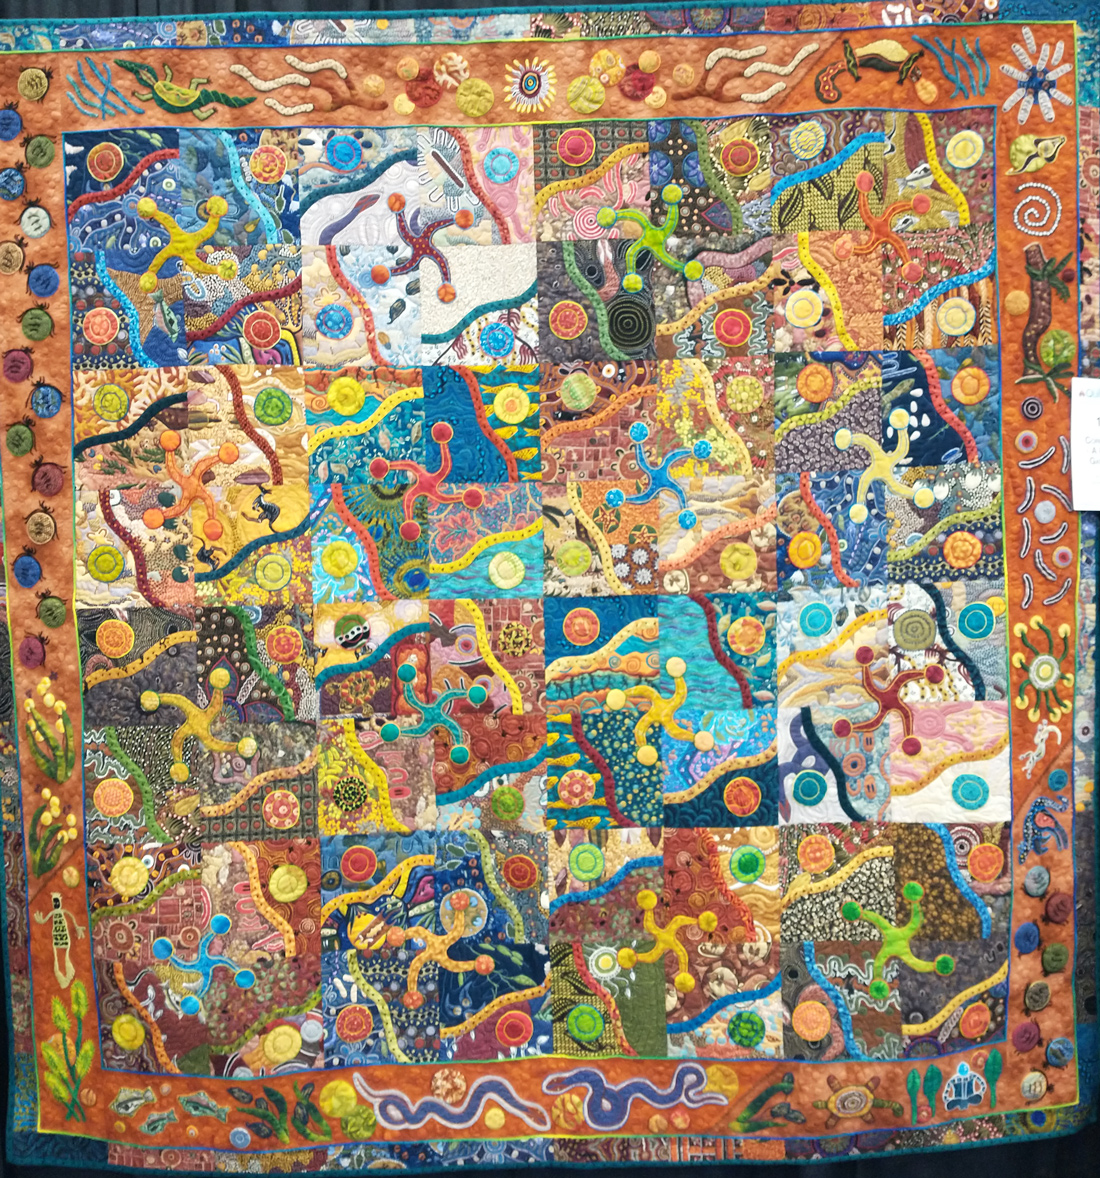
With my recent interest in ethnic fabrics, I was interested to see this quilt. There’s a lot of wonderful hand work in this quilt, and it was quilted on her home machine.

Corroboree–A Festival Gathering by Ann Horton
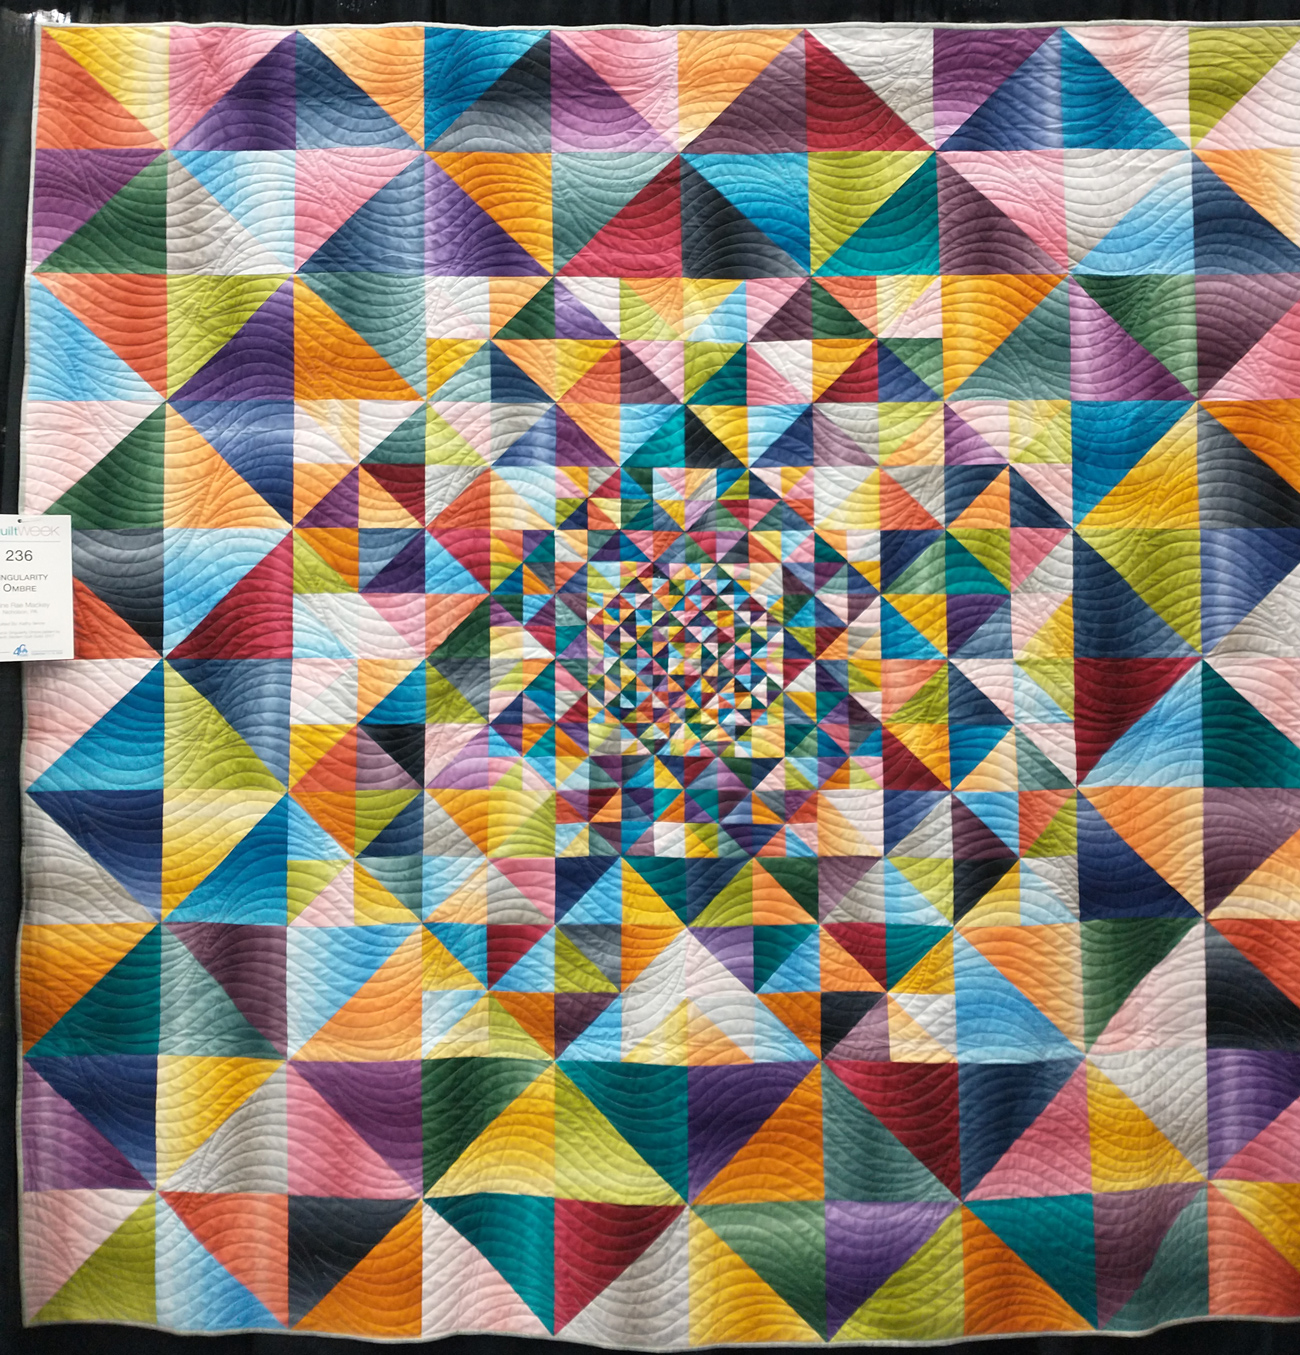
The next quilt was made from a pattern published by the Modern Quilt Guild. I like how the pantograph quilting contributes to the design.

Singularity Ombre made by Elaine Rae Mackey
The symmetry of this next one appealed to me, and she quilted it on her home machine.

20 To Life by Robin Thomas
I love the graphic quality of this next one, though I wish it weren’t quilted so heavily. I realize dense quilting is “in” at the moment, but in this case I think it detracts from the overall design.
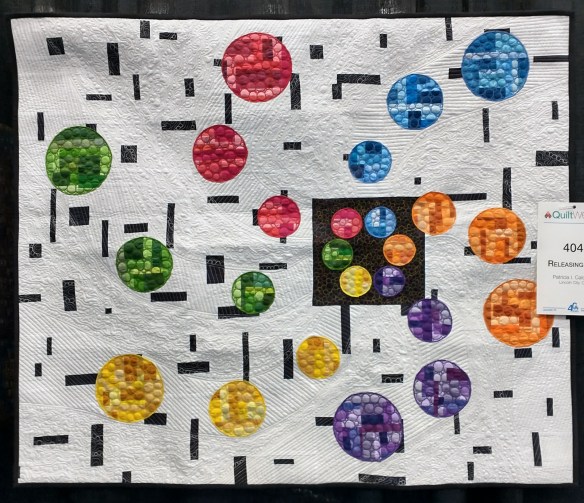
Releasing Joy by Patricia Caldwell
I loved this next quilt with its strong colors and diagonal lines.

Simple Switchbacks by Kathy Tolbert
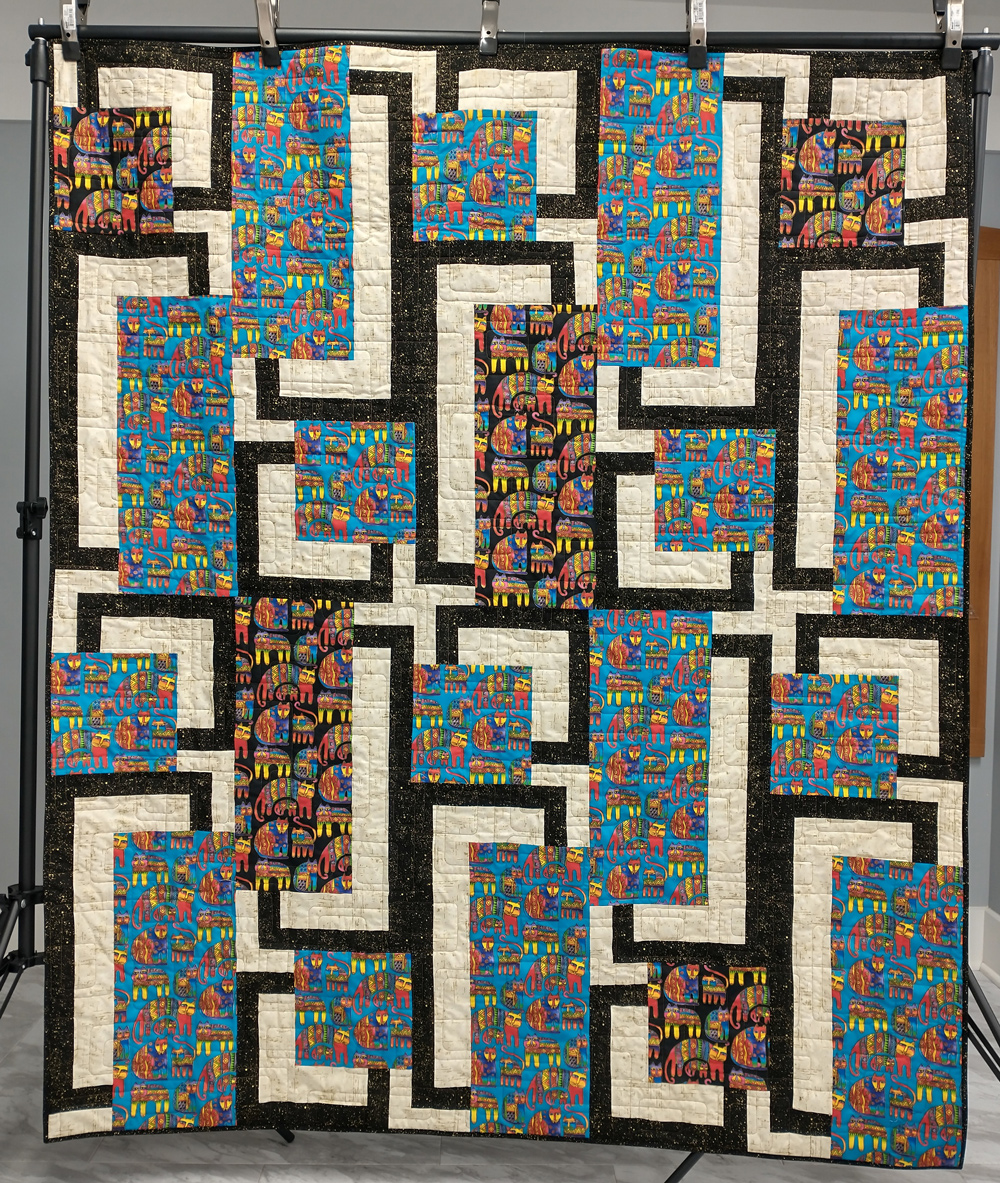
Another graphic quilt that caught my eye:
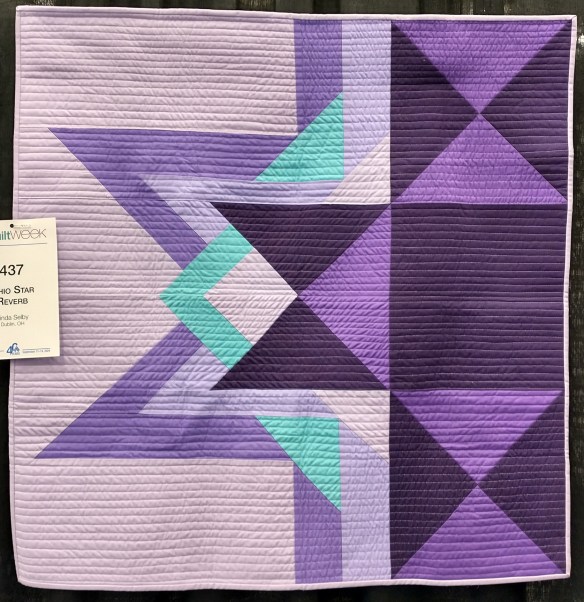
Ohio Star Reverb by Linda Selby
I don’t think any of my choices above were big winners, but there’s a post with actual professional photos of those here, and they are well worth seeing!