Incubator Quilts

A Ronald McDonald House near me requests quilts to be placed over preemie incubators in the NICU. They suggest 36″ square, so I made a few. They’re all from “orphan blocks”, and most were quilted by Linda Nichols (though I quilted one myself–gasp!).

Here they are:

And they all have this pretty backing:

Another use for orphan blocks 😀

Car Inspiration!

On a recent trip to Indiana we stopped at the Auburn Cord Dusenberg Automobile Museum. It was much more interesting than you might expect for a quilter, so here are some examples of inspiration I found there. I enjoy history and design, so even though I’m not an old car buff, I had a good time at the museum and was somewhat reluctant to leave even after two hours!

First, the museum itself! The building was originally a showroom to which car dealers came in the early 20th Century to be convinced to sell automobiles made by the Cord company. And what a showroom it was! It was huge, and its art deco details have been restored. Here are a few of my favorite examples.

The chandeliers were the first thing I noticed!

Here’s a broader view of just one part of the showroom, showing the detail on the beams, the columns, and the grand staircase. And look at that Italian terrazzo floor!

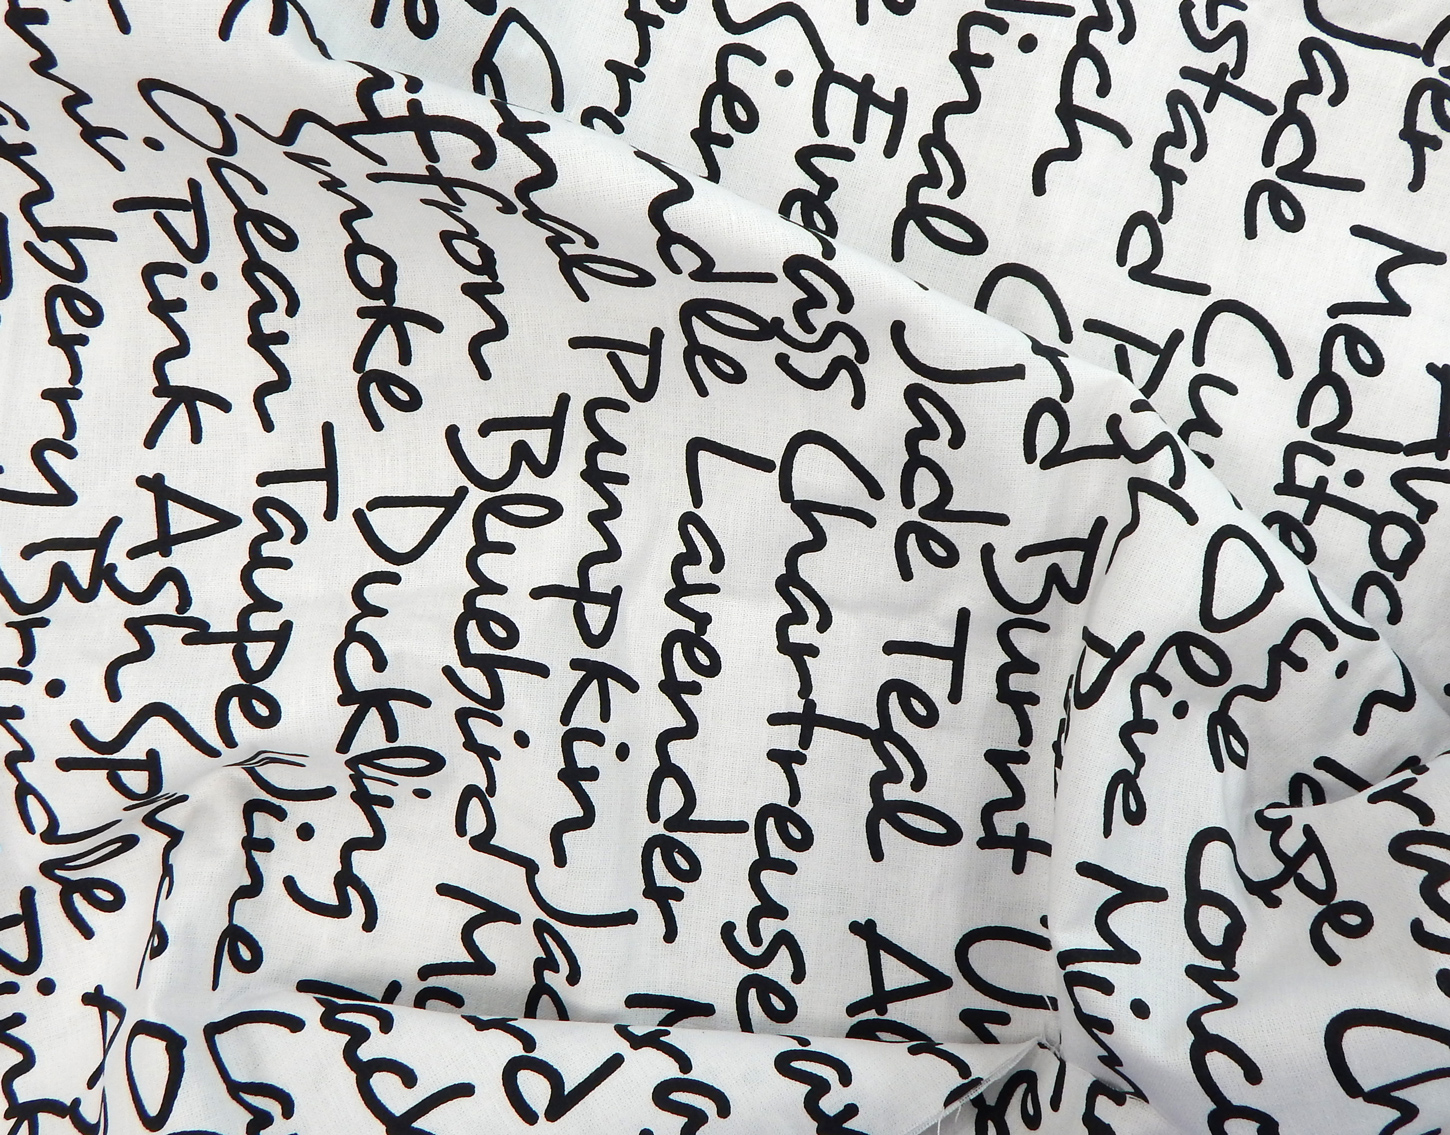
Museum displays explained that, up until World War II, there was quite a market for American made luxury cars. And I do mean luxury–many of the cars were meant to be driven by a chauffeur! To my surprise, these luxury cars were many different colors. I took these pictures because I liked the color combinations and plan to use them for inspiration.

Then there was a car that belonged to Frank Lloyd Wright, whose work I admire. Mind you, I don’t much admire the man, from what I know about him, but his work was wonderful.

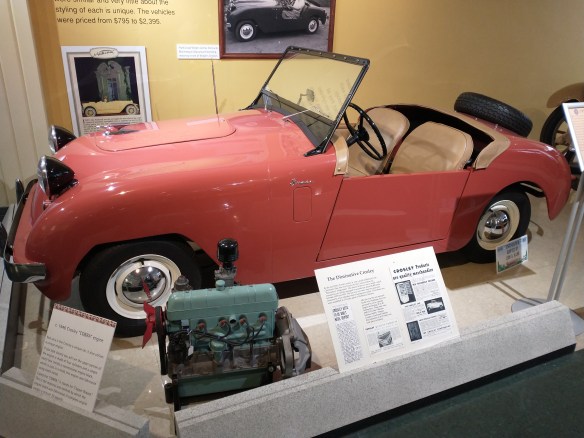
The car is “Cherokee Red”, a favorite color of Wright’s. I investigated and learned that there is more than one Cherokee Red, even within Wright’s work. Here are a couple of references, in case you’re as much a geek as I am (looking at you, Gwen).

Here is an article explaining Wright’s Cherokee Red and including several examples.

And here is an article about the PPG palette now used at Fallingwater. It includes “Fallingwater Red” which is the version of Cherokee red used in that house. I have bookmarked this so I can use the palette for a future quilt!

If you’re in northern Indiana, this museum is worth a visit, even if you aren’t much into cars.


An Easier Hanging Sleeve

Hanging sleeves for quilts are required for most quilt shows and instructions are available many places online. I have for years used the instructions from the American Quilters Society website, as I consider them the definitive resource for such things. Recently, however, I’ve made a few tweaks that I think make the process easier.

Here are my changes, step by step. If you aren’t already familiar with how to make a hanging sleeve, go to the AQS site for basic instructions. These are just my changes.

  1. Use leftover quilt backing (108″ wide) to reduce the number of strips that have to be joined.

    I often buy backing in 3-yard packs, and that means there’s some left over that’s still 108″ wide

  2. Use two rulers to add up to the 8.5″ width needed for a regulation quilt sleeve and cut a strip 8.5″ x width of fabric. Cut whichever way gives you the longest strip. In this case, I had a full width of fabric, so I got a strip 108″ long!
  3. If you’re making sleeves ahead of time, just stop here and roll up the fabric for storage. If you’re ready to use it for a sleeve, measure across the width of the quilt and cut a length of sleeve 1″ less than that. (Most instructions say to cut the width of the quilt then hem the ends, but that’s unnecessary.)
  4. Now serge or zigzag the ends of the strip to finish them. Most modern machines have the equivalent of a serger stitch, so you don’t necessarily need a serger to do this.

    Just serge the ends to finish the edges rather than hemming.

  5. Fold the sleeve lengthwise, wrong sides together, and press lightly so the fold opposite the raw edges can be seen. Either join the raw edges with a 1/4″ seam or serge them together.
  6. Baste 1/4″ from the folded edge of the sleeve, opposite where you just joined the raw edges. This allows for the ease required in the sleeve so the quilt will hang flat when a big pole is put through the sleeve.

    Left arrow points to the basting; right arrow points to the seam joining the raw edges

  7. Now re-fold the sleeve, still lengthwise, so the basted seam is on top and the seam that joined the raw edges is on the bottom.
  8. Attach the sleeve to the quilt back by hand. Note that the way the raw edges were joined puts the long seam on the outside of the sleeve, facing the back of the quilt. It’s thus out of the way.
  9. It’s possible to avoid half this hand work if you think waaaay ahead and put the top edge of the sleeve under the binding as you attach the binding, but really, who plans like that?
  10. After attaching the sleeve, remove the basting stitches

One more thing: After the quilt show, remove the sleeve to be used on the next quilt! Making a hanging sleeve still isn’t my favorite thing to do, but it’s easier with these little modifications.


More Circles

Here’s another quilt made from circles cut out of orphan blocks.

I asked a friend whether to re-design the whole thing or have it quilted as is, and she said it would be fine if it had a really interesting quilting design. She here is the Aboriginal panto, done by Linda Nichols in gold thread.

Quilt Stats

Name: More Circles

Finished size: 50″ x 72″

Design by: me

Quilted by: Linda Nichols

The good news is that a big pile of orphan blocks just went to a guild that’s making small wallhangings for the doors in a nursing home. That leaves me with only a few hundred to do something with 😀